The best chicken ever made?

If you thought cooking a chicken was taking it out of the plastic packet and sticking it in the oven, you were wrong. The following procedure tests Heston Blumenthal method of cooking a the humble chook.
1. Brine the chicken for a number of hours. I used a 5 percent brine solution for half a day. Rinse the chicken well, I soaked it for a further hour in plain tap water.

2. Copying the Chinese technique of getting crispy skin on their roast duck, the chicken is placed into boiling water for 30 seconds, and cooled in an ice bath. This perhaps releases fat under the skin thus removing moisture (? no idea really).

3. Leave the chicken in the fridge uncovered overnight to dry out the skin (below on the left re on the left after 20 hours in the fridge uncovered). 
4. Place the chicken in the oven at incredibly low heat, the lowest the oven goes. I got mine to around 90 degrees Celsius until the internal temperature reaches  62 degrees. Mine took around 2 hours. See on the picture below, on the right, the chicken has no color at this stage. 

5. Rest out of the oven for around 45 minutes, then turn the oven up to as hot as it can go, at least 220 degrees celcius. Once the oven reaches temperature blast the chicken for 10-20 minutes.

Above the juiciest bird I have ever eaten, with amazingly crispy skin. I have never had the thigh and breast perfectly cooked together. The middle picture is the underside of the breast and thigh when carved straight off the bone. The picture on the right shows the carved breast. The answer is the very low cooking temperature at the beginning. The brine also helped to keep the breast moist.

Tasting notes: A little salty, either reduce brine time, or brine concentration. Try leaving out the blanch phase, or even the rest in the fridge.

Sous vide pork belly (with ribs attached)

A very nice piece of locally sourced pork means that this recipe supports the local economy. It does not support climate change as we will see. The fuel import bill for the island may have increased to support the electricity inputs into this succulent belly. 
After salting and scoring the skin of the pork it proved rather difficult to vacuum seal the bag, mainly because the wine, added for acidity and flavor, wanted to come out before the air vacated. Also in the bag was garlic, thyme, onion and carrots.


It will be hard to tell how many islands were flooded because I ran this immersion circulator for 12 hours at 77 degrees Celsius, using an incredible amount of electricity (max output 1500W).  Once removed from the vacuum bag, the ribs were removed and the pork was pressed and refrigerated overnight overnight.


Just to add to the carbon intensity of this small meal a little more, the pork belly was then blasted at very high oven temperature for color. It was finally finished off under the broiler for a few minutes for some extra char and flavor.  Relatively juicy. 

Tasting notes: Perhaps it could have been cooking in the water bath a little longer as not as tender as desired, it was also a little dry. A 12 hour brine should be tried. 

In search of the Perfect Meatball
With a desire to run down my inventories of frozen high-quality Angus certified beef steaks it was naturally a brilliant idea to grind it down and make meatballs. Why not experiment by cooking the meatballs Sous Vide.
I have always felt that meatballs were a peasant dish, and also highly abused by American cuisine that tends to slather them with cheap canned tomato sauce and plonk them atop over-cooked pasta. I wanted to give meatballs more credit. 
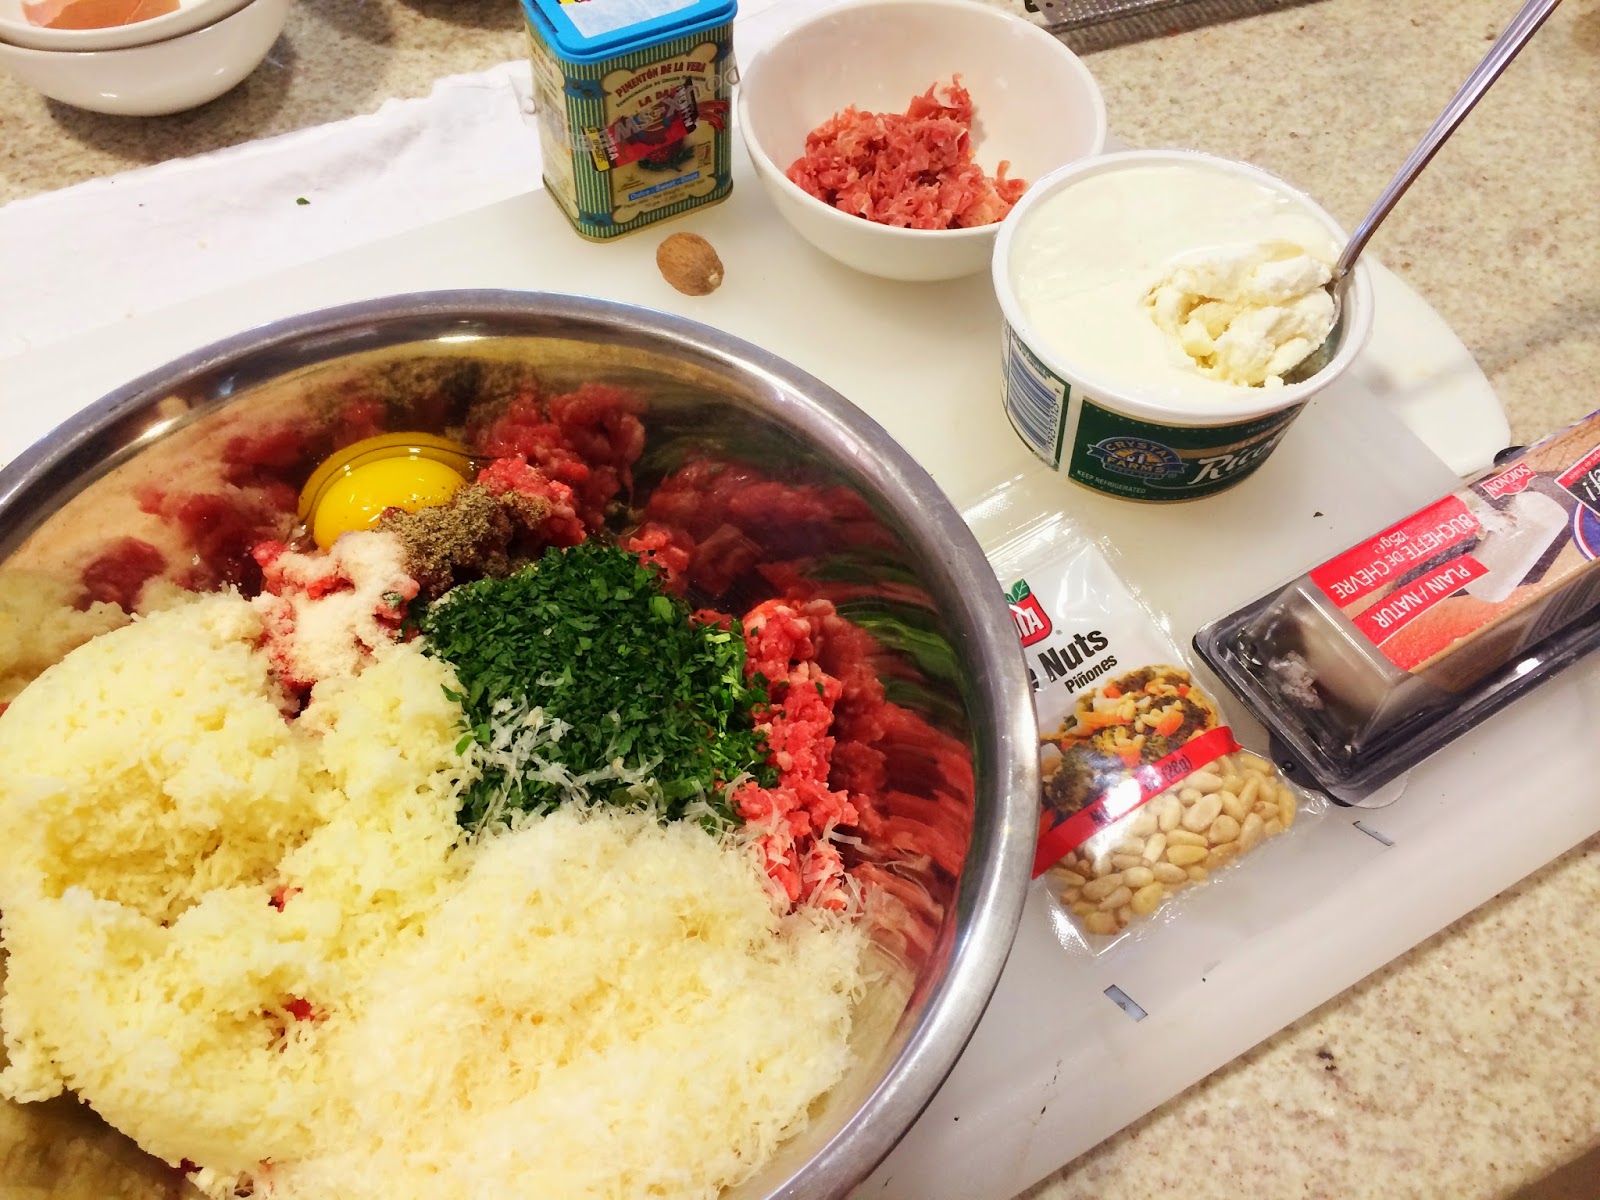
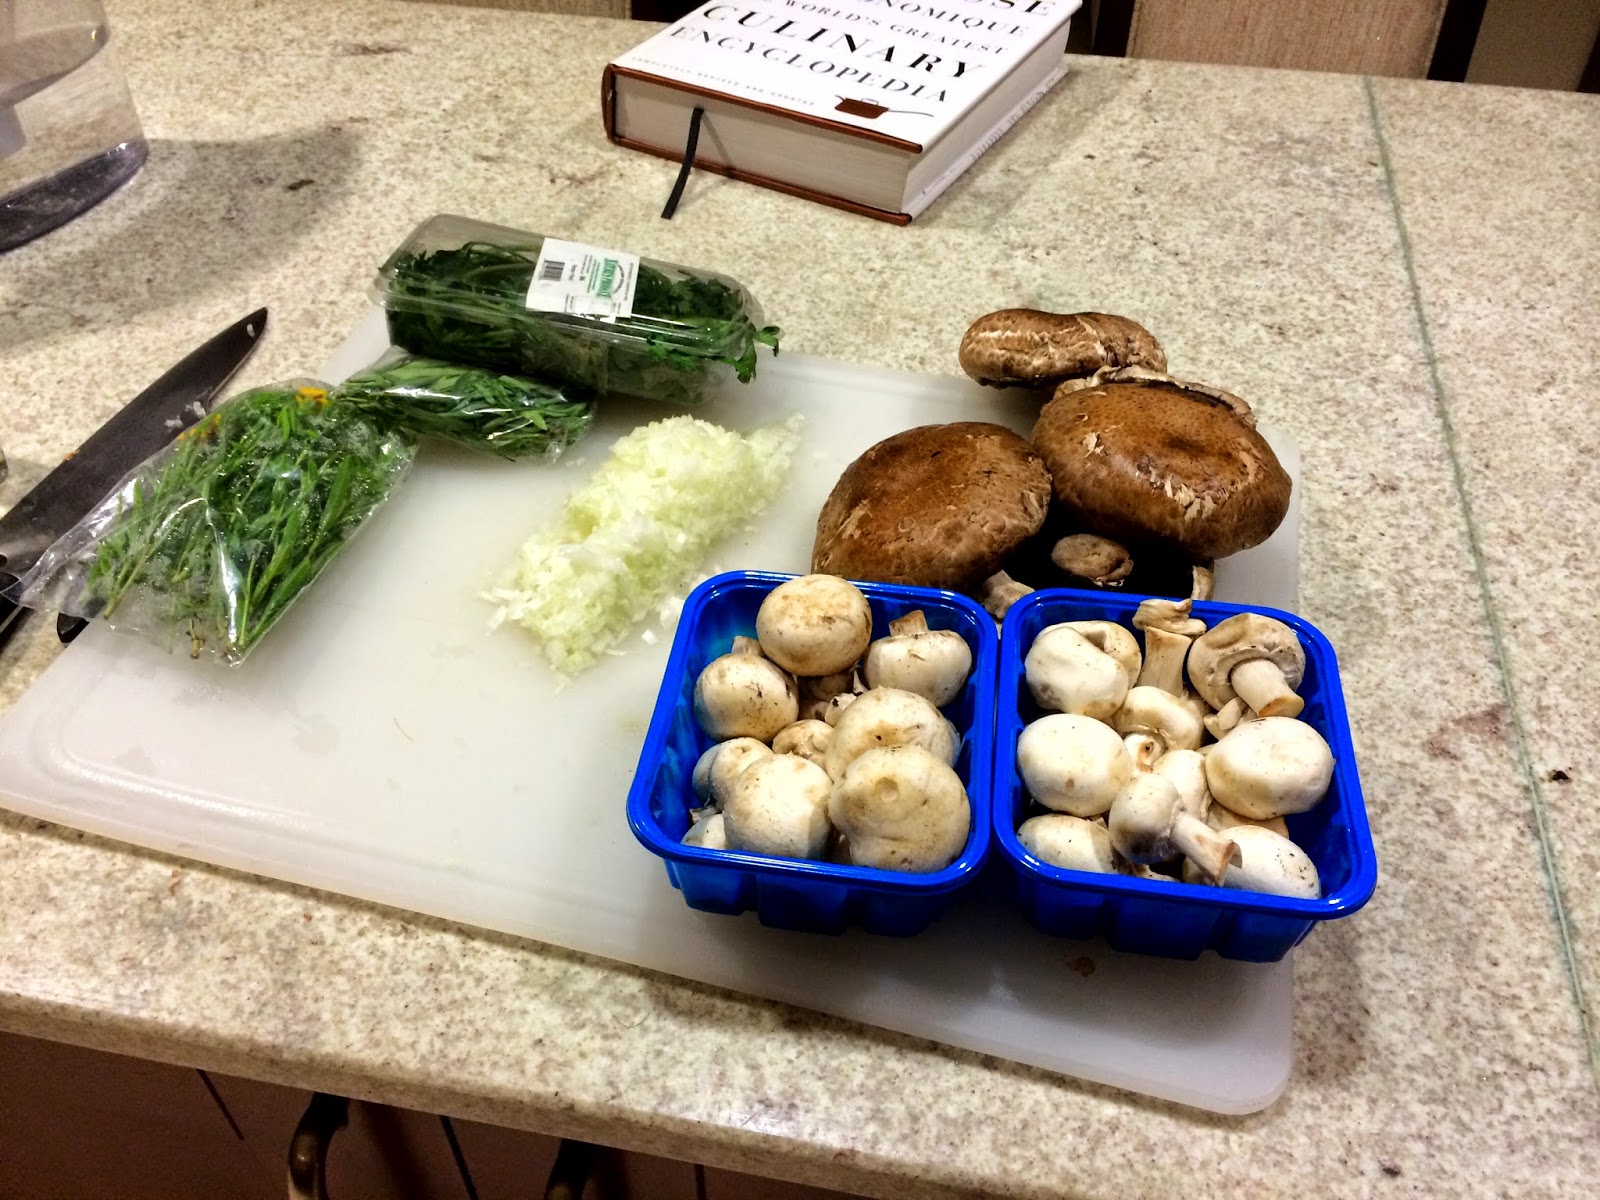
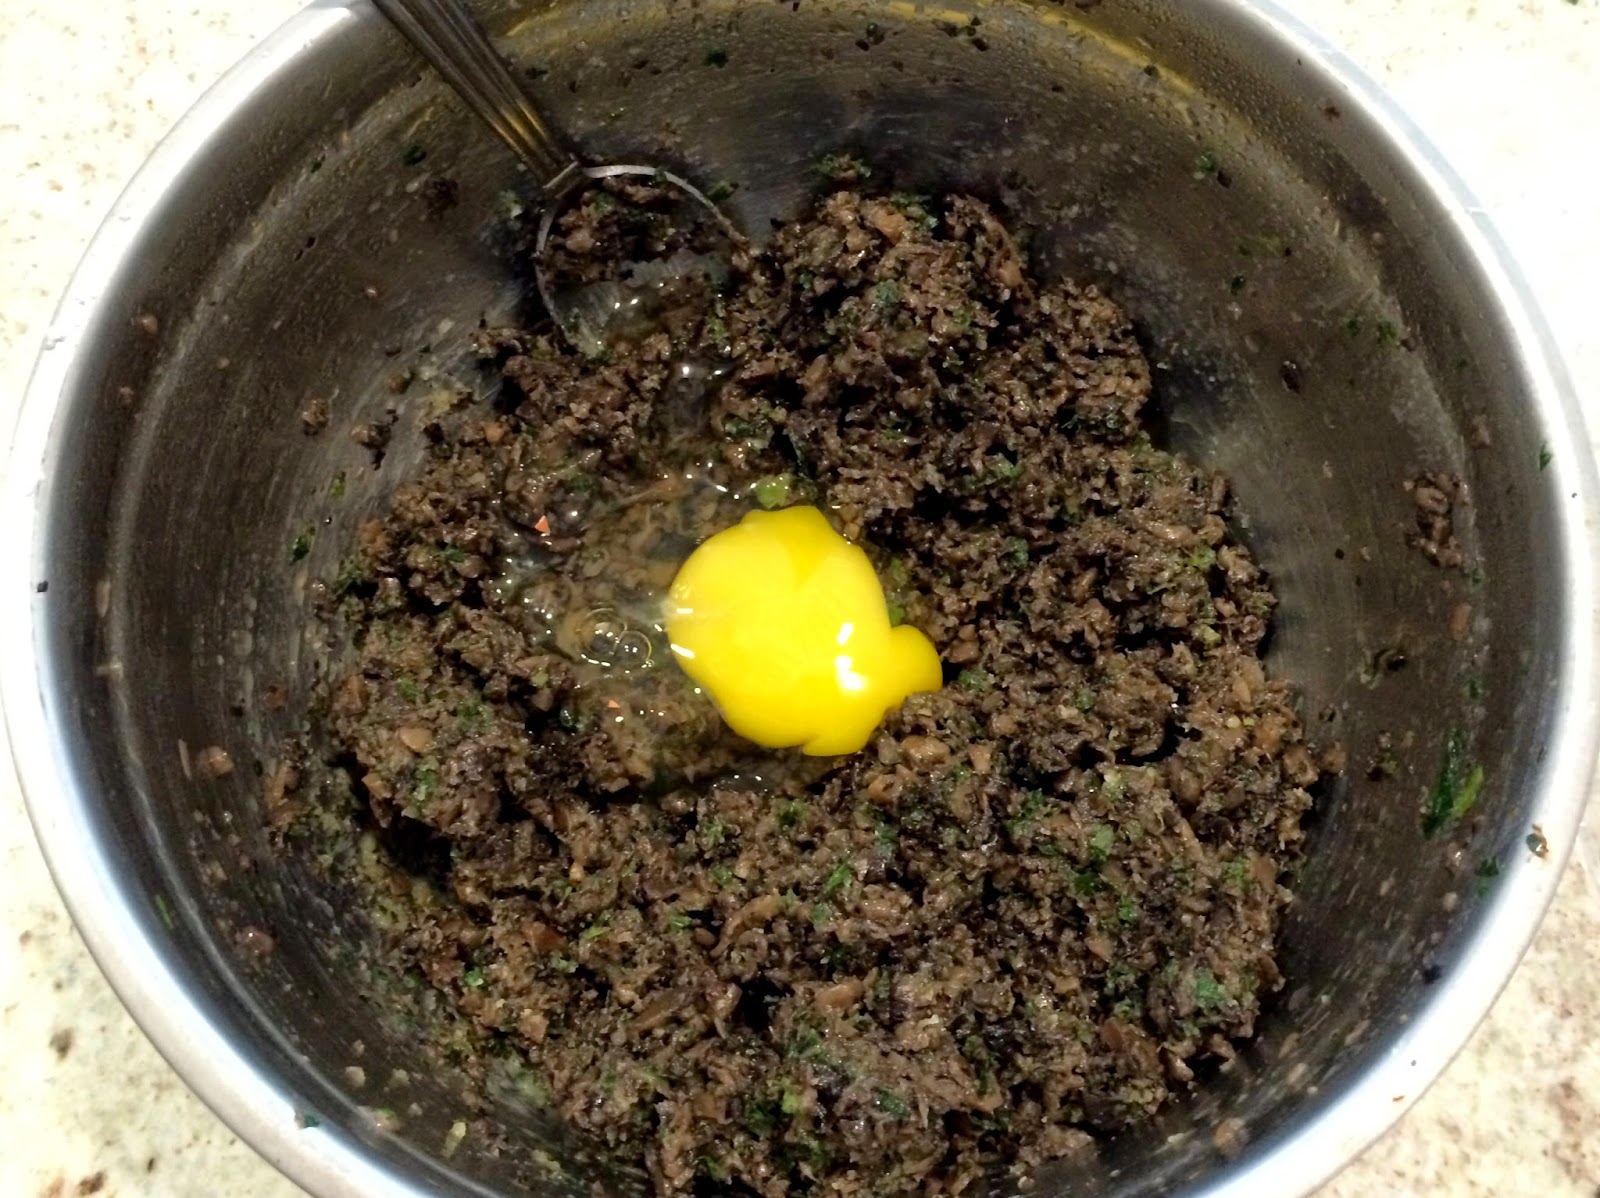
After an exhaustive survey of the internet for an authentic Italian meatball recipe I decided on the following for my base recipe: Beef, Parsley, Egg, Garlic, parmigiano-reggiano, Potato, salt and pepper. I decided to experiment with four other recipes in addition to the base: 1) base+ricotta; 2) base+spanish smoked paprika+prosciutto+nutmeg 3) base+young goats cheese+toasted pine nuts 4) Mongrel: 1+2+3

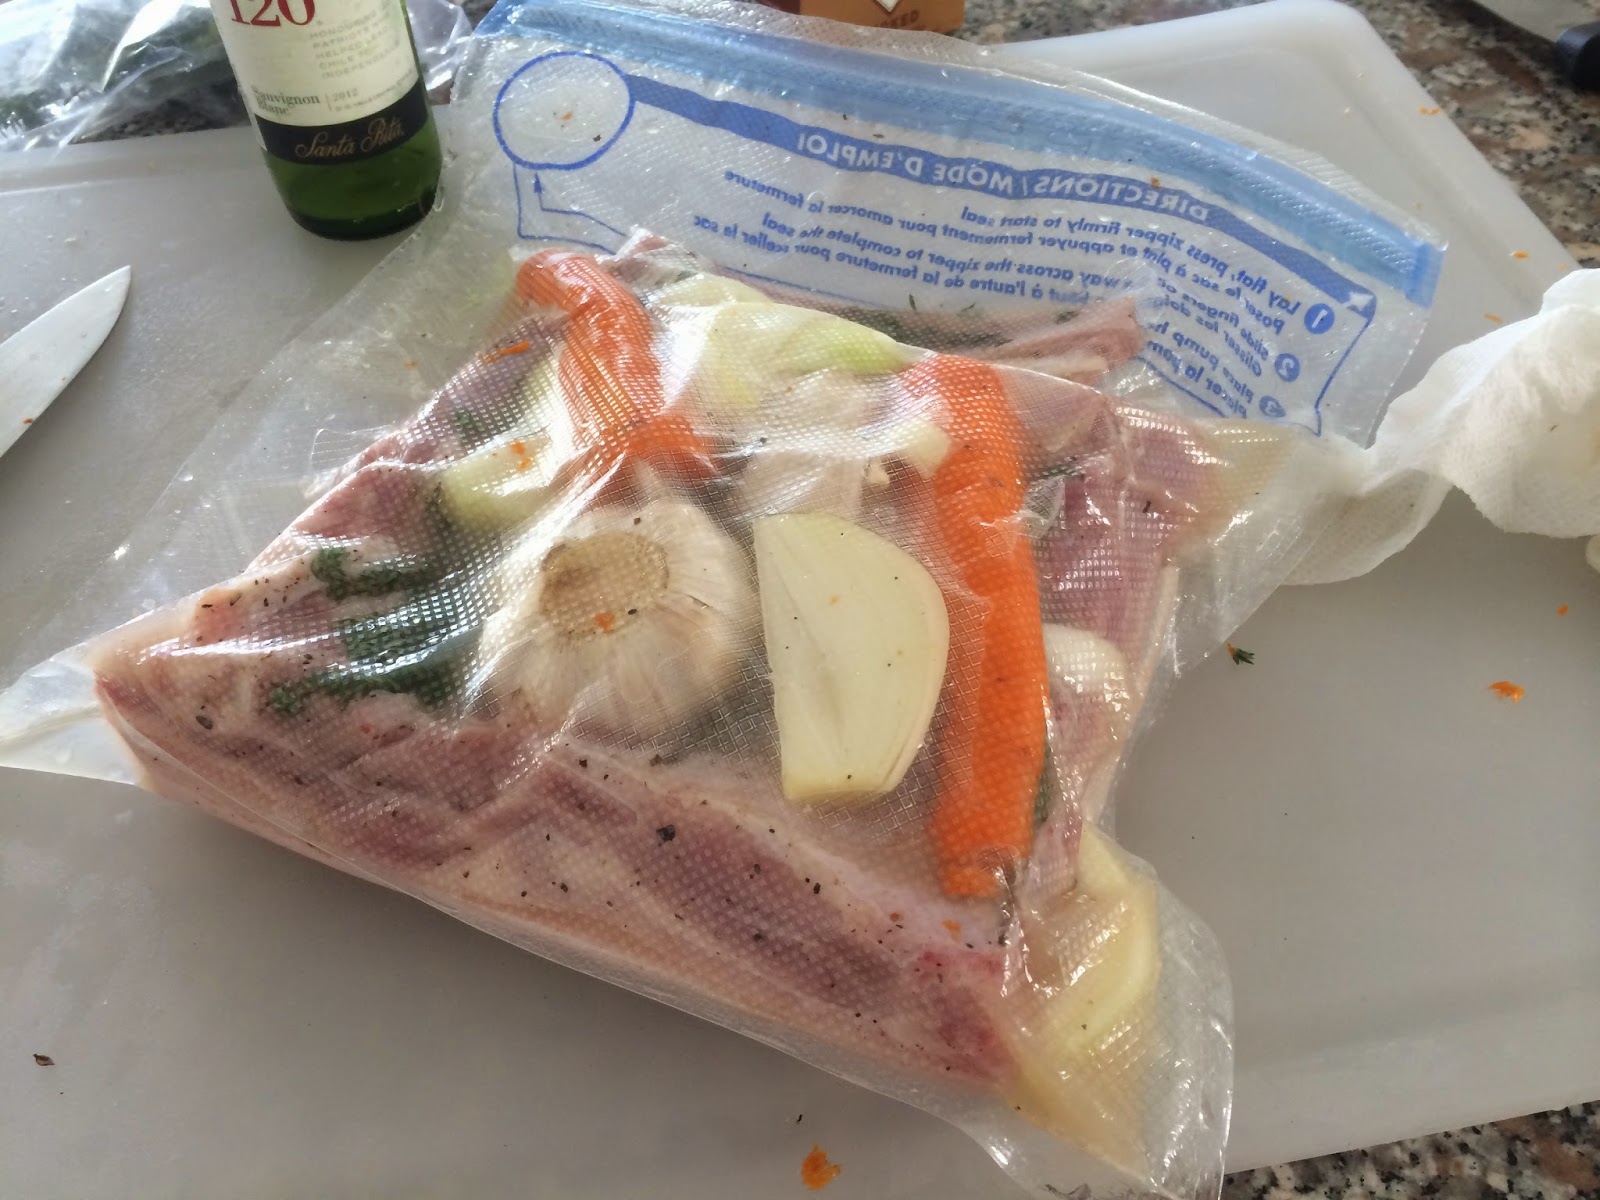
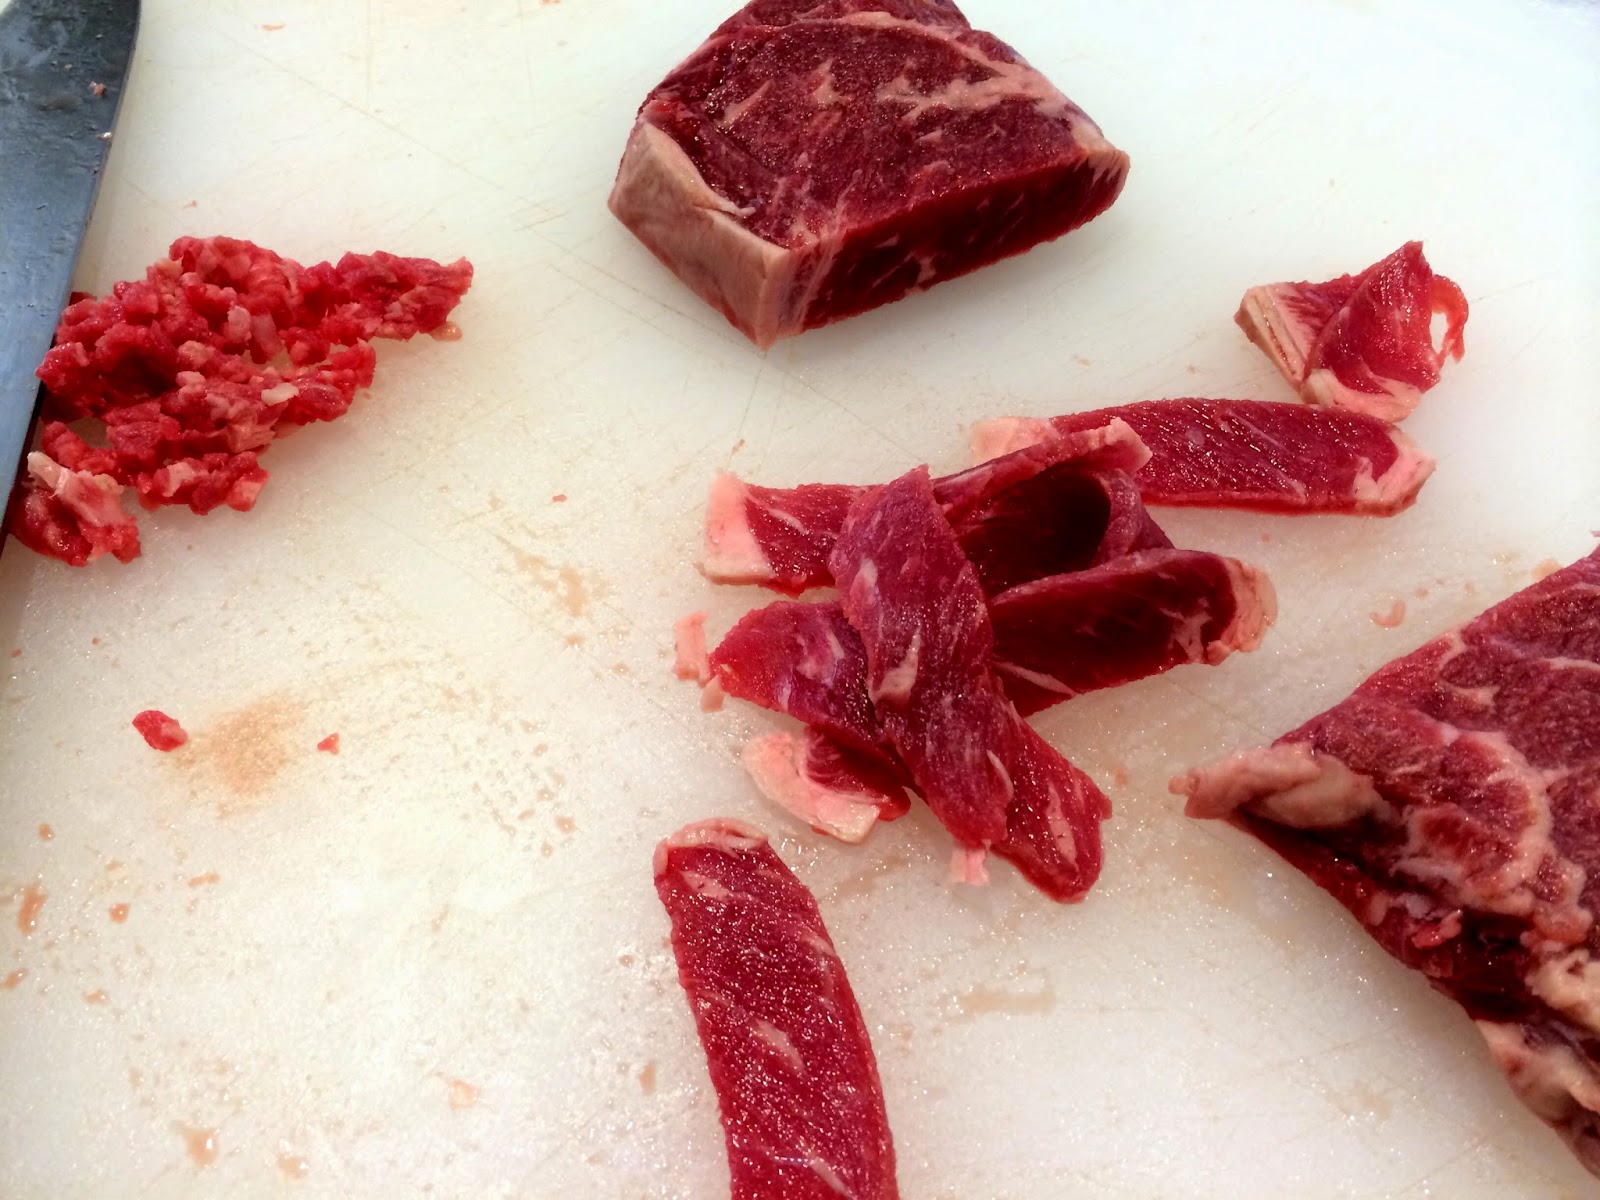
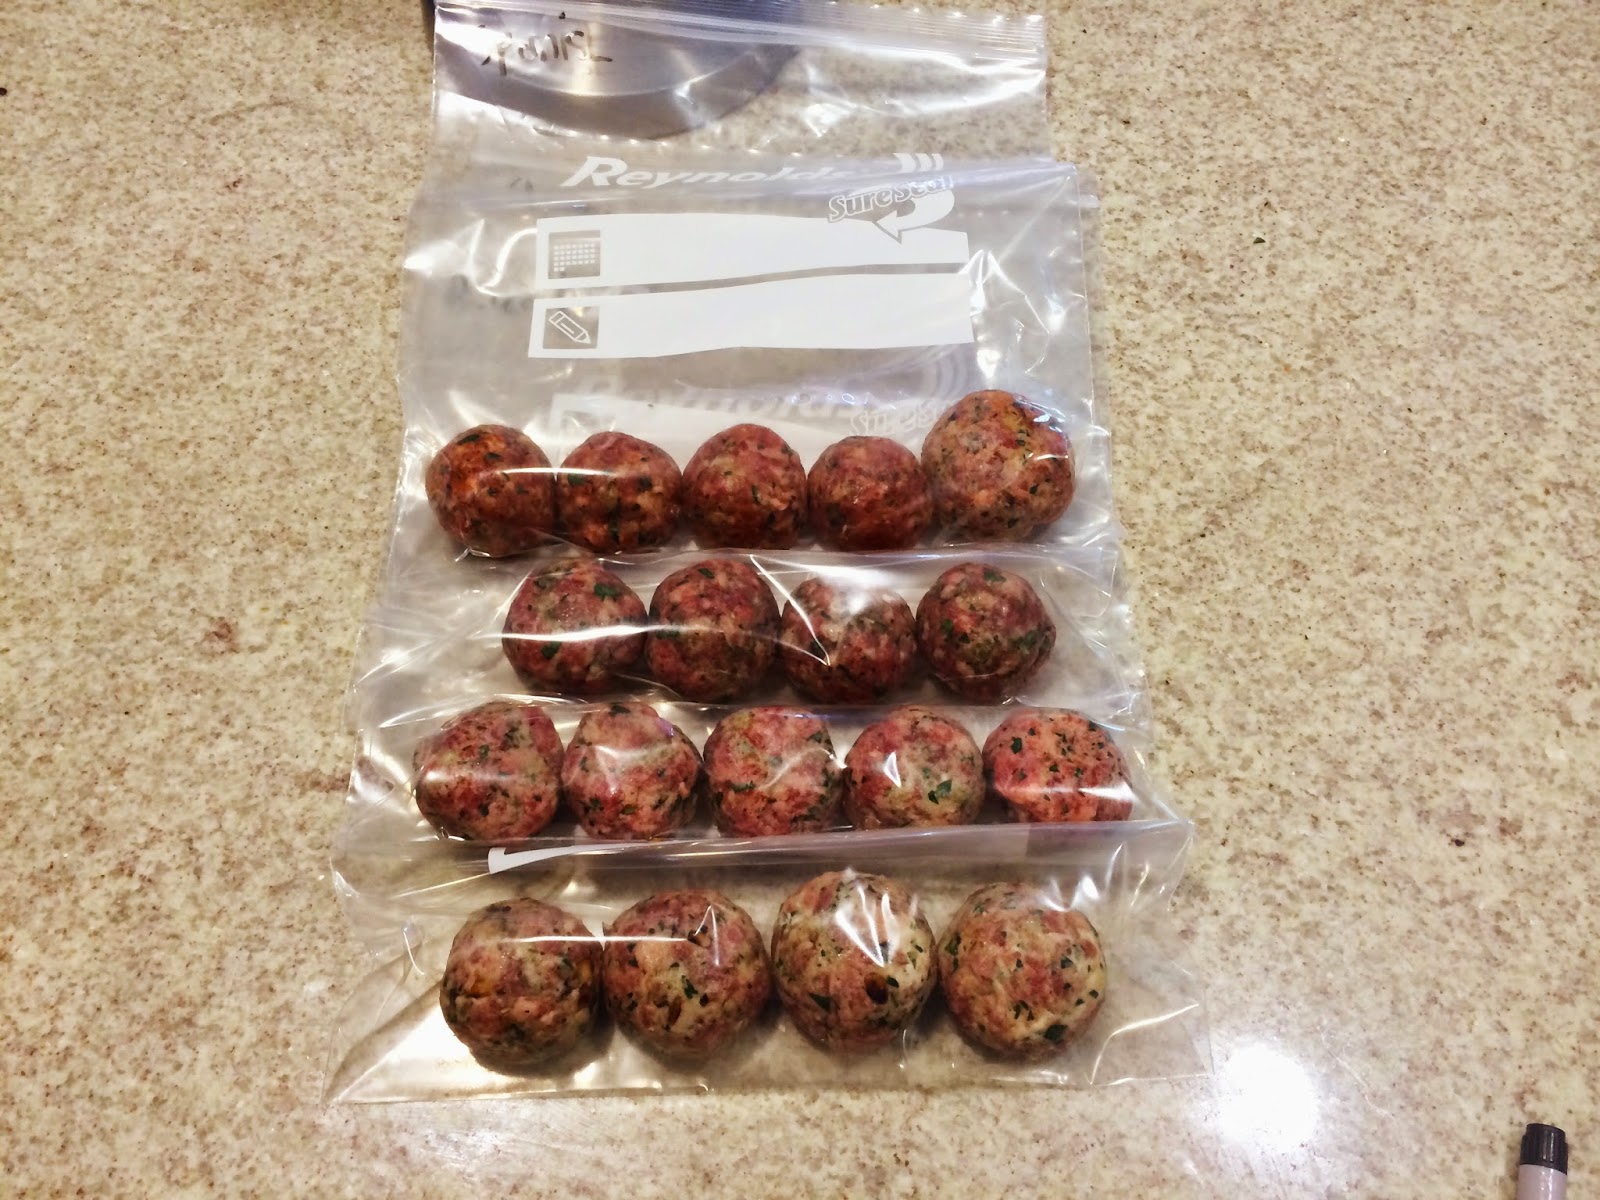
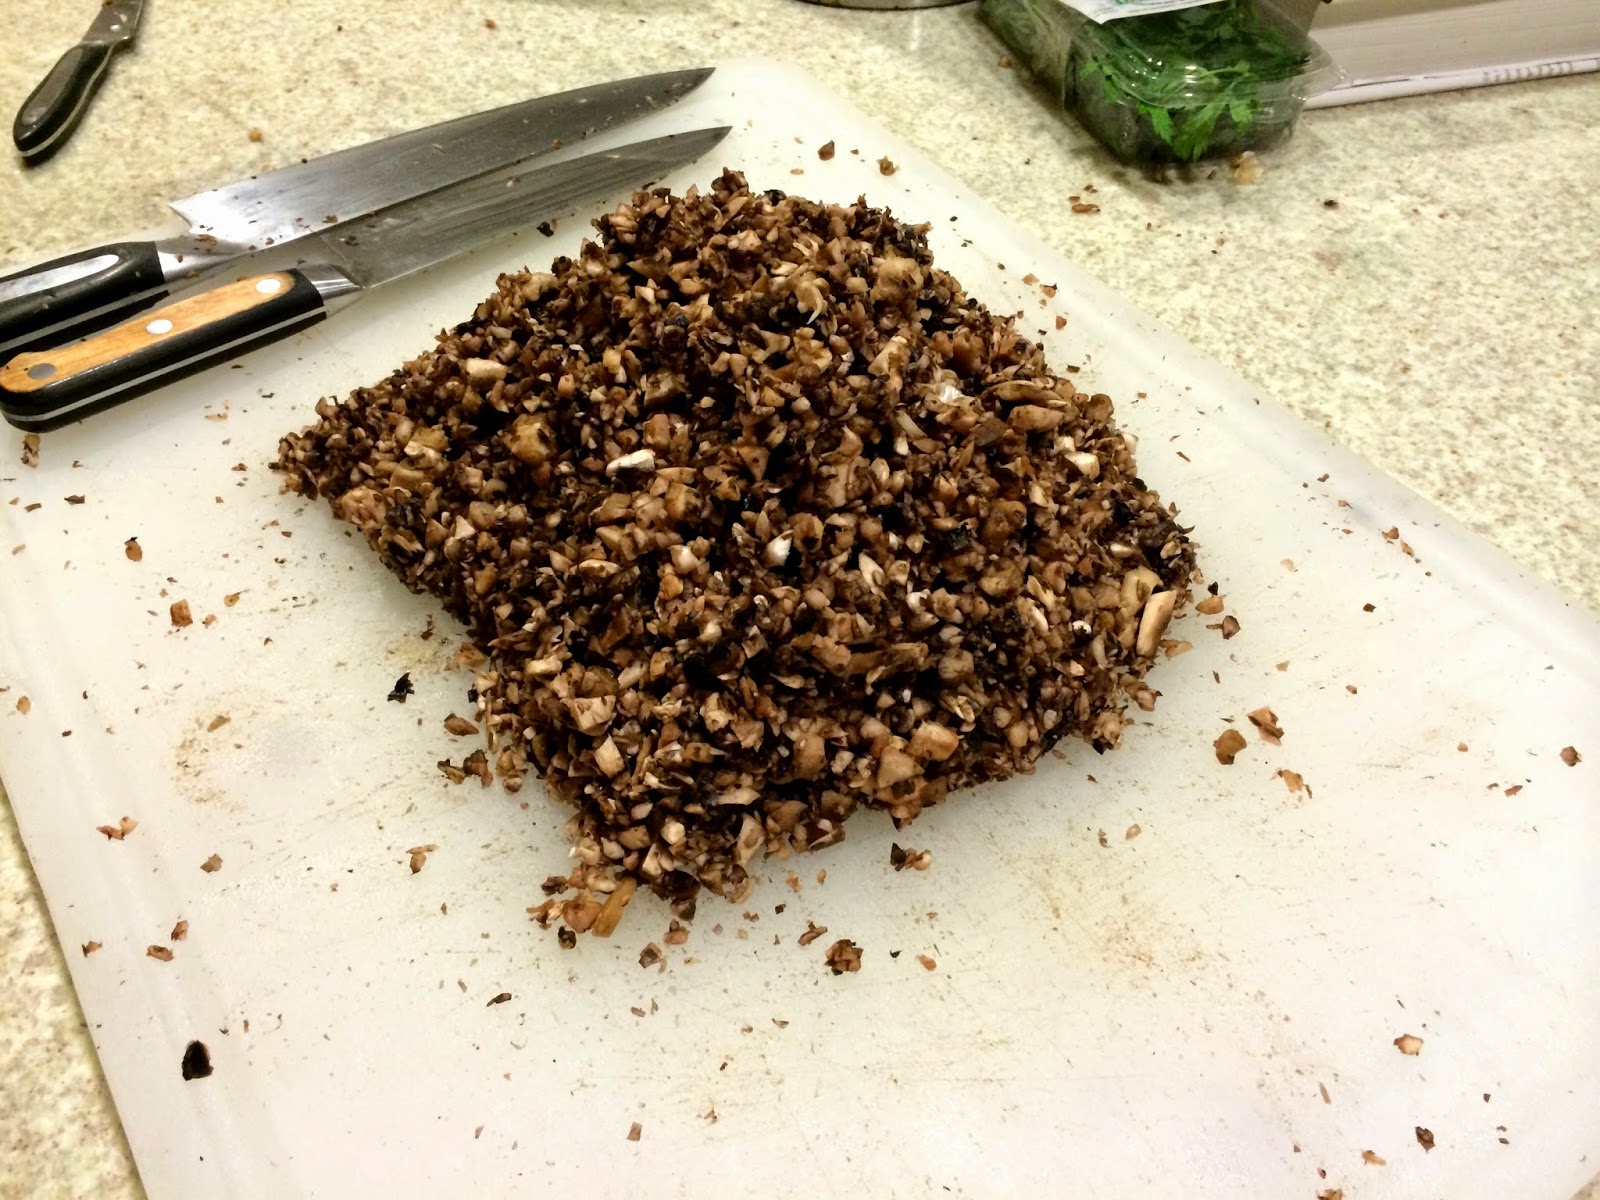
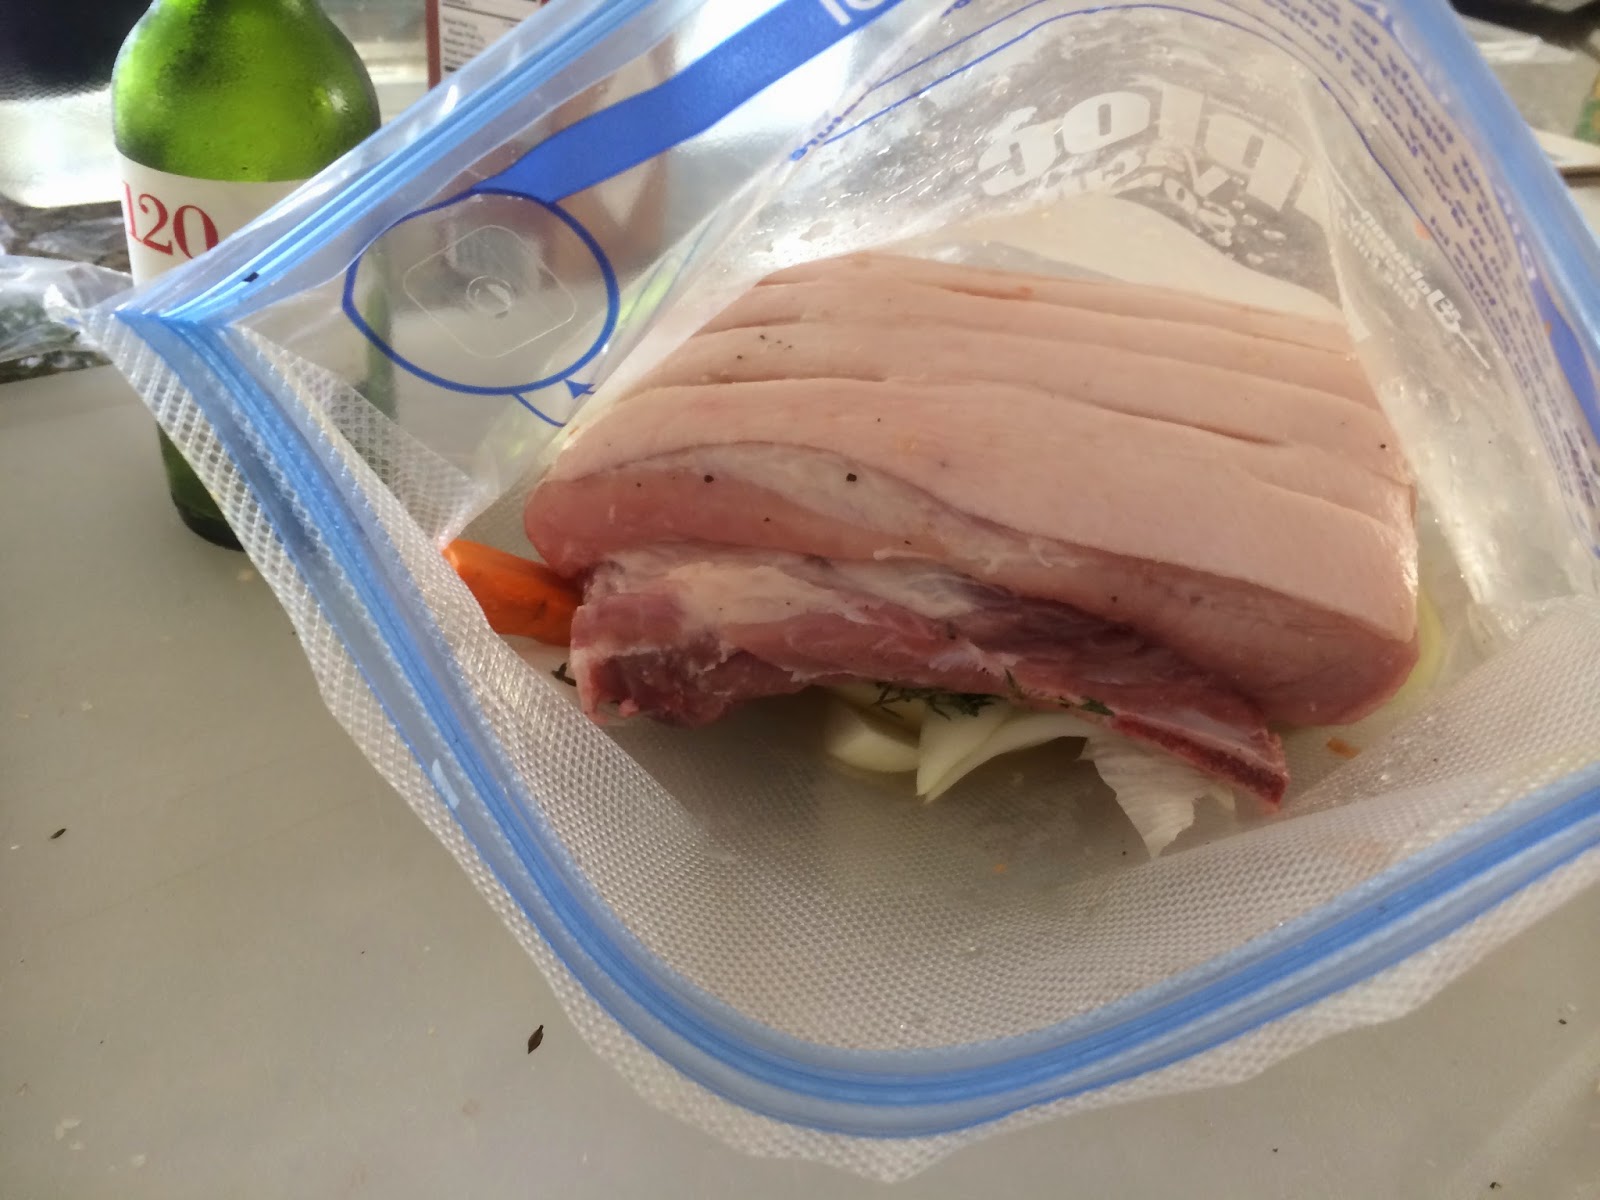
1. Preparing the base recipe: Mince the beef with a very sharp knife. Chop the remainder of the ingredients then mix! I used a food-mill to rice the potato. Place balls in zip-loc bags

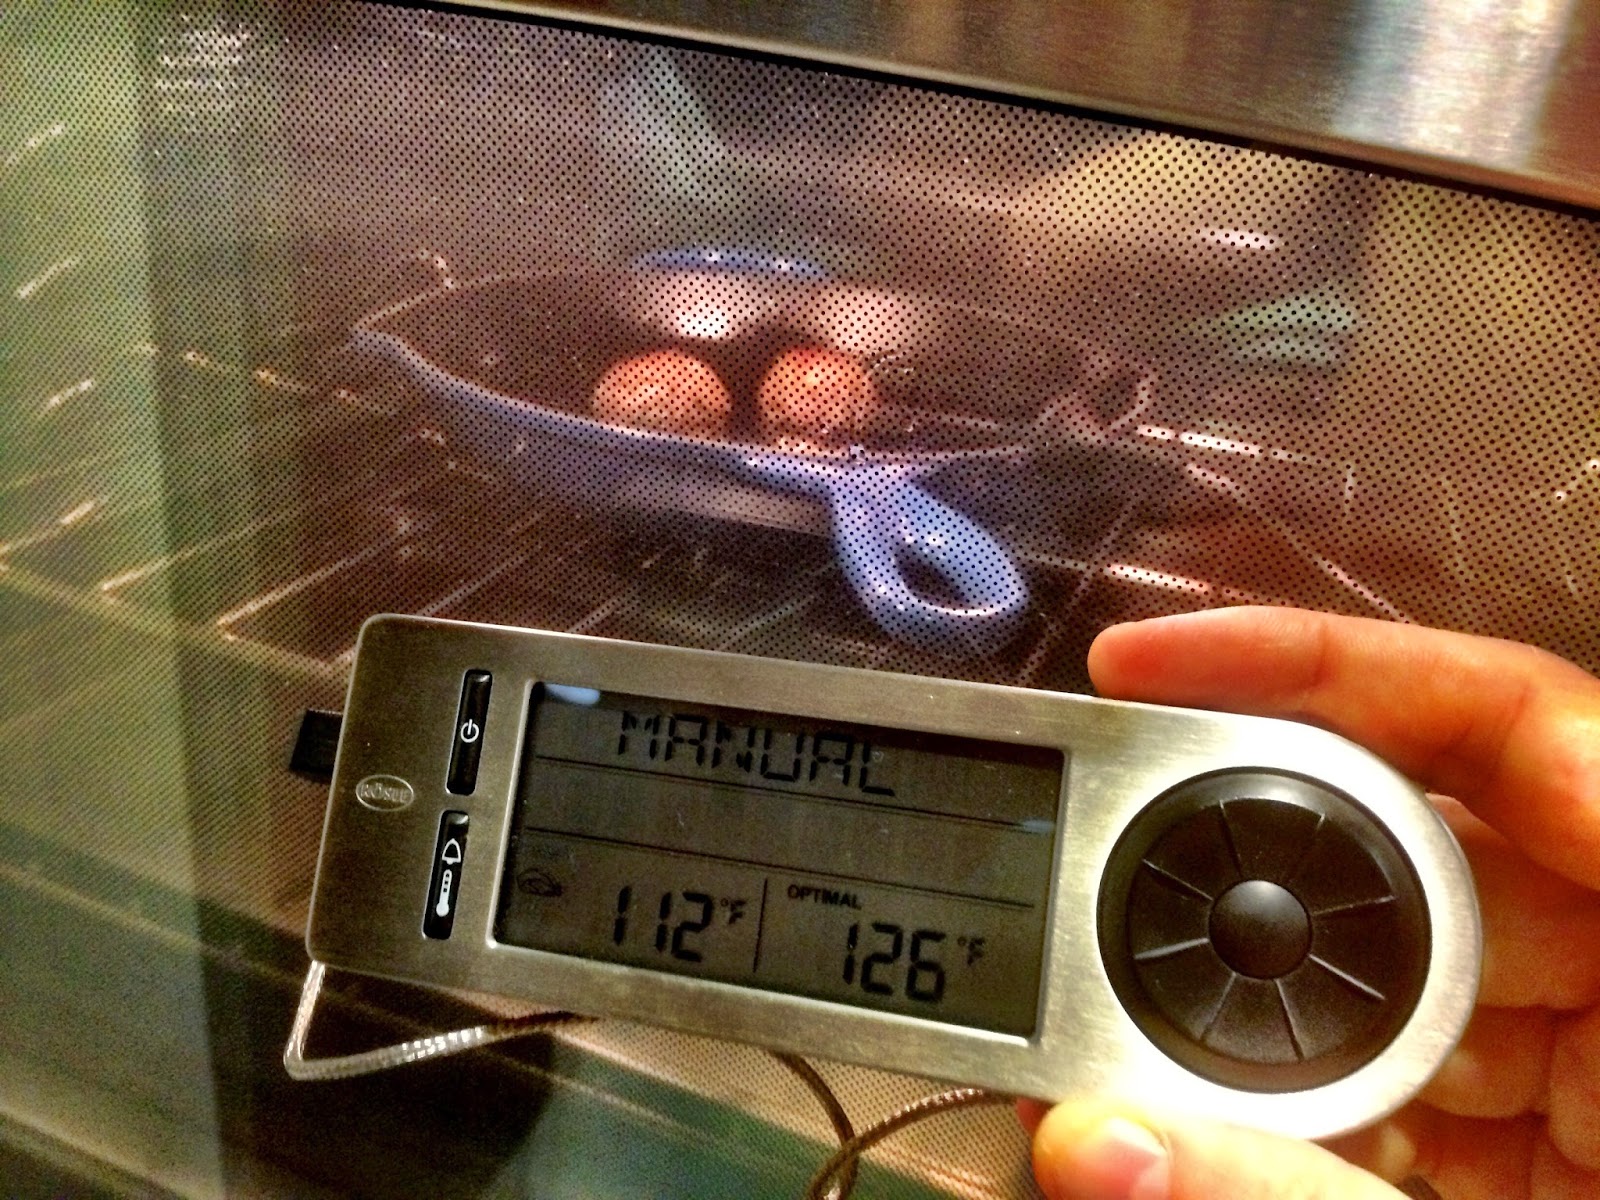
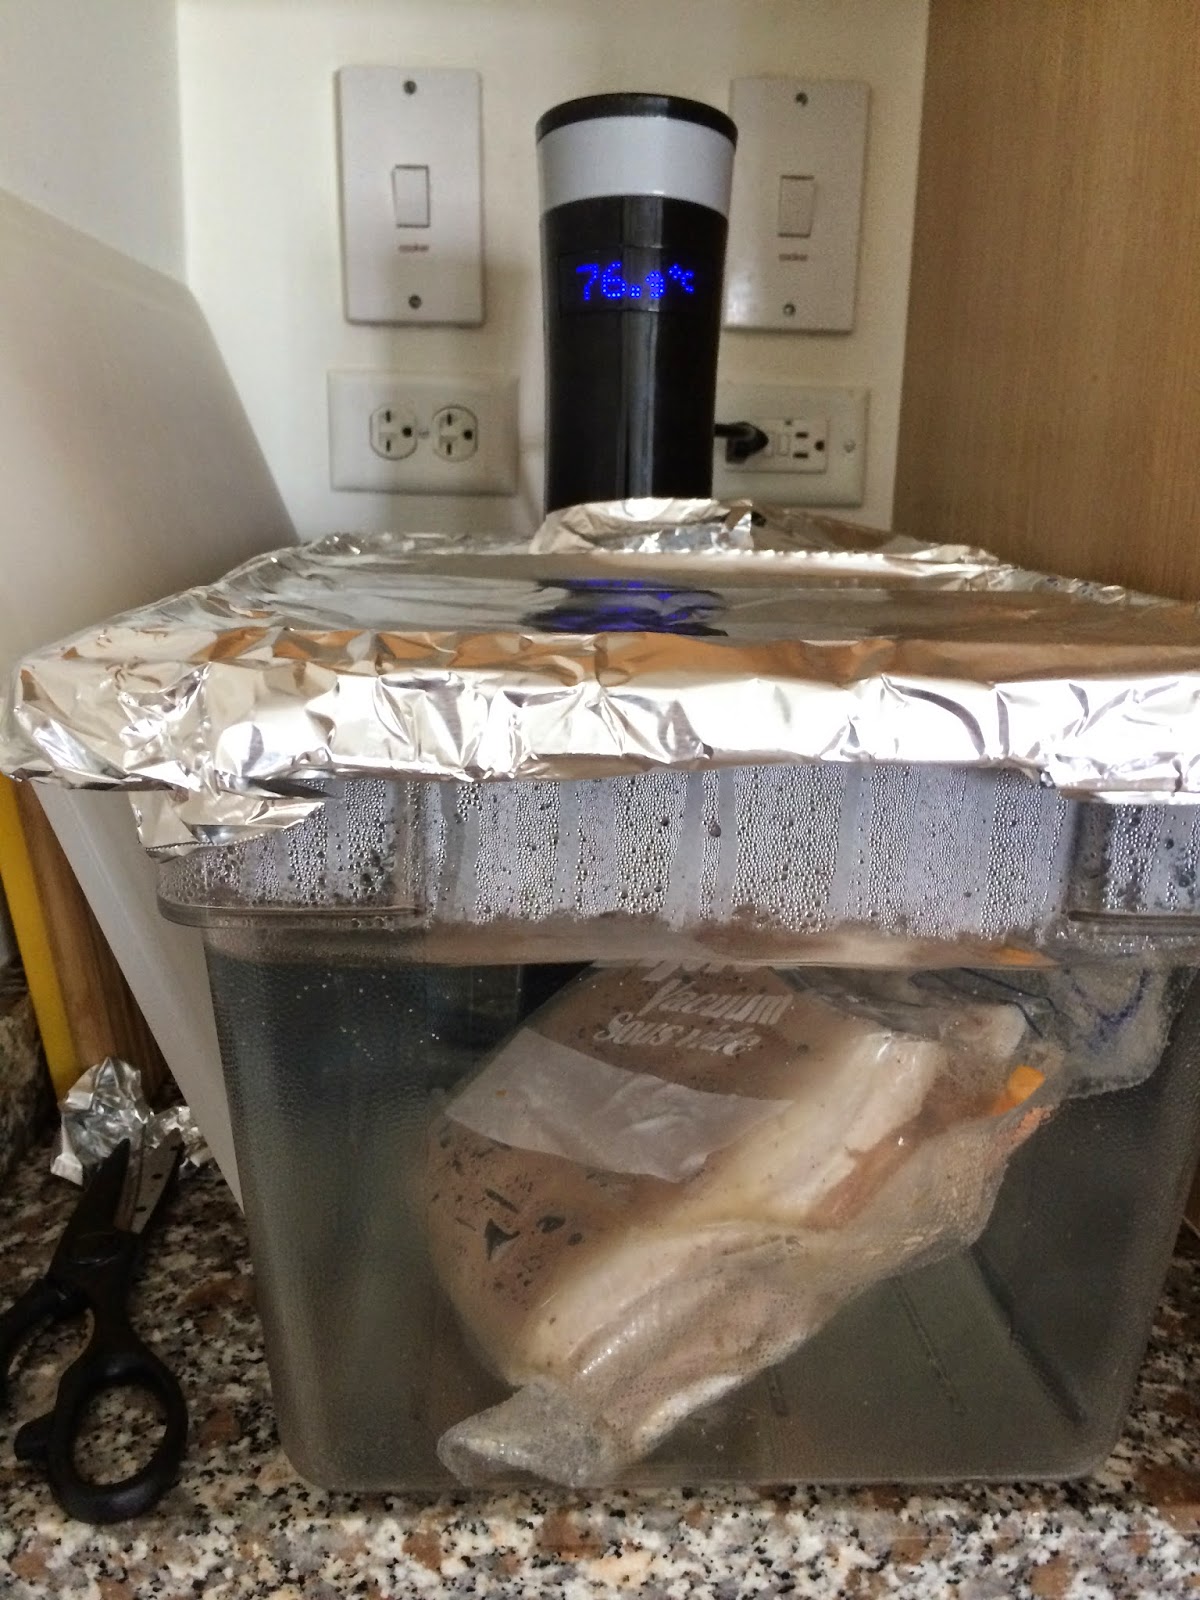
2. Fill each bag with oil and place in water-bath for a few hours at 134degrees. These bags were not vacuum sealed. I used the oil-displacement method as vacuum sealing will ruin the malleable balls.

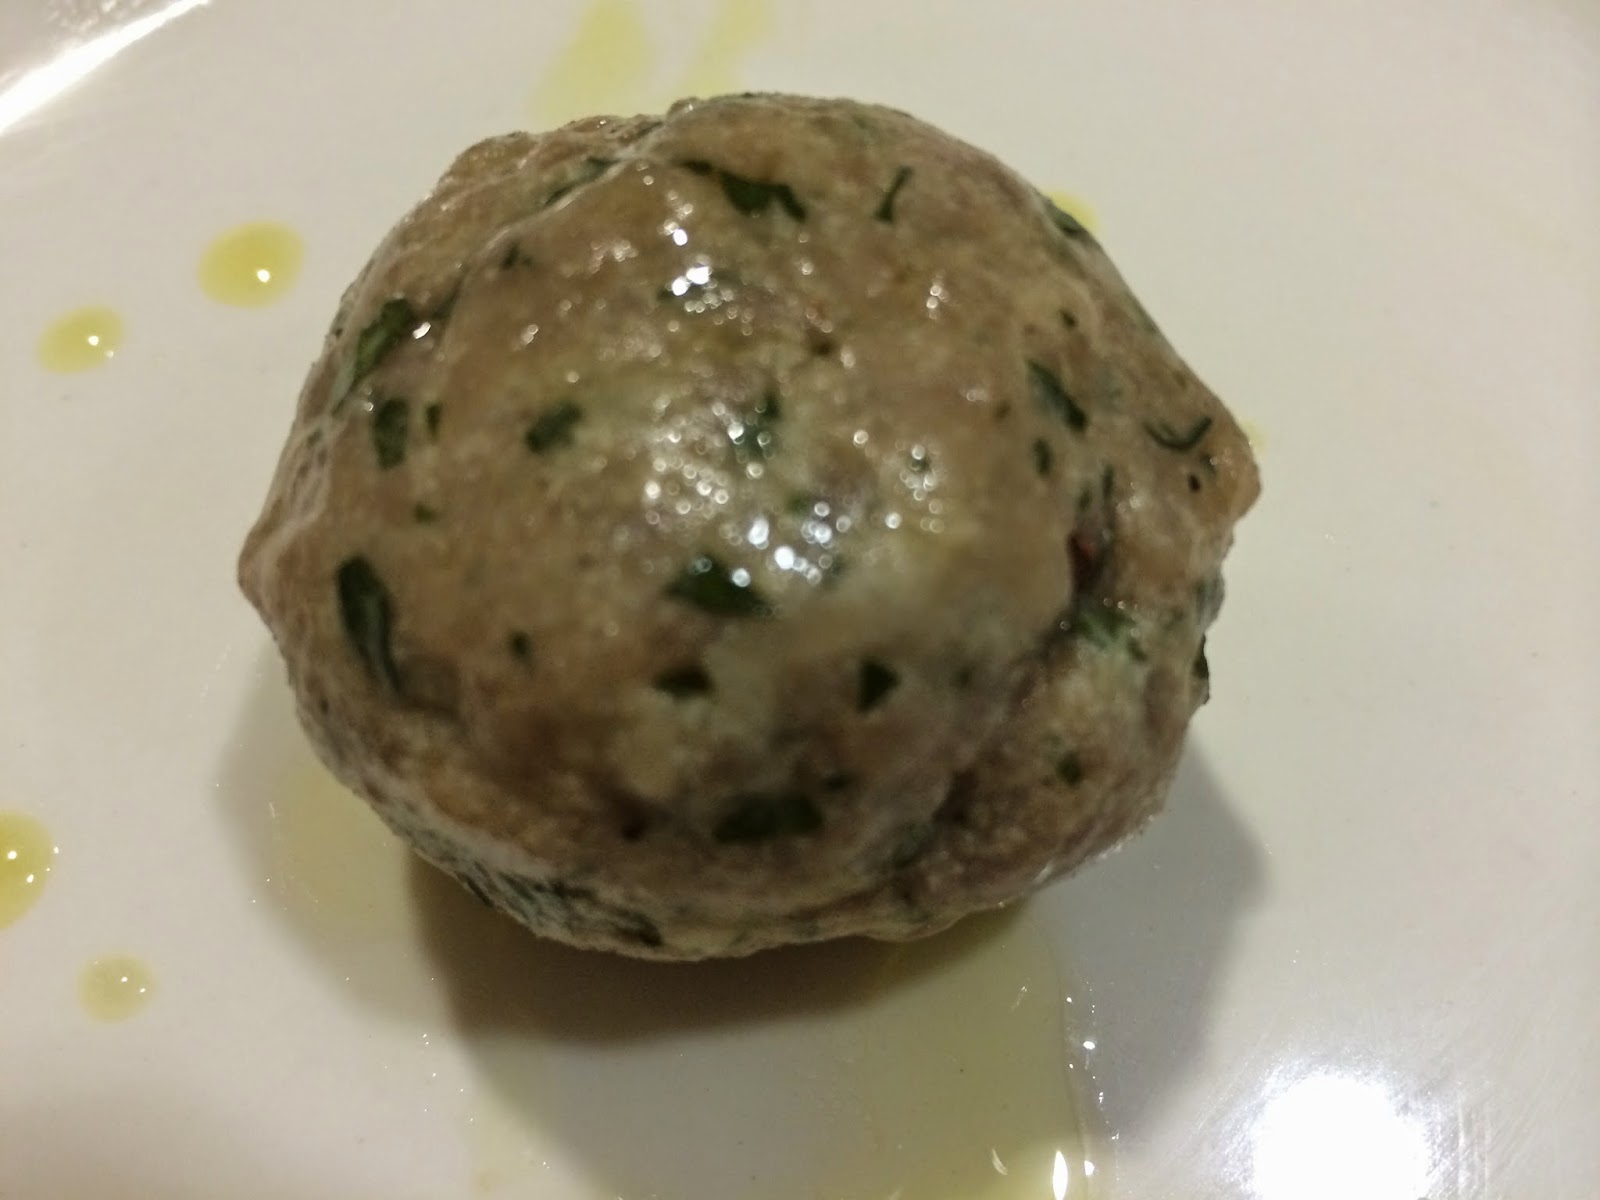
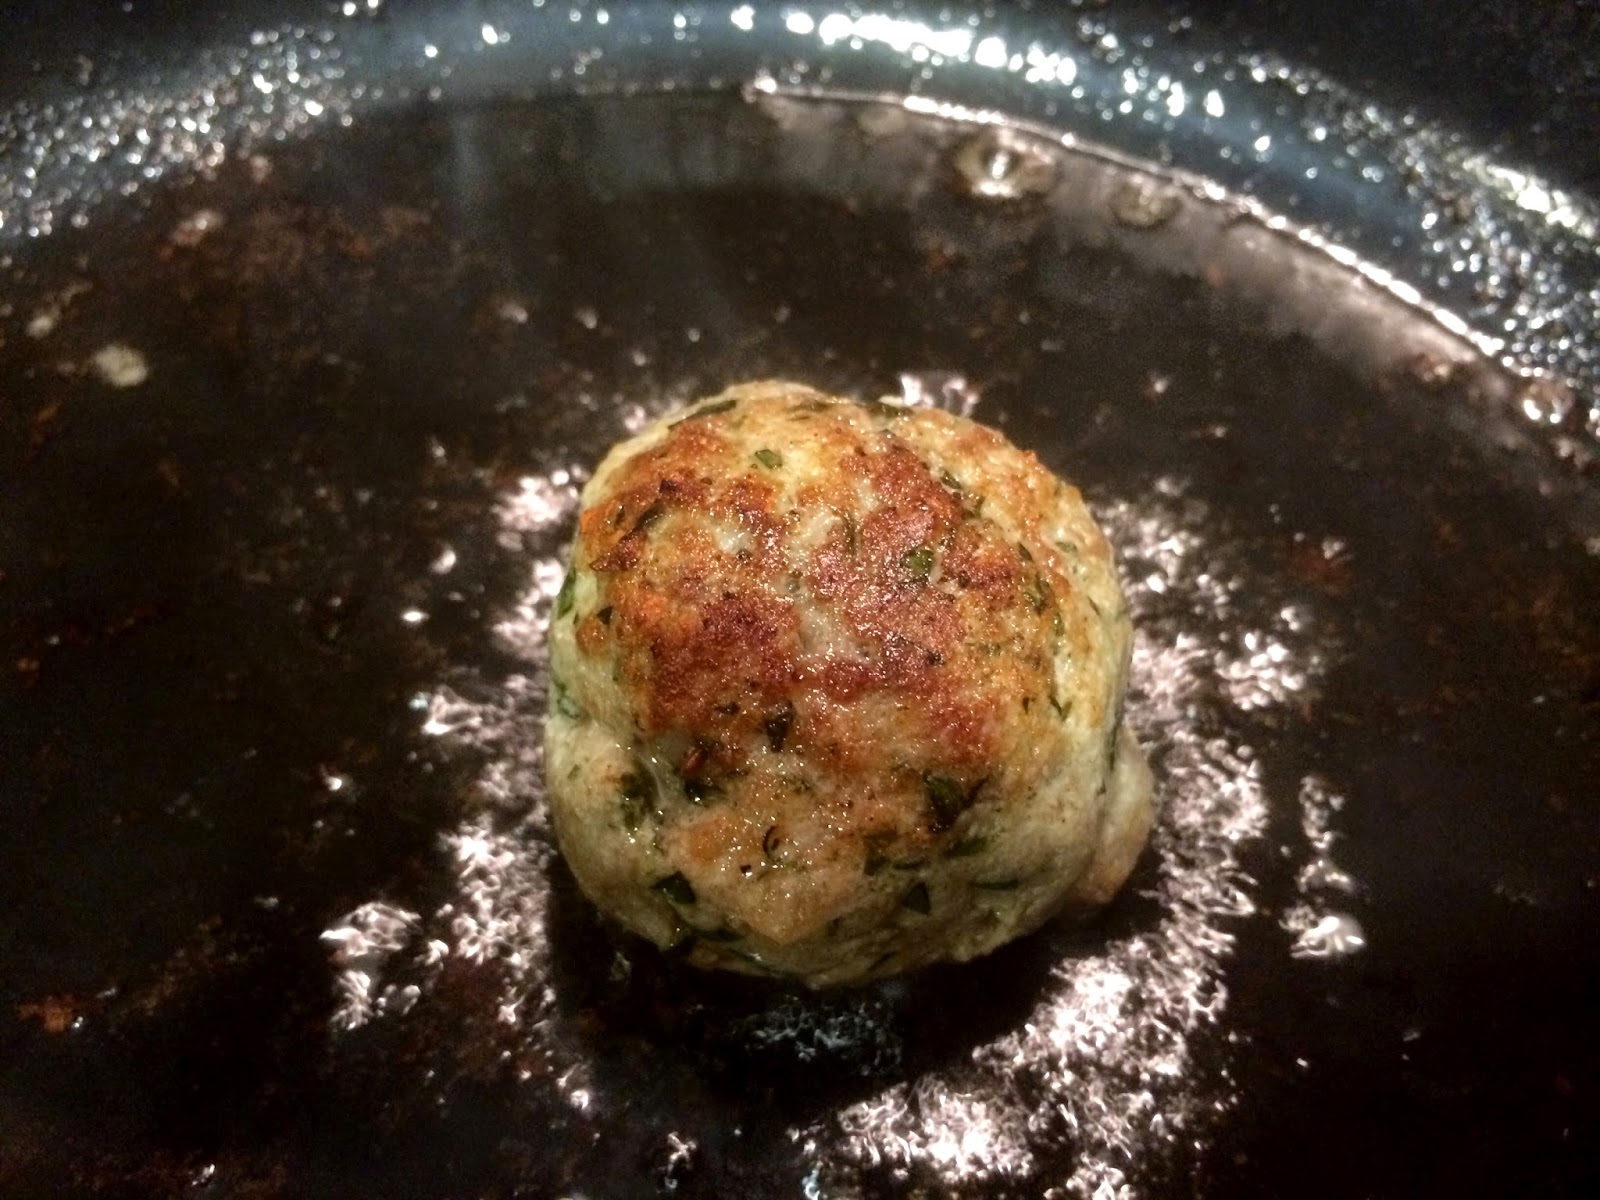
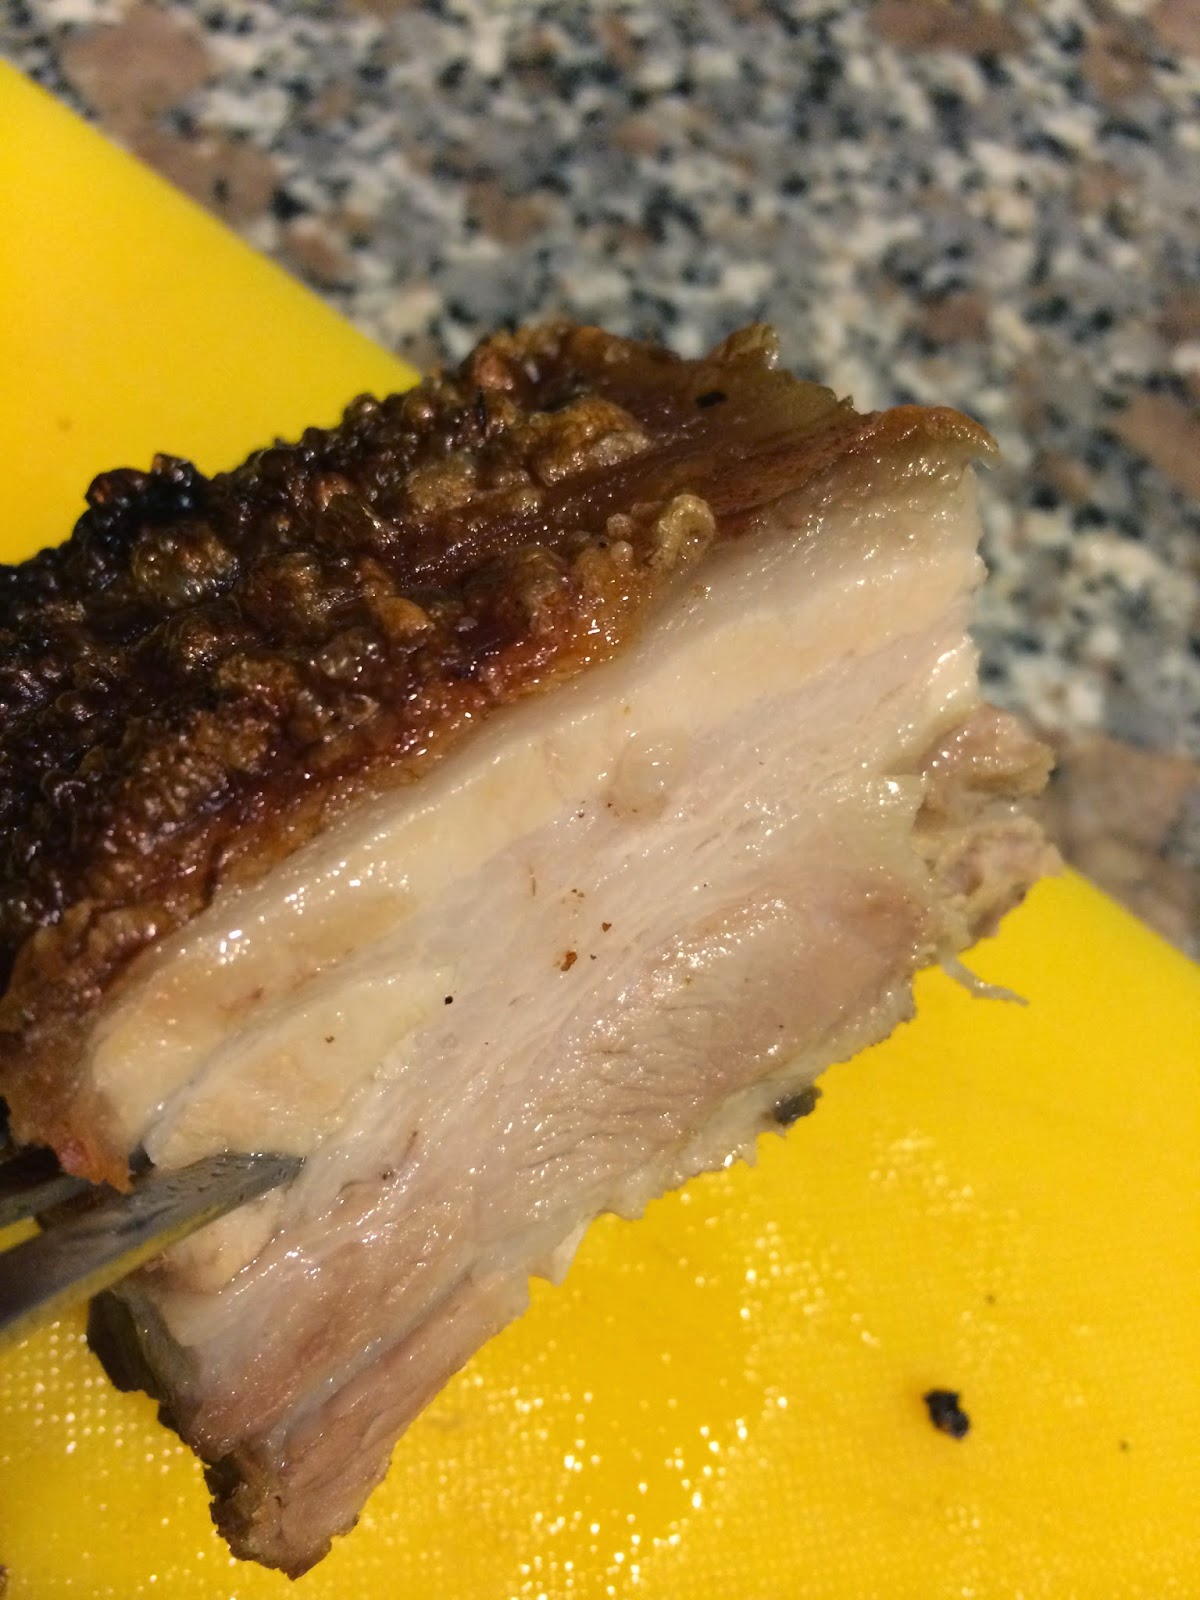
 3. Remove from the water-bath and sear at high temperature for one-minute

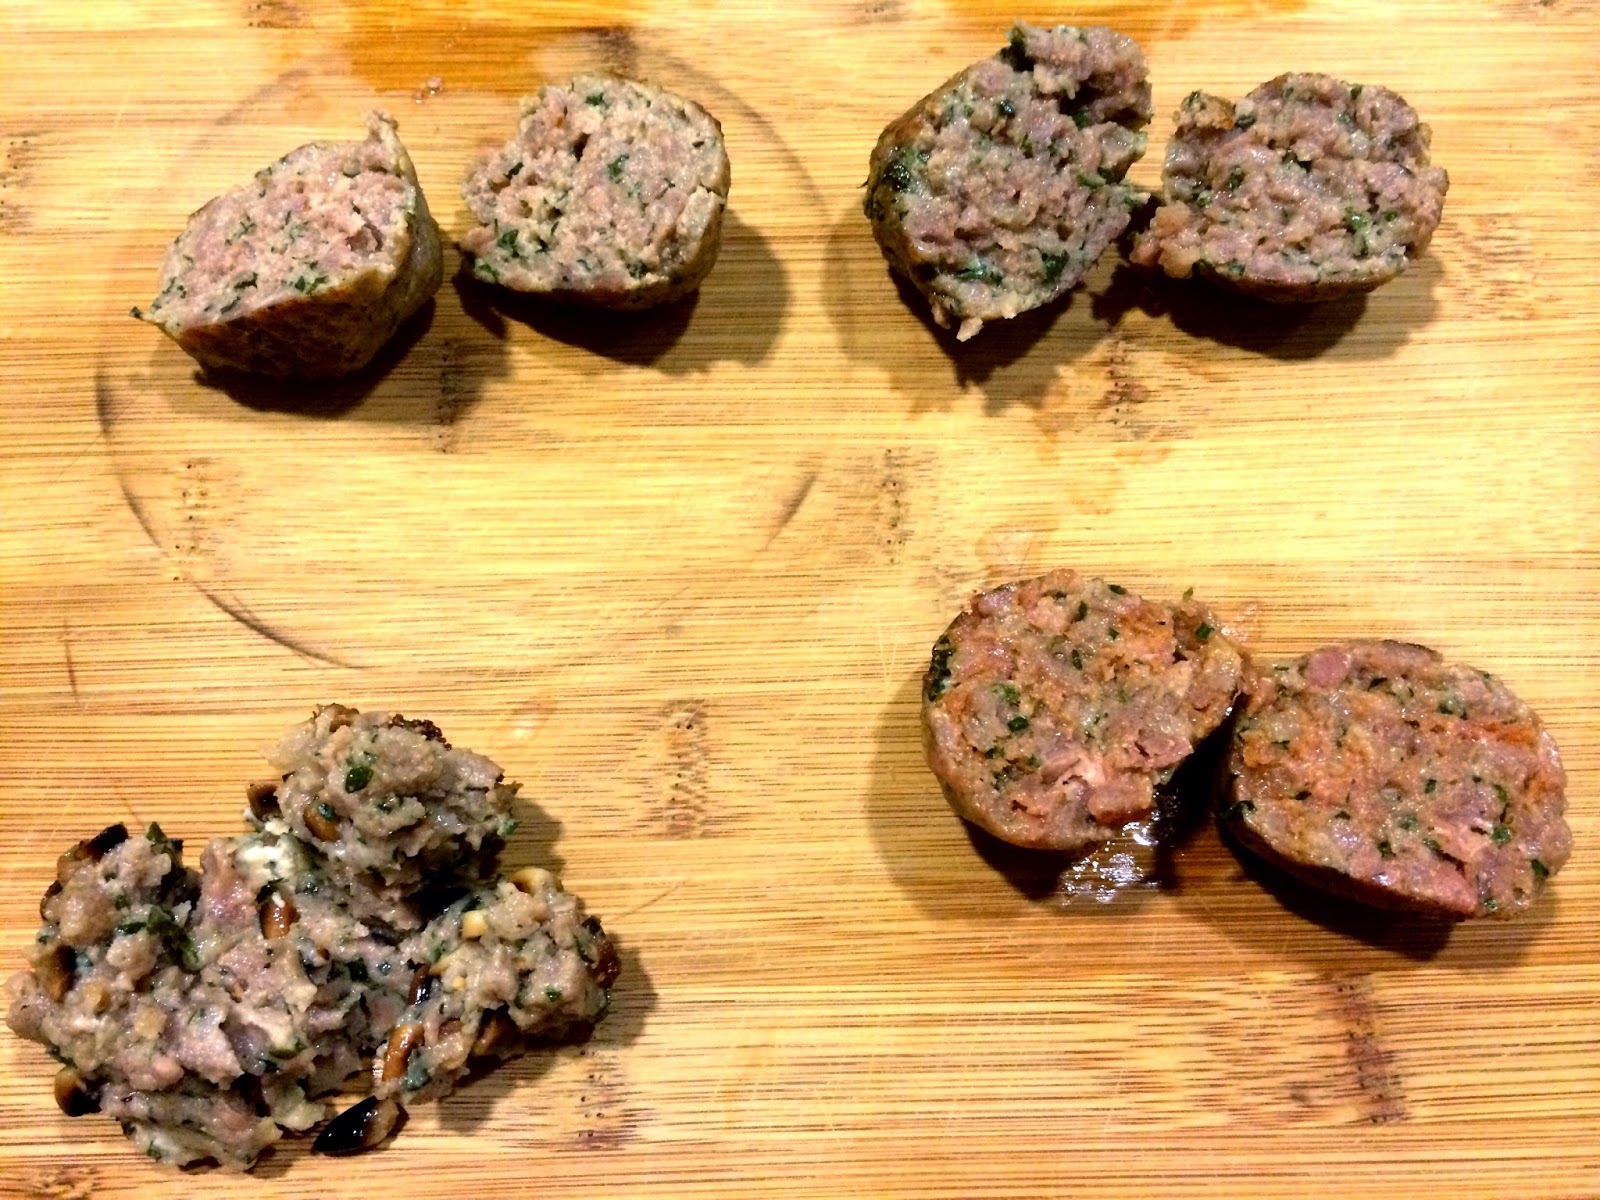
4. The results below. Unfortunately the pine-nut and goats cheese ball had poor structural integrity.

 CONCLUSION:  I very much like the base ball (top right), followed by the ball on the bottom right with paprika and nutmeg. I tasted no difference with the addition of ricotta. The pine-nut and goats cheese ball was good, but perhaps I will not try this again. The use of potato instead of breadcrumbs left a very unique texture that I am not sure that I liked. Next time I will settle on the base meatball recipe with the addition of nutmeg and paprika.

We are not finished yet. How about cooking the balls the traditional way? Pan-fry followed by a few minutes in the oven. How does it compare to the Sous-vide ball?

The traditional cooking method are on the left of the photo. Unfortunately it was hard to tell the difference in texture of flavor between the two. It is my conclusion that it is not worth the effort of sous-vide for meatballs.

Ballotine of Chicken

In the effort  to support the local economy I attempted to cook a recipe with ingredients sourced domestically. This is exceedingly difficult in a small island economy. The ballotine of chicken is a deboned chicken that is stuffed with some kind of substance, rolled up, and roasted. It took me a fair bit of time to put together, but with practice that time could be reduced significantly

An economics side: While chicken is produced domestically, you may be surprised to know that most of that chicken is imported. From the baby chickens, to the antibiotics, to the chicken feed, and to the chicken wire.

I decided on a mushroom duxelle stuffing, seasoned with tarragon and parsley. Essentially you chop mushrooms beyond recognition and simmer them in shallots and butter until all water has evaporated. I add an egg to keep it all together when carving.

Now the fun part – Deboning the chicken. I’m not going to describe this process, but I encourage everyone to watch the YouTube clip of Pepin deboning a chicken. It will change your life (perhaps not).

Now play taxidermist: Place the stuffing evenly on the chicken and make it look like a chicken once more, and neatly truss the stuffed bird.

Roast at 400 until the internal temperature reaches around 145 (it will continue to rise another 10 degrees. Look at that juiciness.  Damn.

Make a sauce with the pan drippings and plate. I included chopped deseeded tomatoes marinated in olive oil and tarragon, and baby asparagus as sides.