The final word from pork belly – sous vide versus conventional cooking

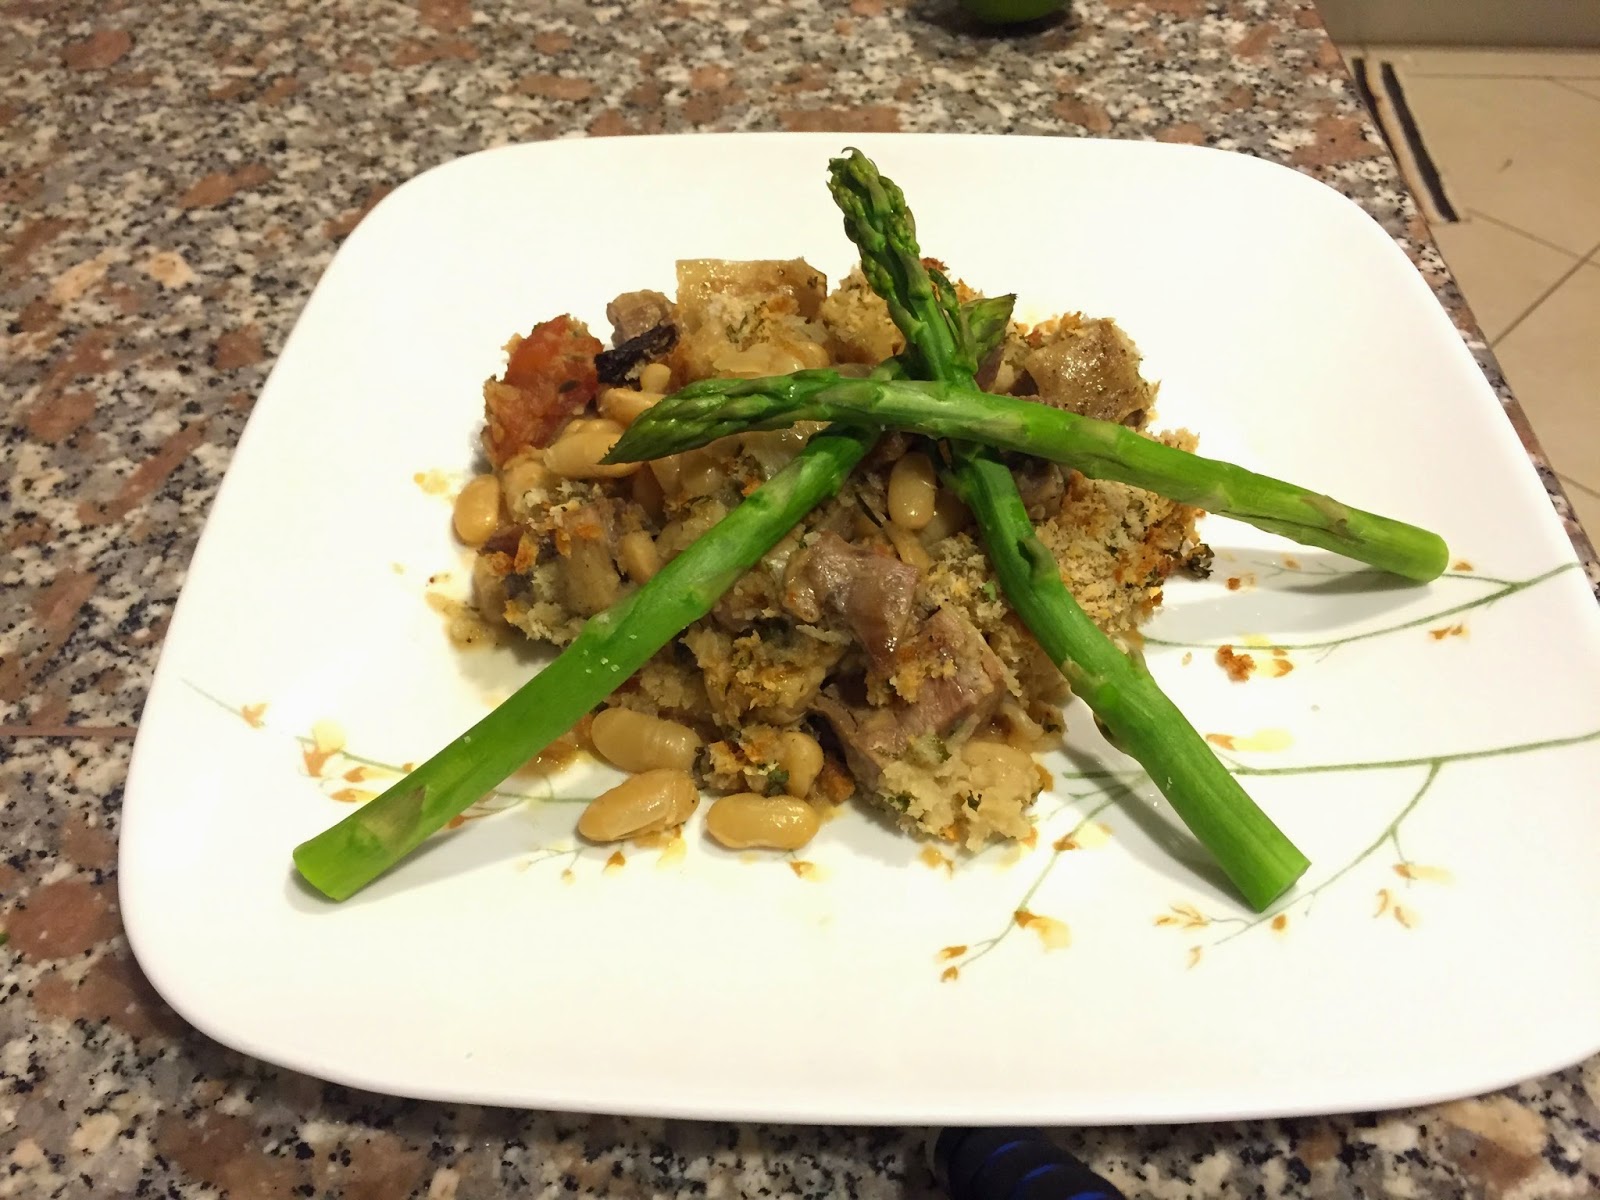
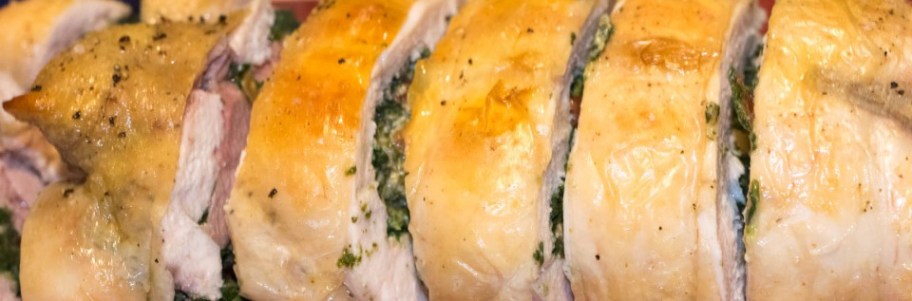
This is the third post on EconEats related to the humble pork belly.  The other attempts at belly perfection have left me unhappy, with many unanswered questions such as: Is sous vide worth the wait? does brining make a difference? Shall I leave the skin on? How do I get crispy skin that is not tough? This post attempts to answer these questions.
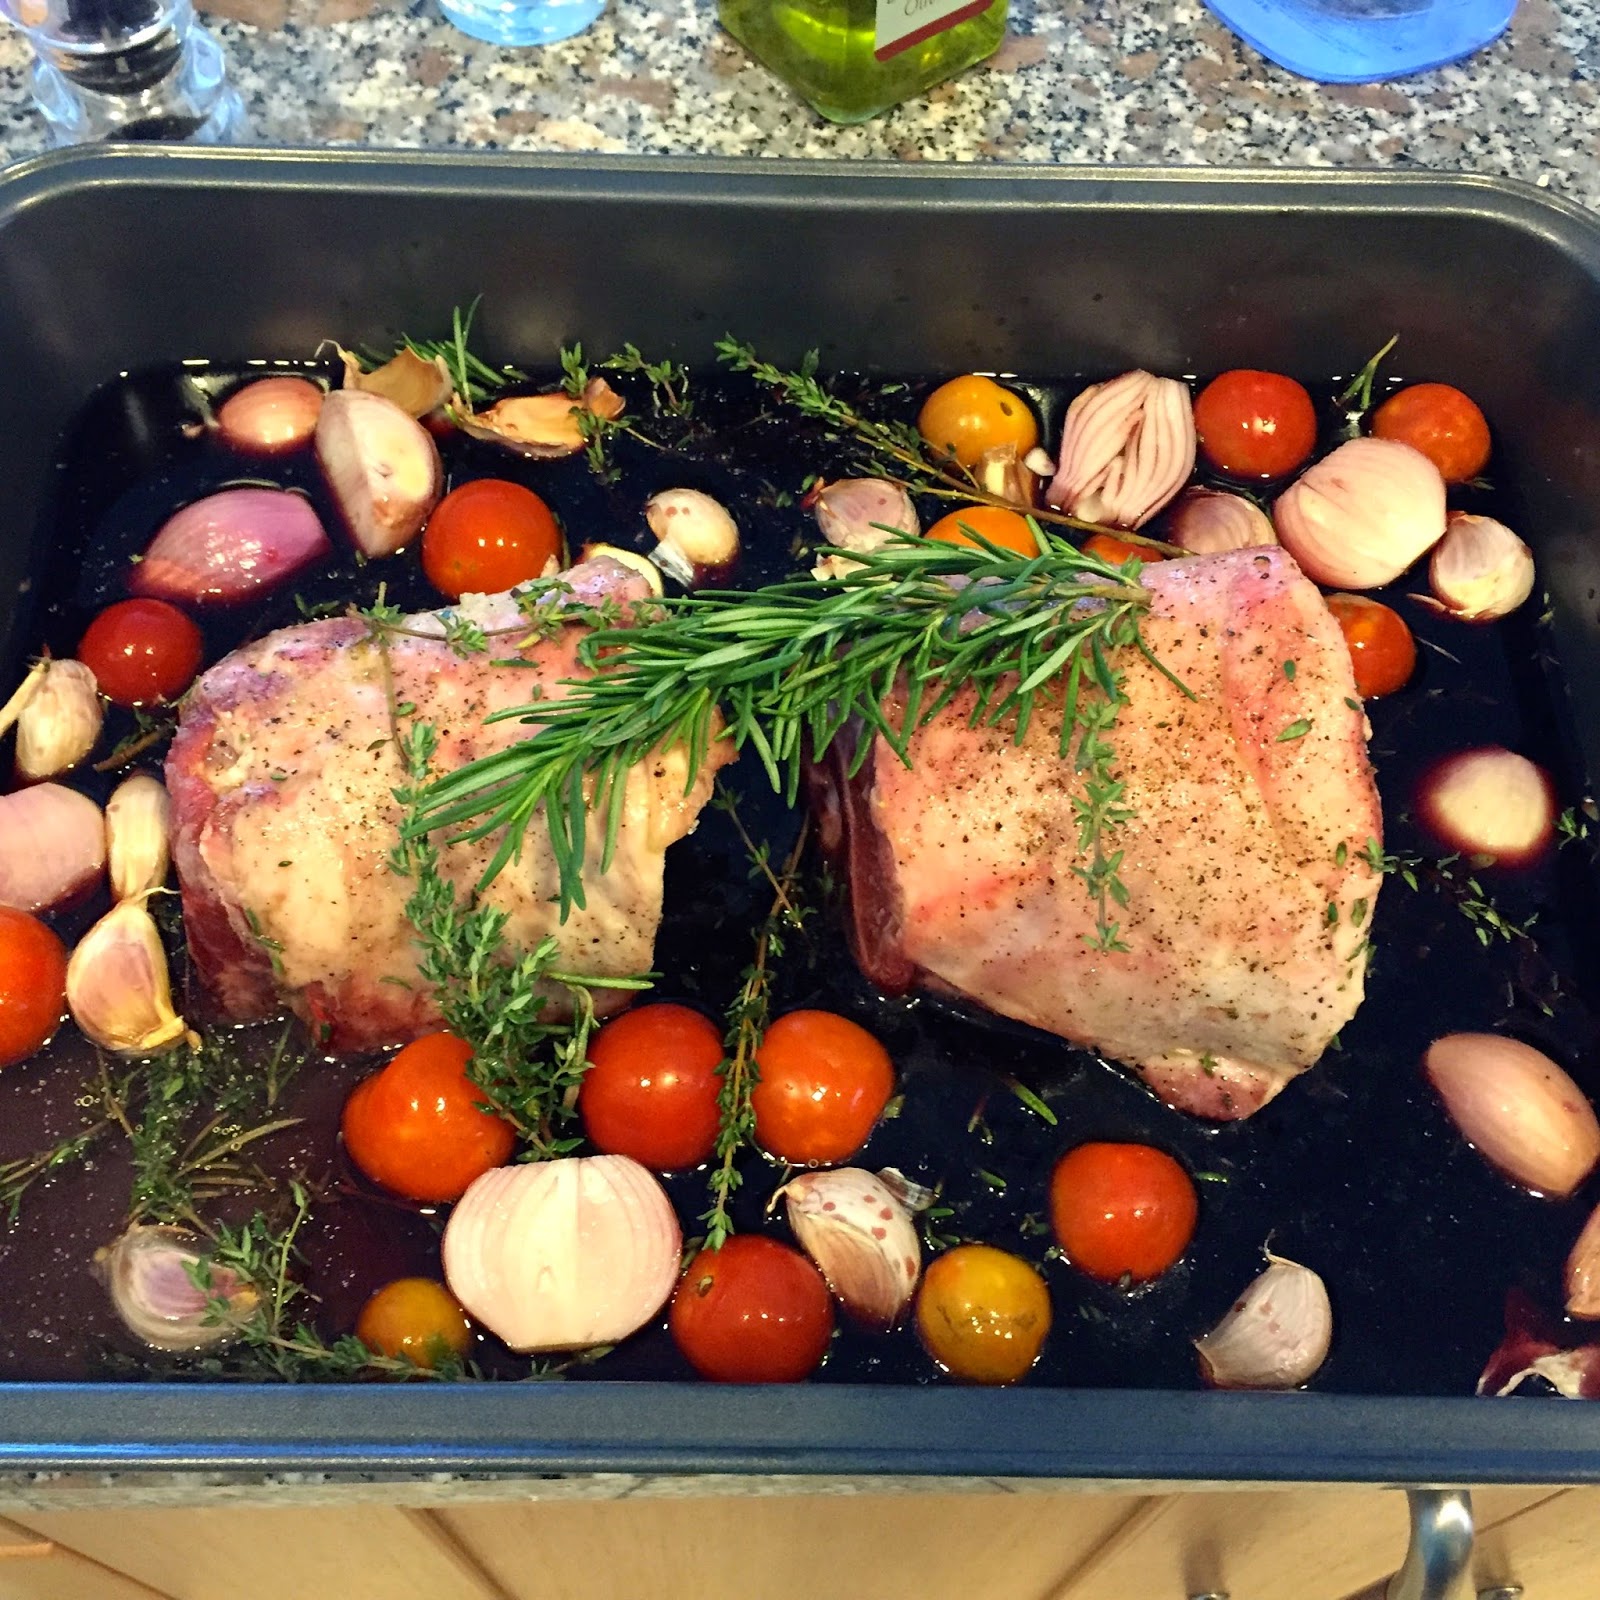
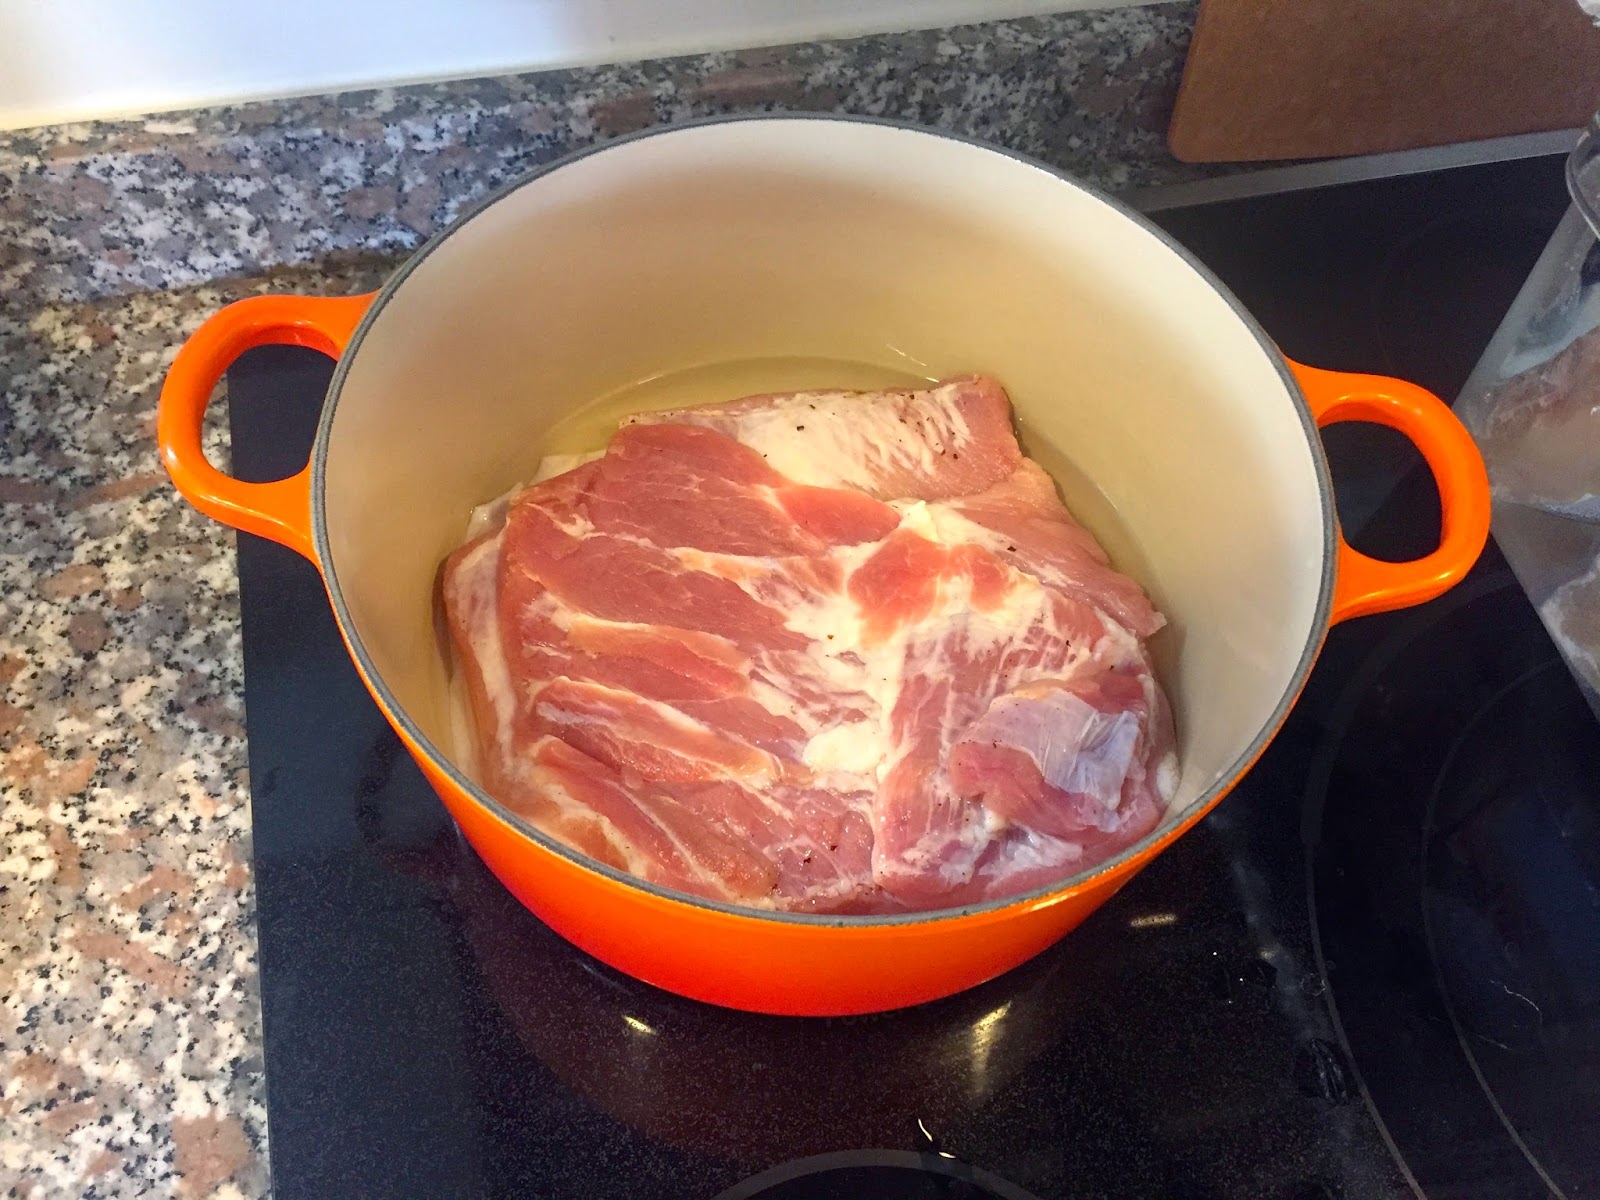
The Brining Phase
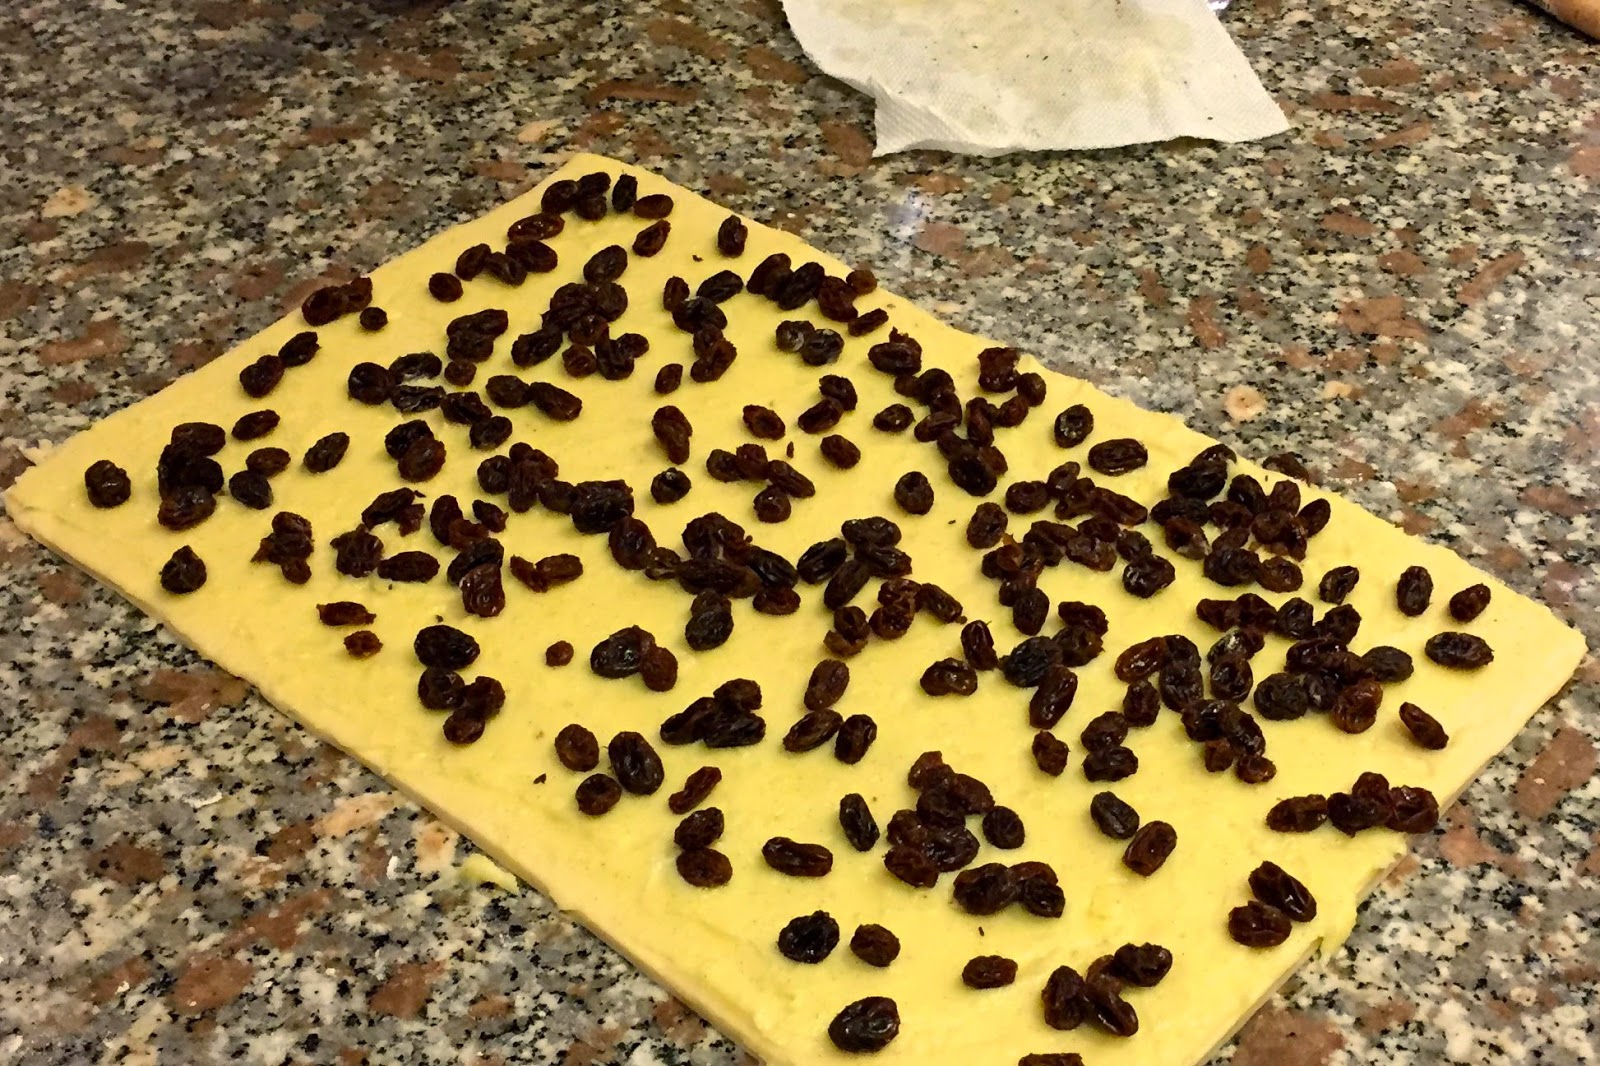
The brine aims to add flavor as well as introduce moisture into the pork. I used a five percent salt brine solution, with about one percent sugar, a good squeeze of honey, bay leaves, pepper corns, sweet smoked paprika and most importantly – star anise. The latter ingredients were ground up in the mortar and pestle then boiled on the stove for a few moments to fully dissolve the solids.

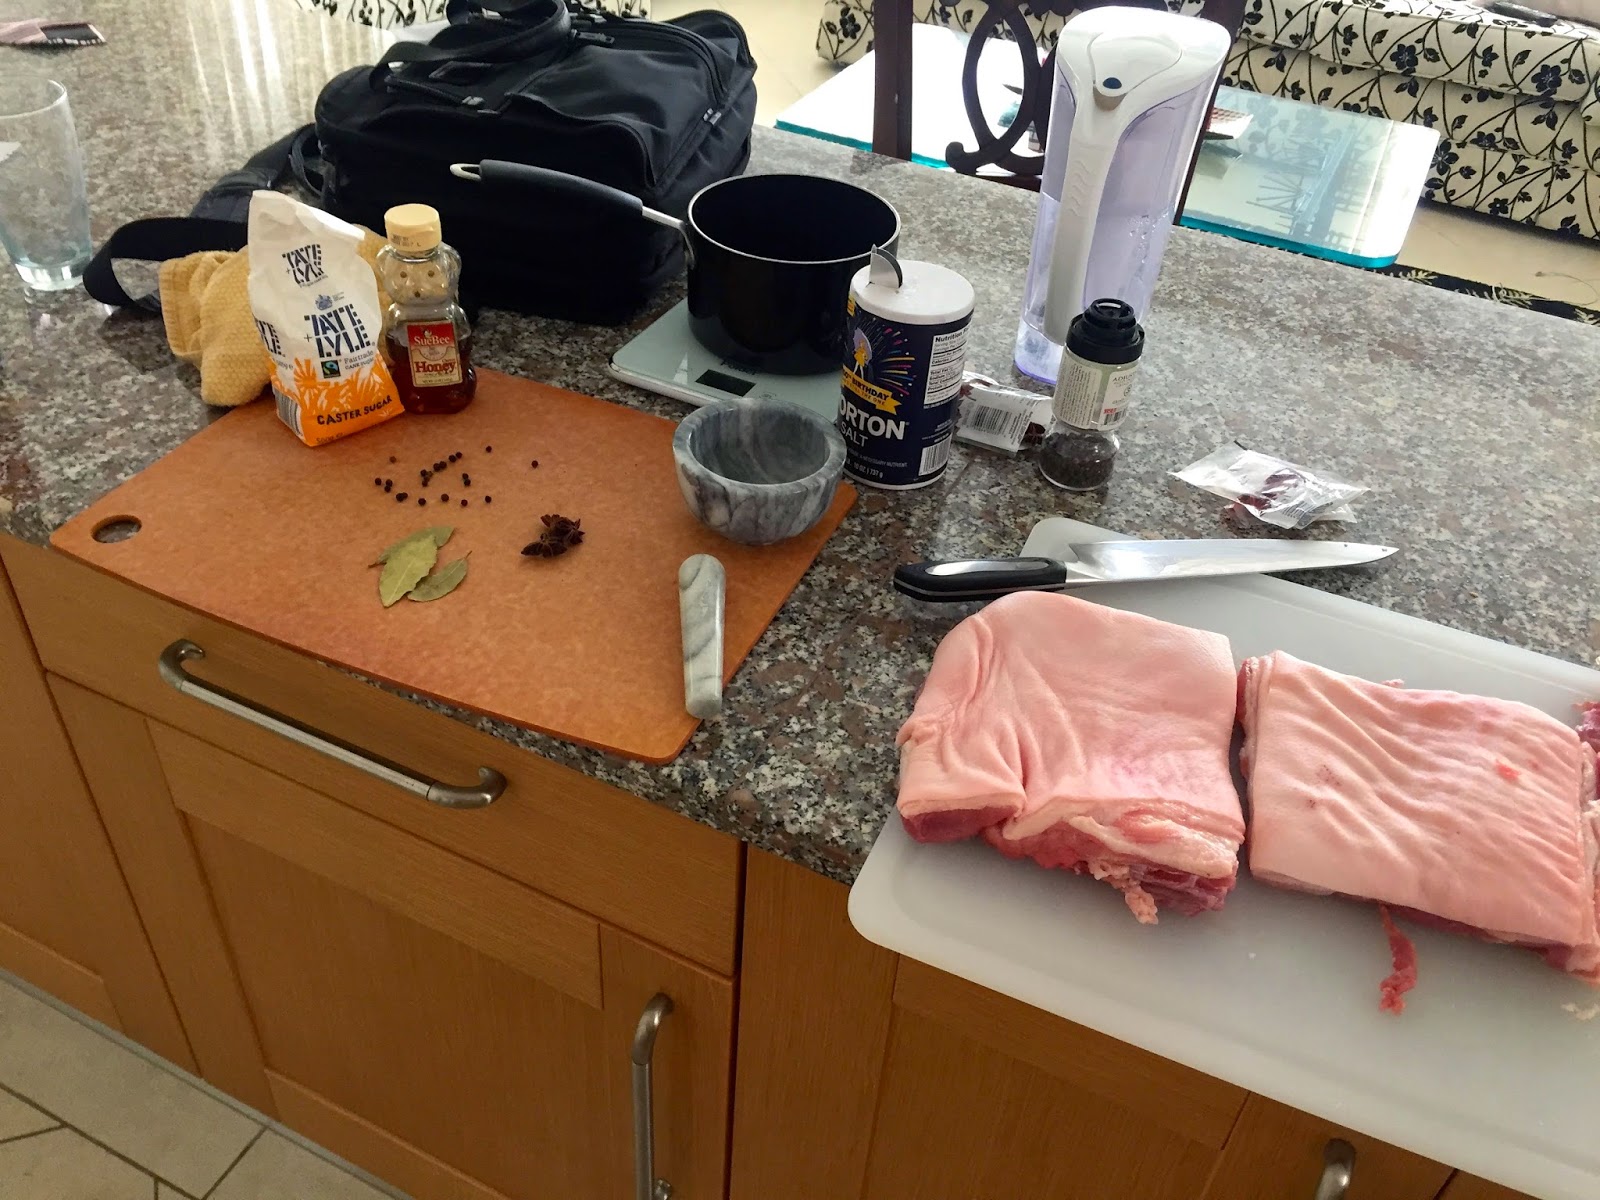
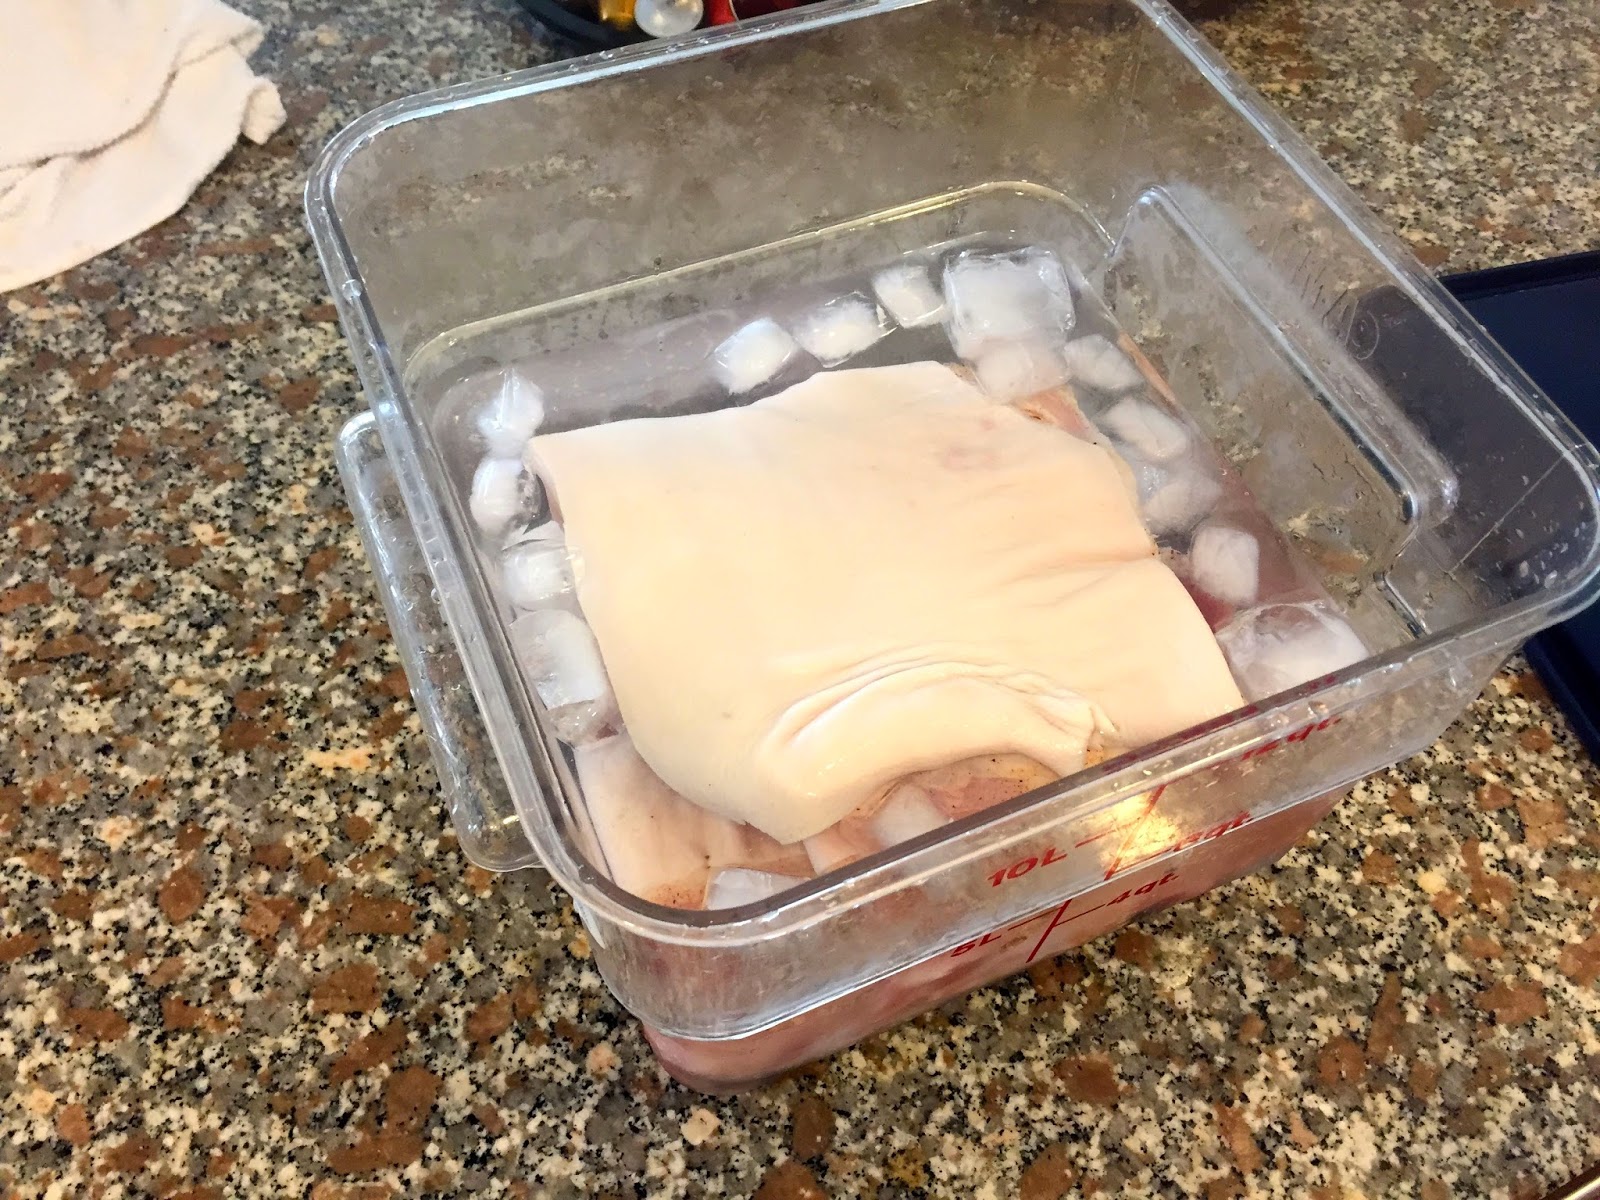
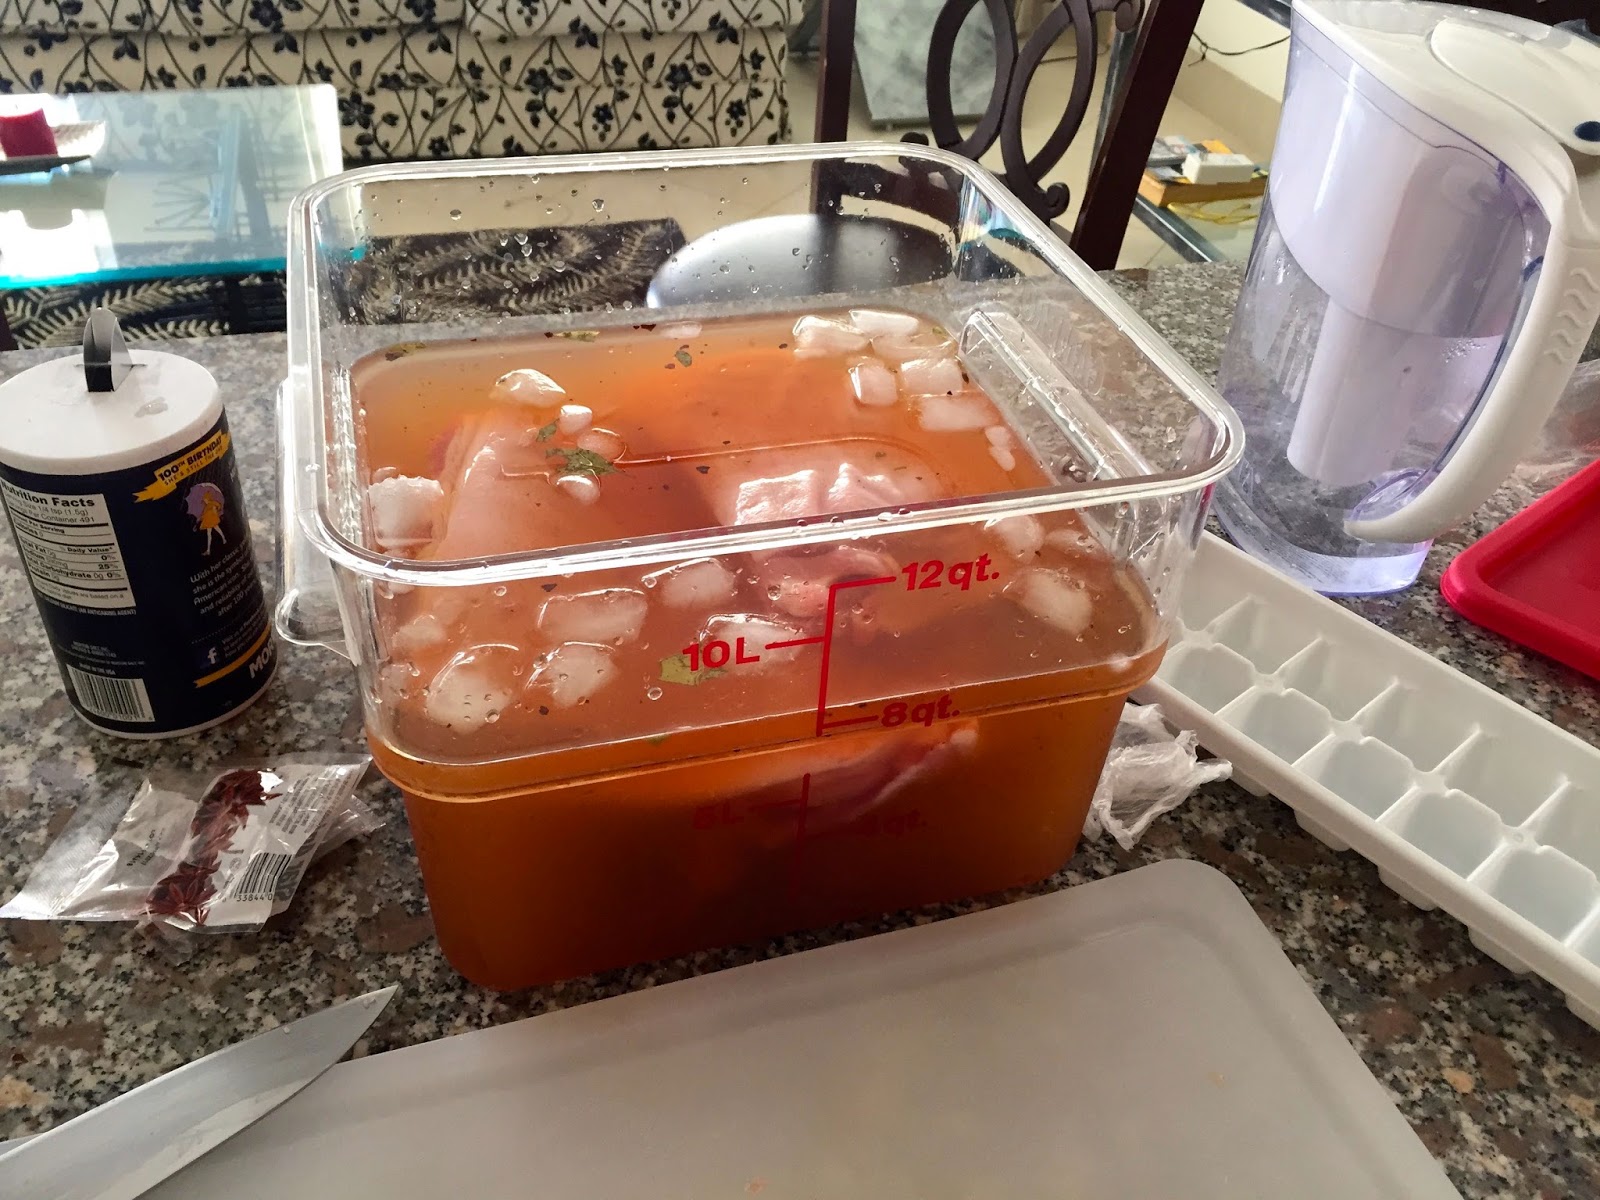
The dissolved brine solution is placed in iced water (in the correct proportions to maintain the five percent salt/water ratio). The pork is left in the brine for 24 hours. After 24 hours, the pork is soaked in water for an hour so the surface of pork is not too intense (last picture is the post-brine rinse). The pork is dried and left to rest in the fridge for another hour so to help the brine spread evenly throughout the meat.

Sous Vide Cooking
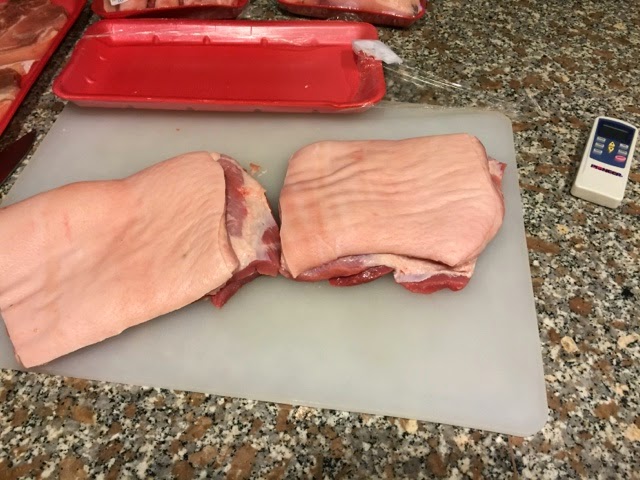
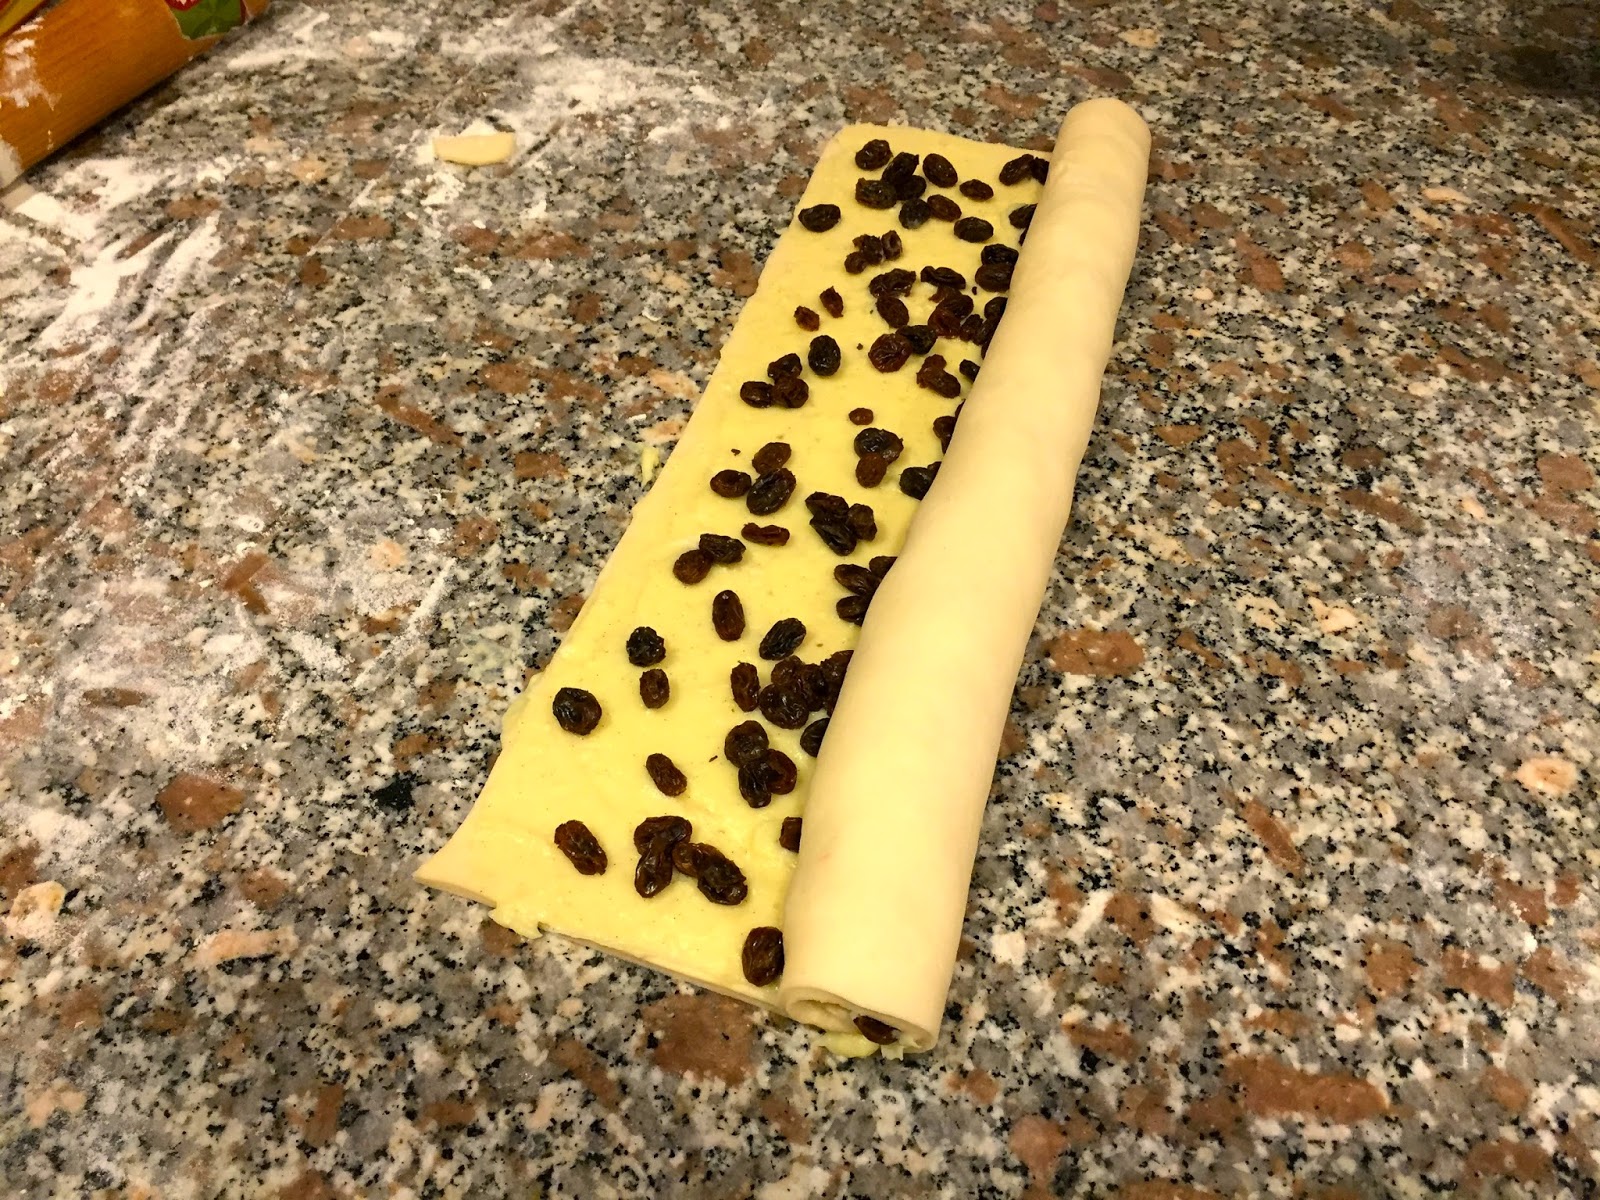
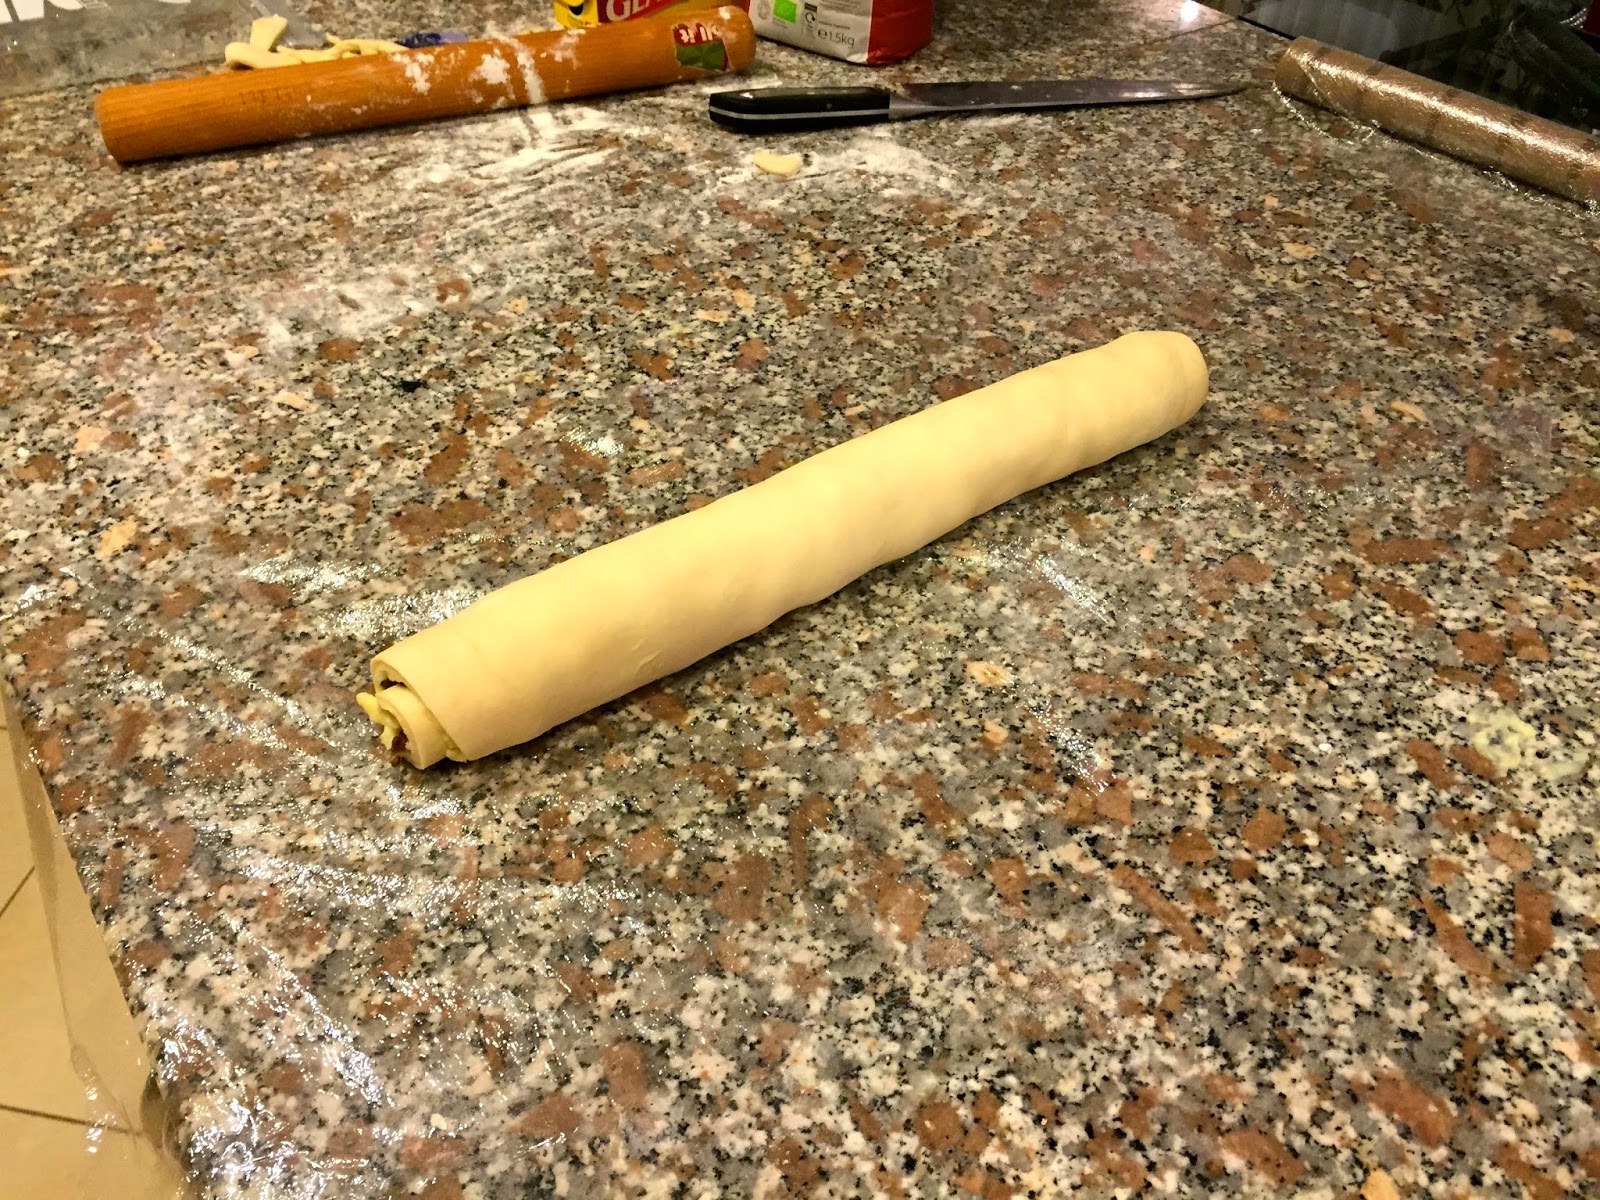
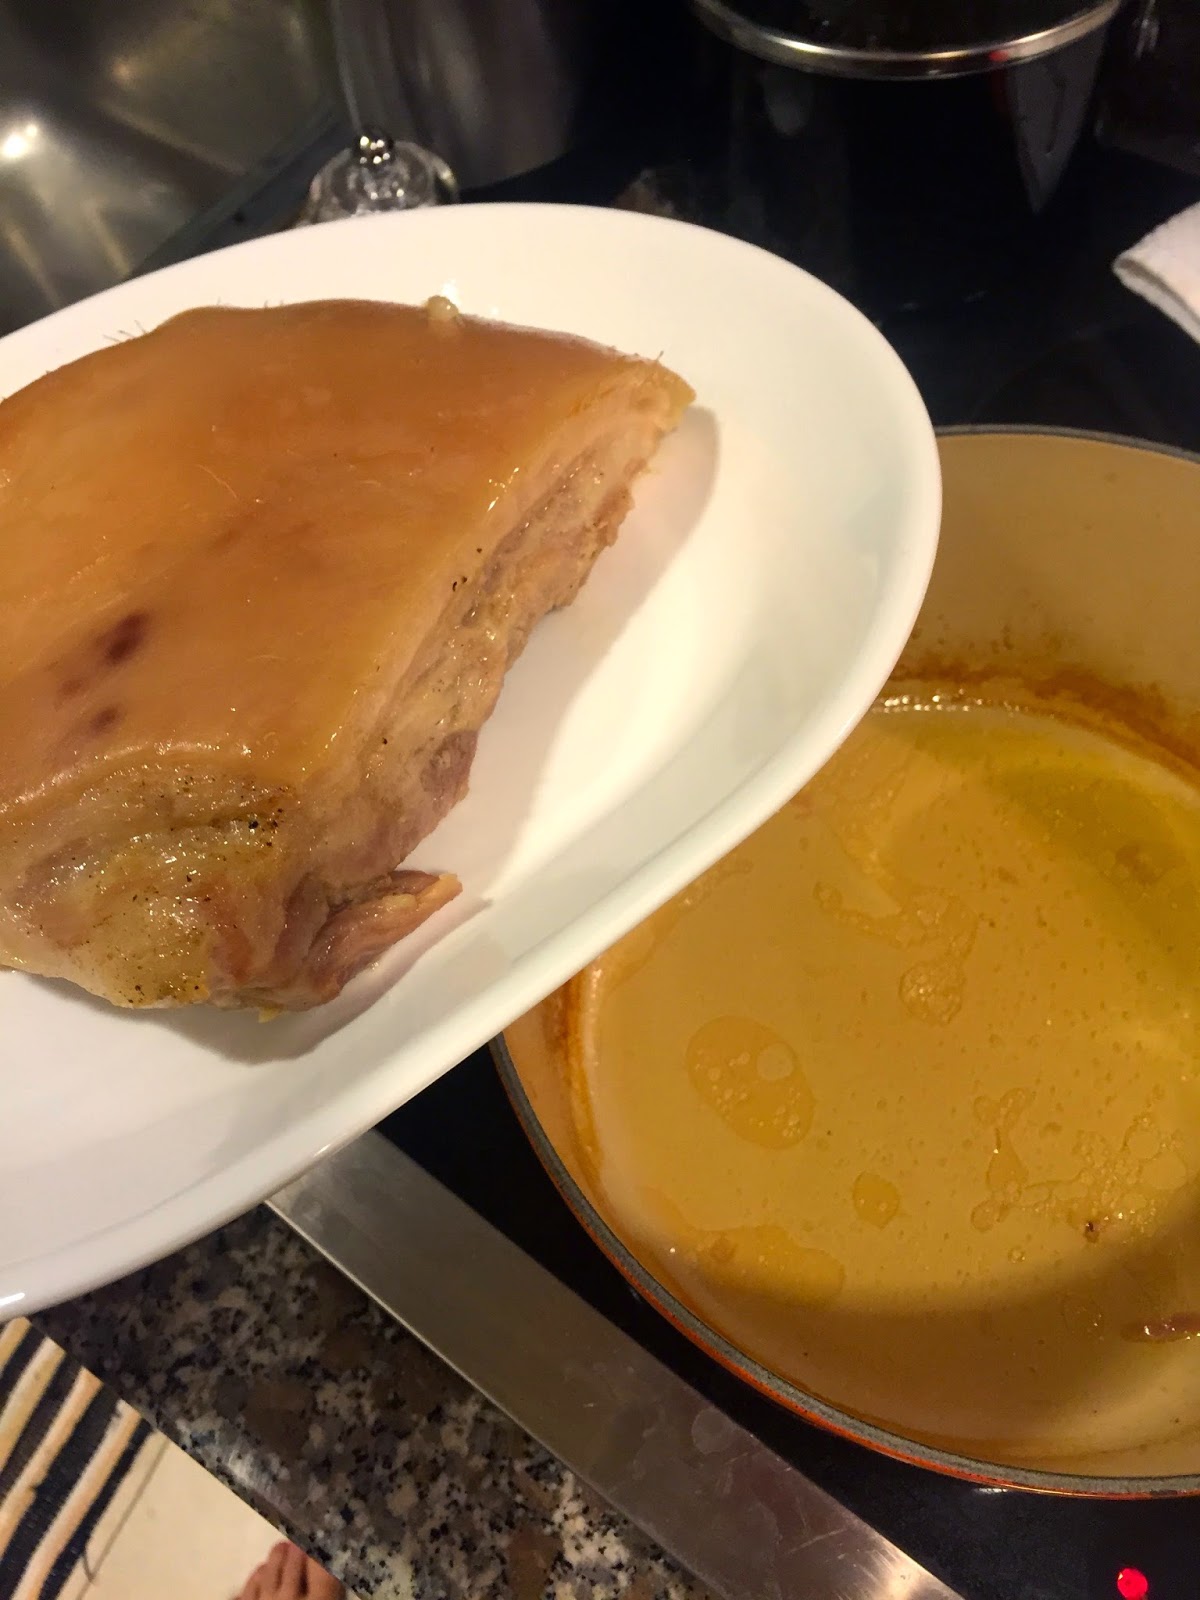
The belly is cut to fit into vacuum sealed zip-loc bags. The bags are immersed into a water bath at 77 degrees celsius for 12 hours and then removed to cool in the fridge overnight (last picture shows pork after removed from the water bath after 12 hours)
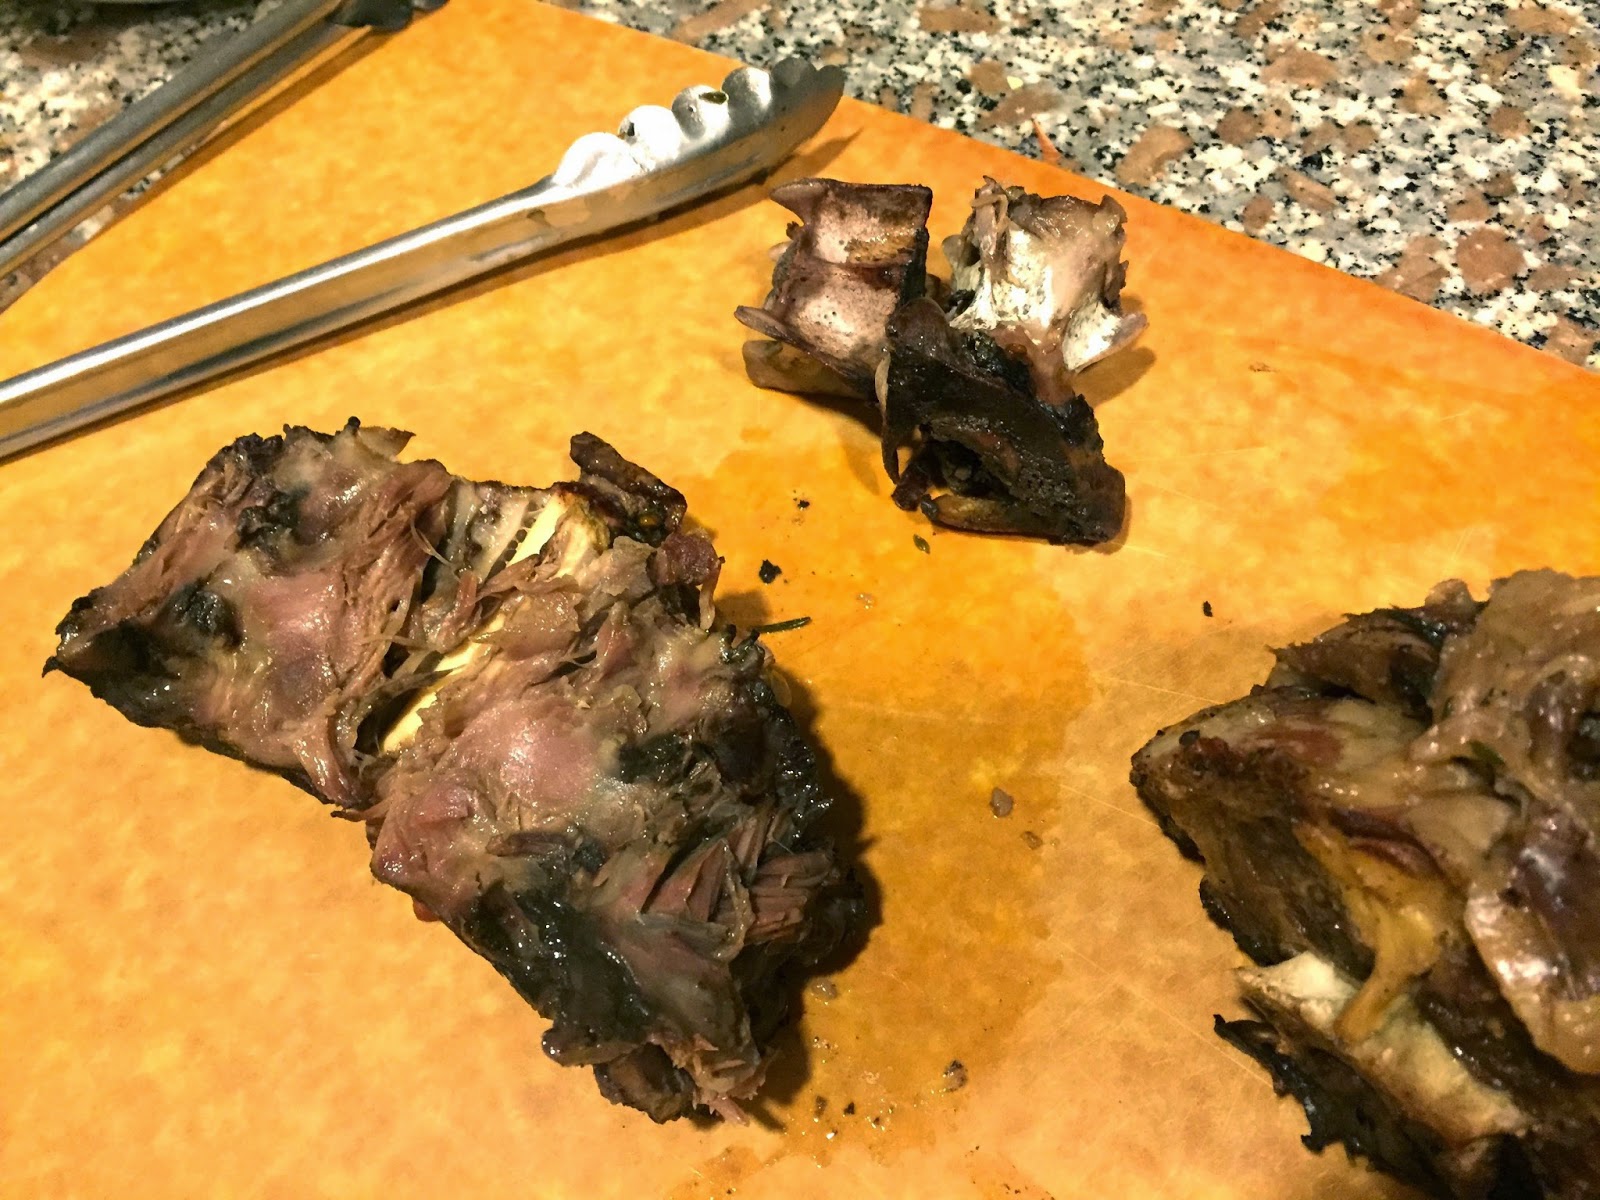
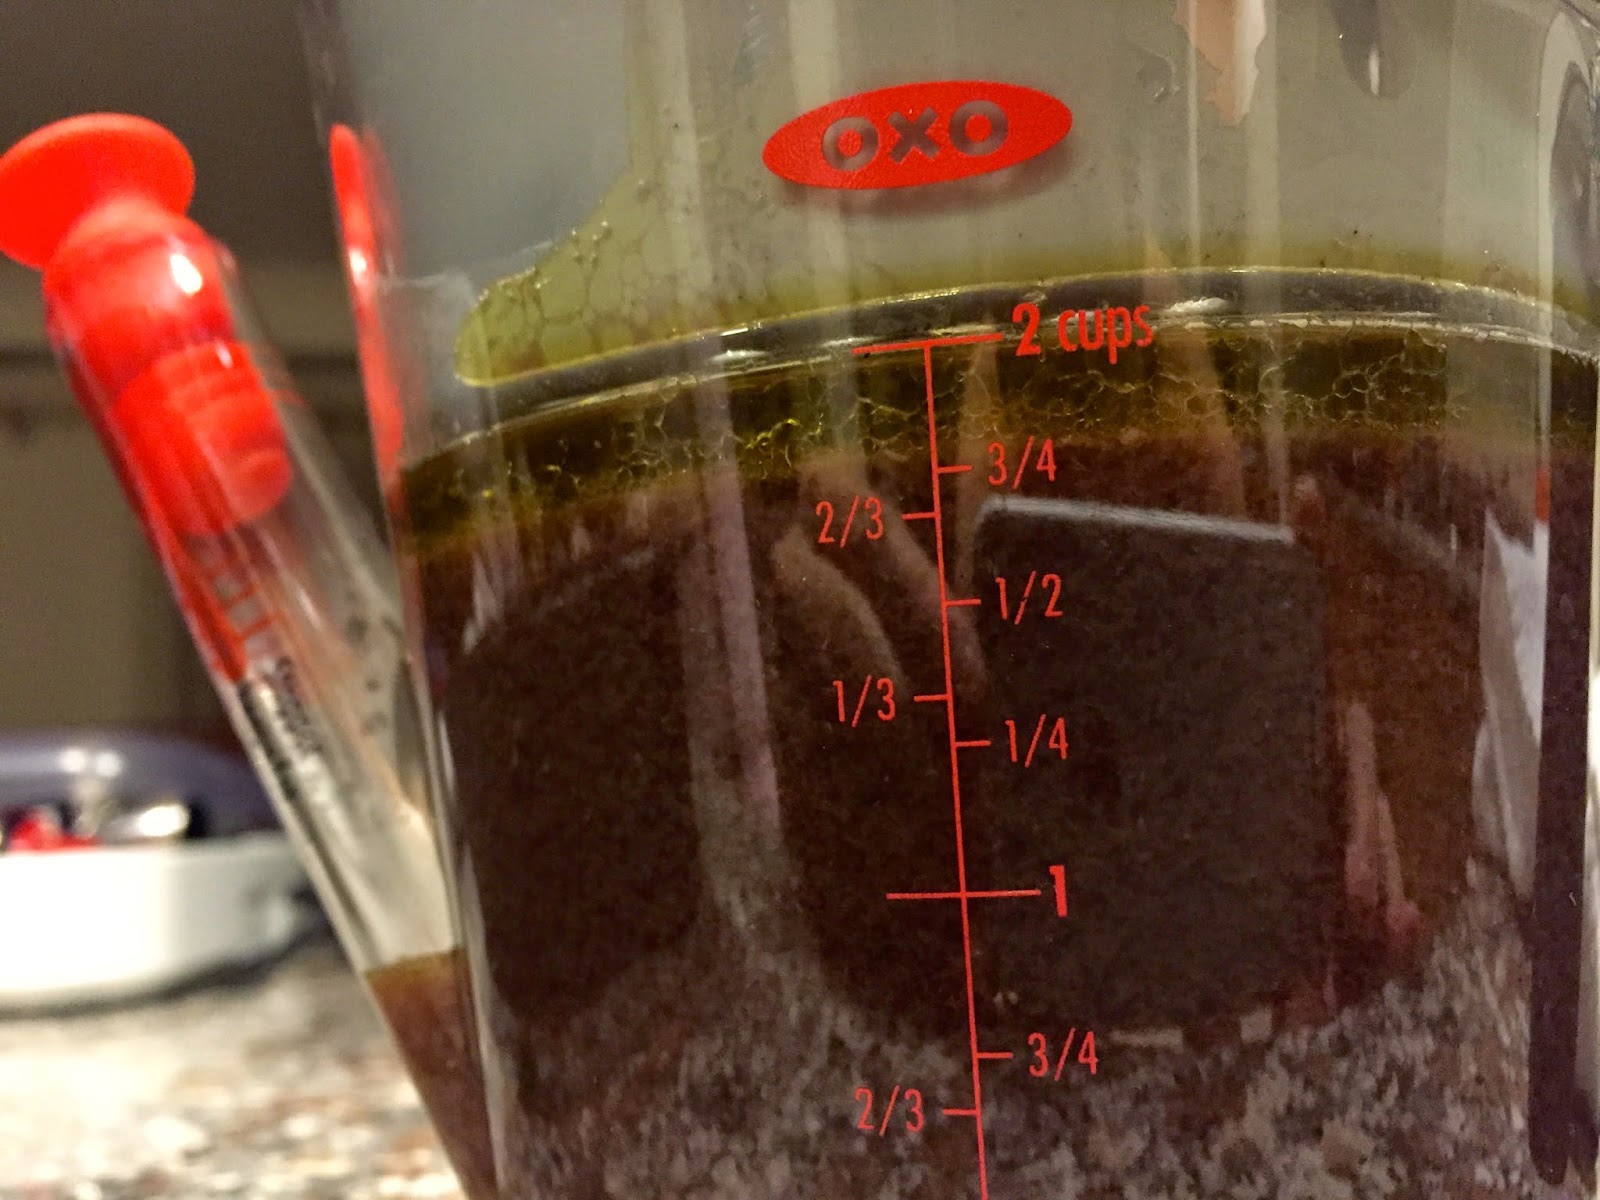
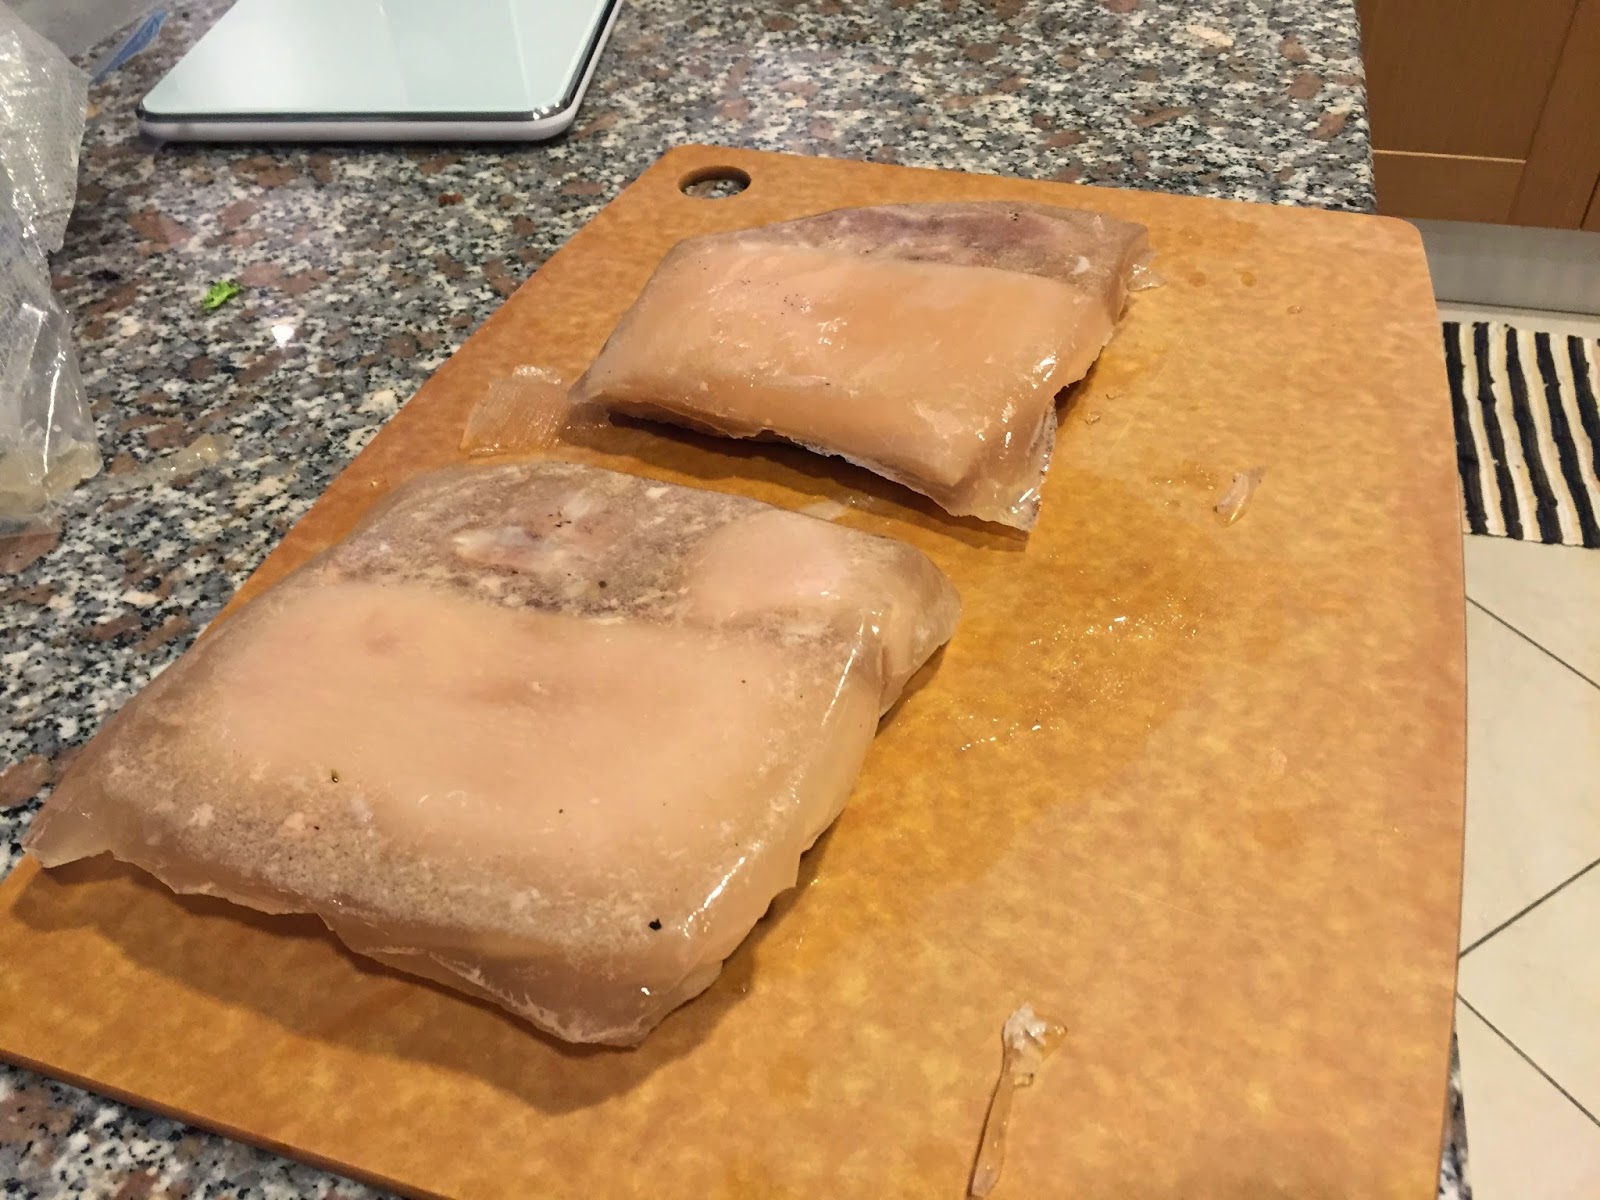
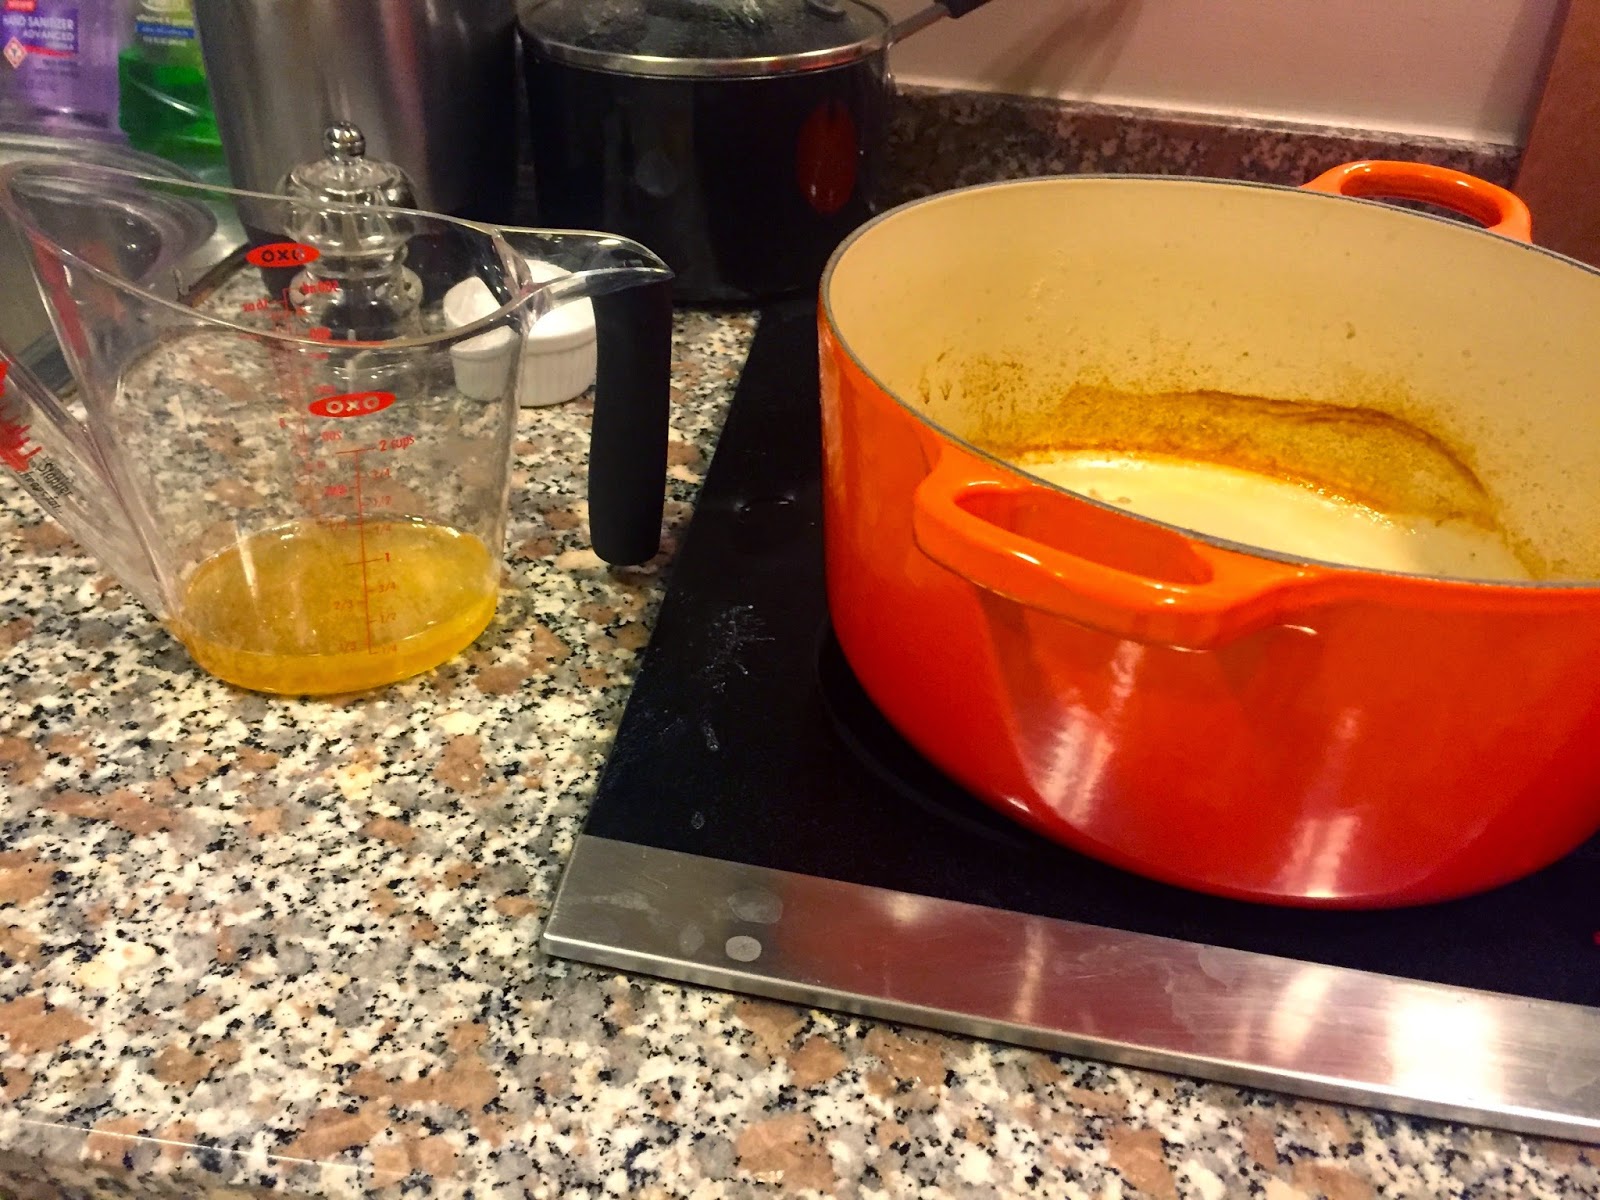
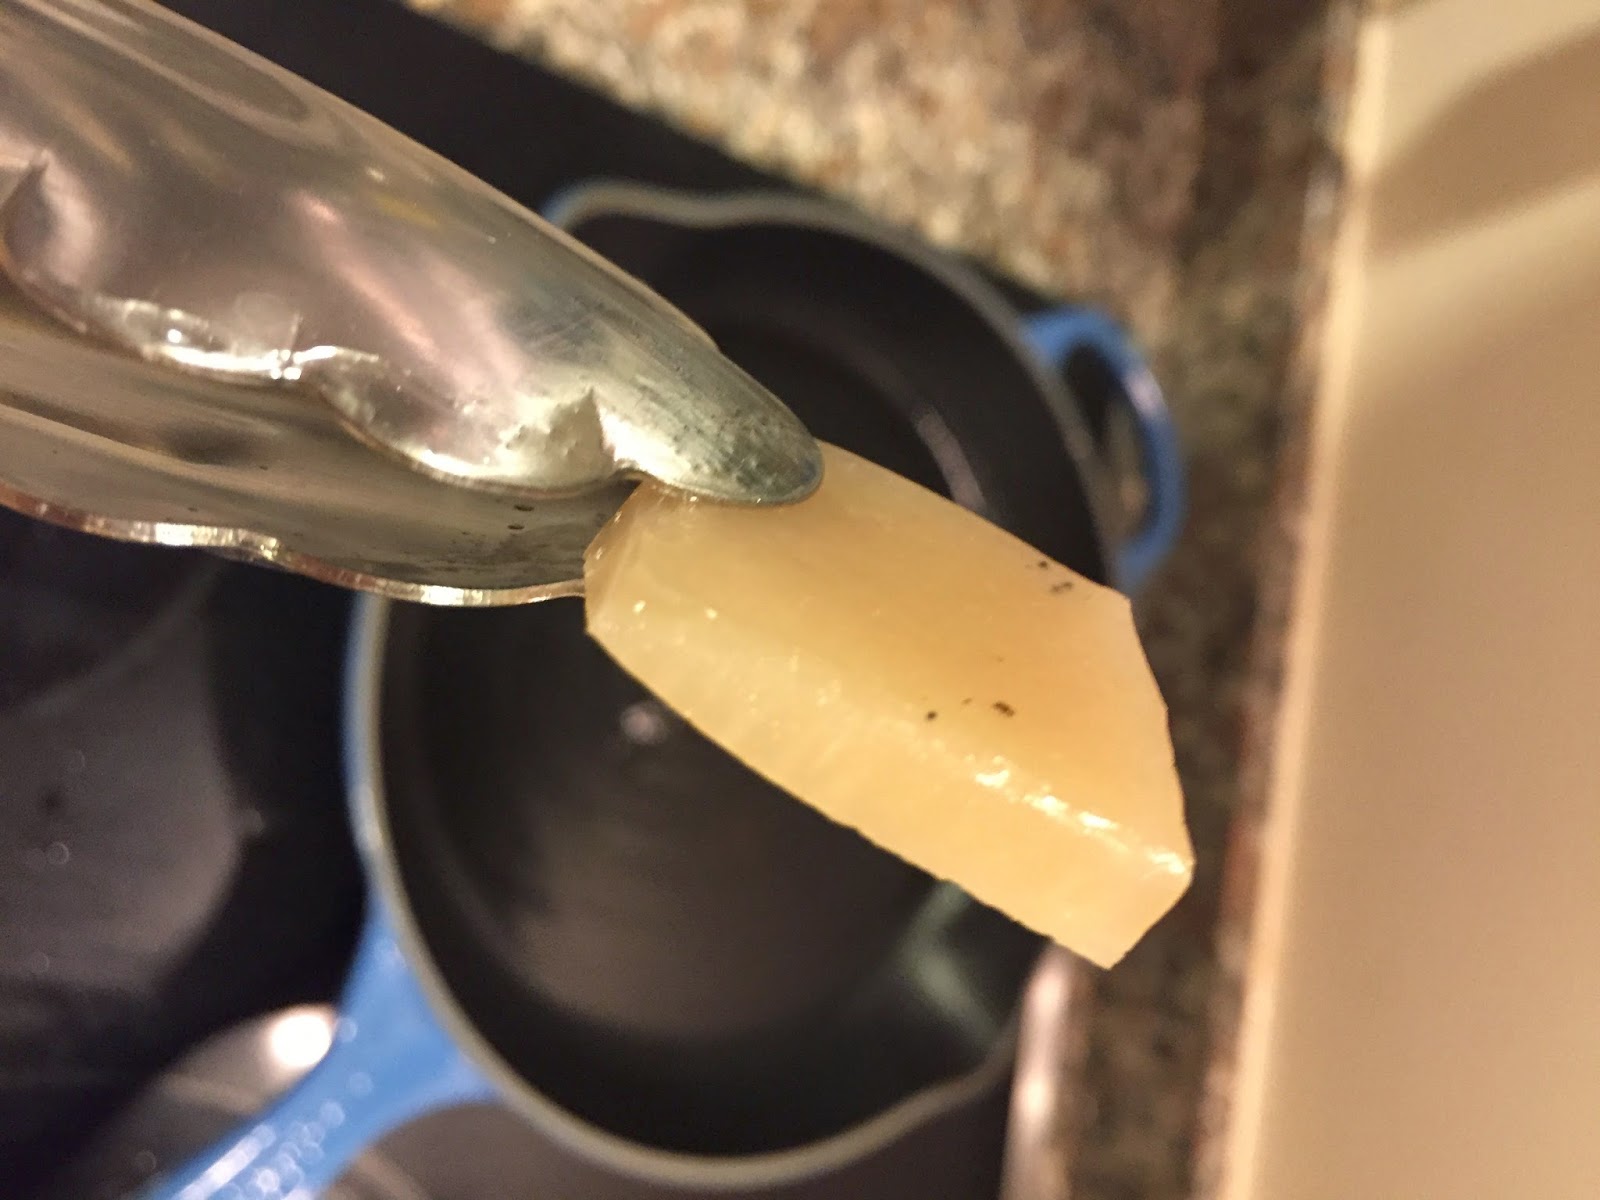
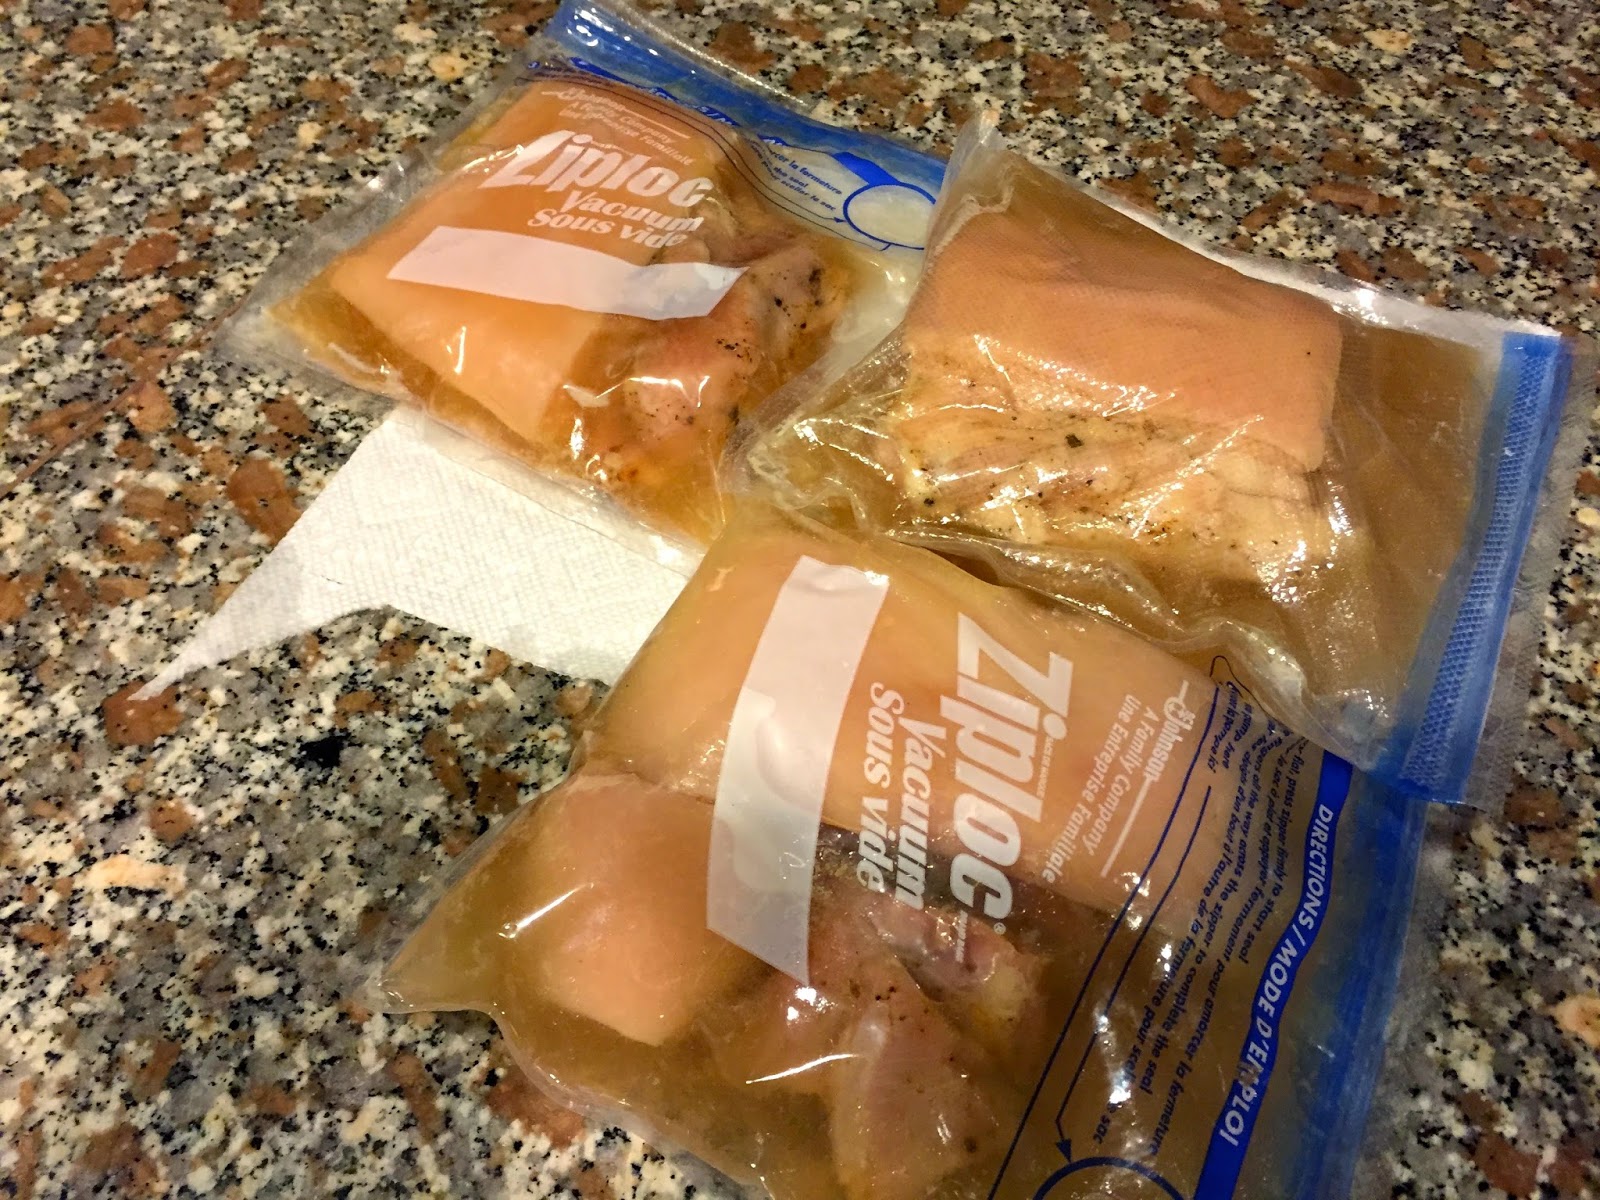
The cold pork pork is removed from the zip-loc bags, and portioned. The fluid from the bag is completely stiff given the release of gelatin during the 12 hours of cooking. It’s hard to describe how stiff this congealed liquid is. The portioned belly’s skin is scored to help release fat during frying and to help crisp the skin.

The pork belly is fried in hot ground nut oil for around 5-10 minutes in a heavy cast-iron pan until crisp. The other sides are quickly seared for color and flavor. There is no need to do this fry in a super hot oil. The idea is to remove the moisture from all of the skin rather than just burning the outside.  The skin does not seem to become crispy until all the moisture is removed.  The pork belly is served on a bed of cabbage that has been cooked for 5 or so minutes in water, and butter.
Conventional Cooking
To really understand whether sous vide is cooking is worth the wait, the raw brined pork belly is placed in a cast-iron pot face down with a bit of water and brought to the boil. It is then cooked in an oven at 150 degrees for 2 1/2 hours. The pork is removed, and fat drained.
The pork is portioned and placed skin down in the pan. The conventional method produced fairly juicy pork belly. A jus was made from the roasting juices with the addition of salt, pepper, honey, wine and vinegar.  It was served with boiled french beans.

The pork was fairy juicy, and quite tender. The skin has a little tougher than I would have liked. The pork was perfectly salted from the brine, and the flavor (and smell) from the star-anise brine was clearly visible. We still need to go one step further for a comparison to sous vide.

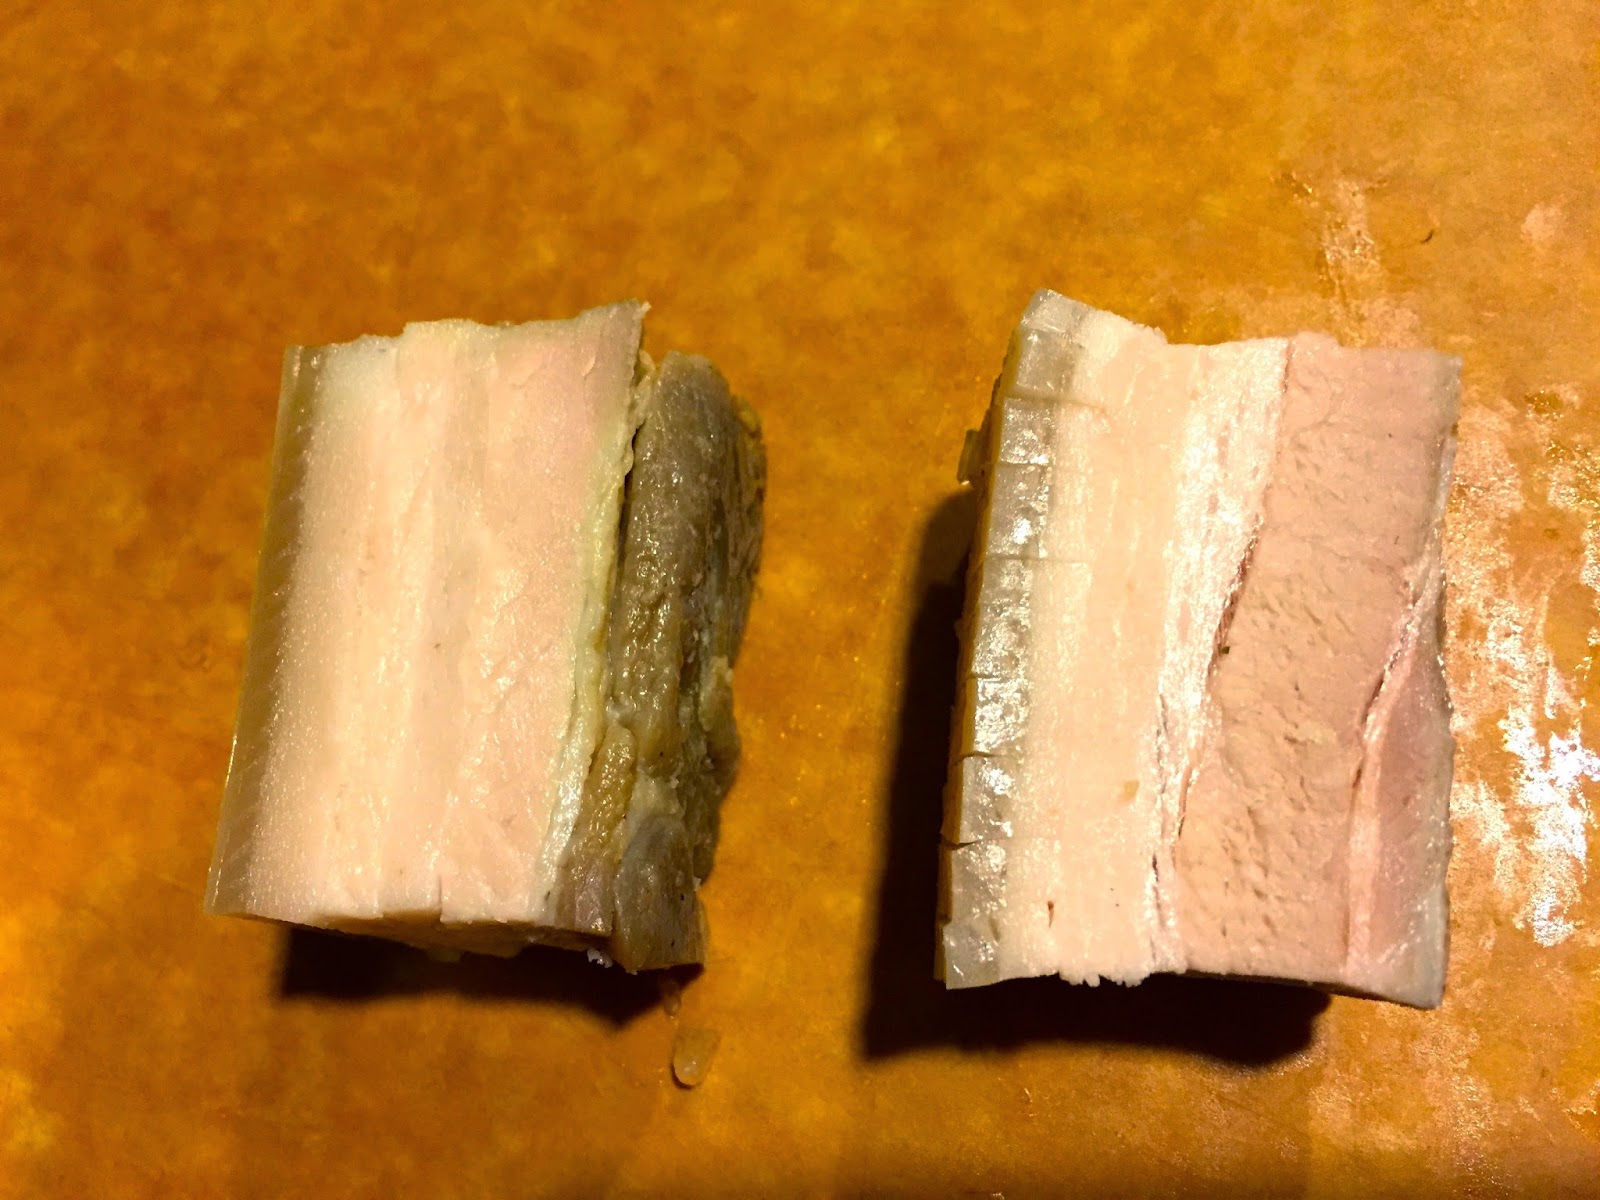
Sous Vide versus Conventional Cooking

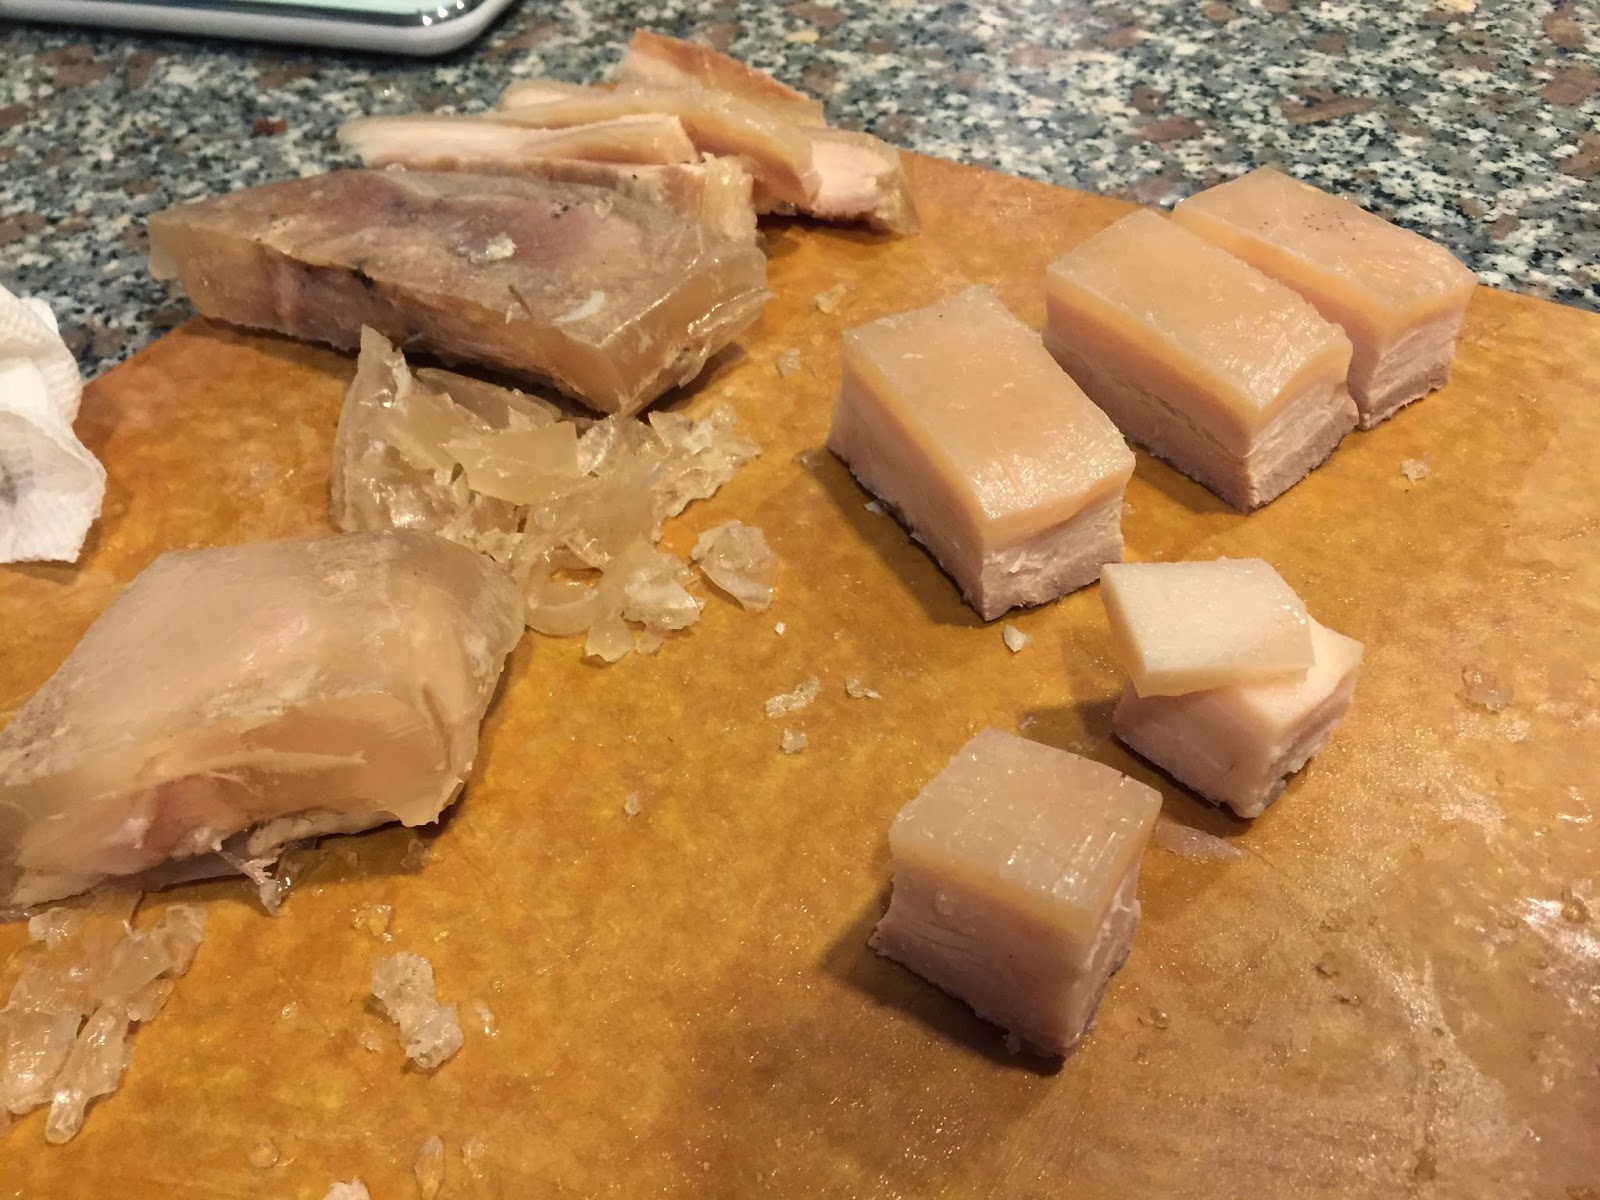
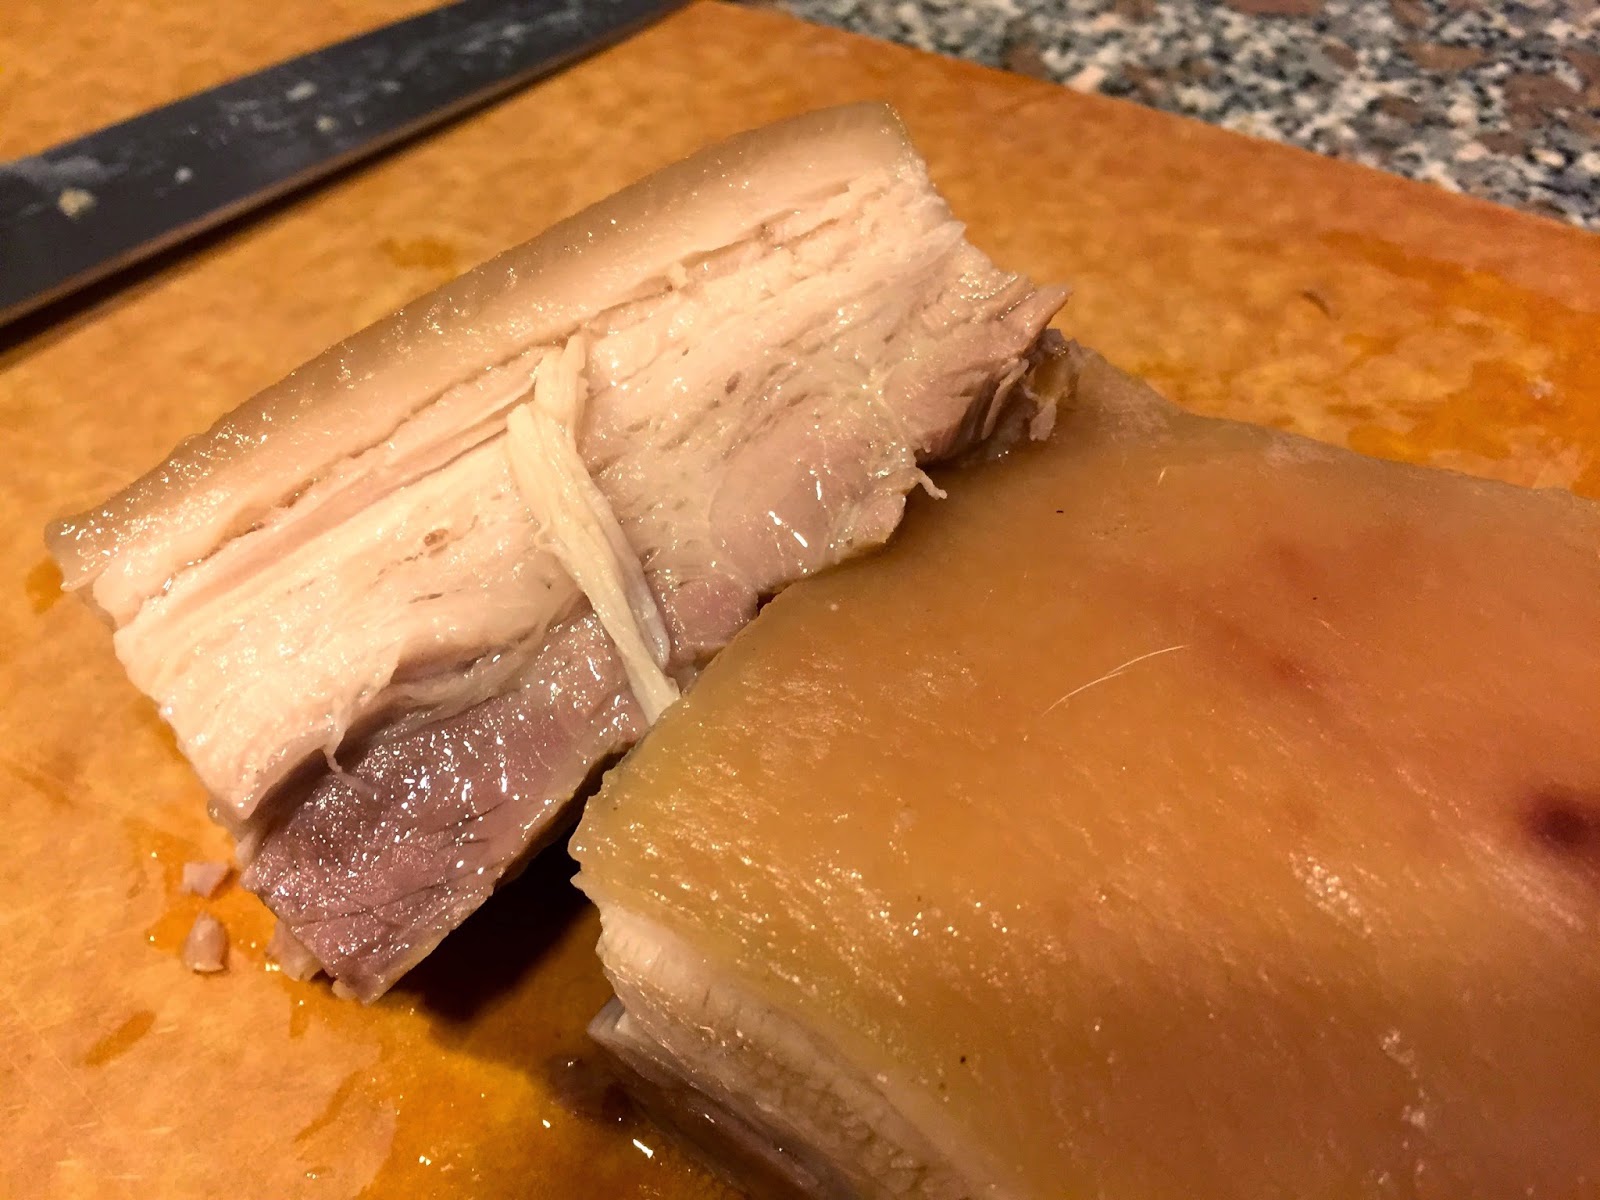
The cold pork belly from the two different cooking methods was sliced into equal portions and the skin scored. You could see the difference in the color of the cold cooked pork belly. The pork in the right of the picture below was sous vide cooked, it was pinker. The really big difference was noticed when scoring the skin of the pork, the sous vide pork’s skin scored much easier, even a blunt knfe could have got through it, whereas the oven cooked pork belly’s skin was still very tough. The second picture below shows the sous vide pork belly at the bottom of the picture. The skin looks thicker and and stronger in the top part of the picture. This makes a significant difference for the final fry.

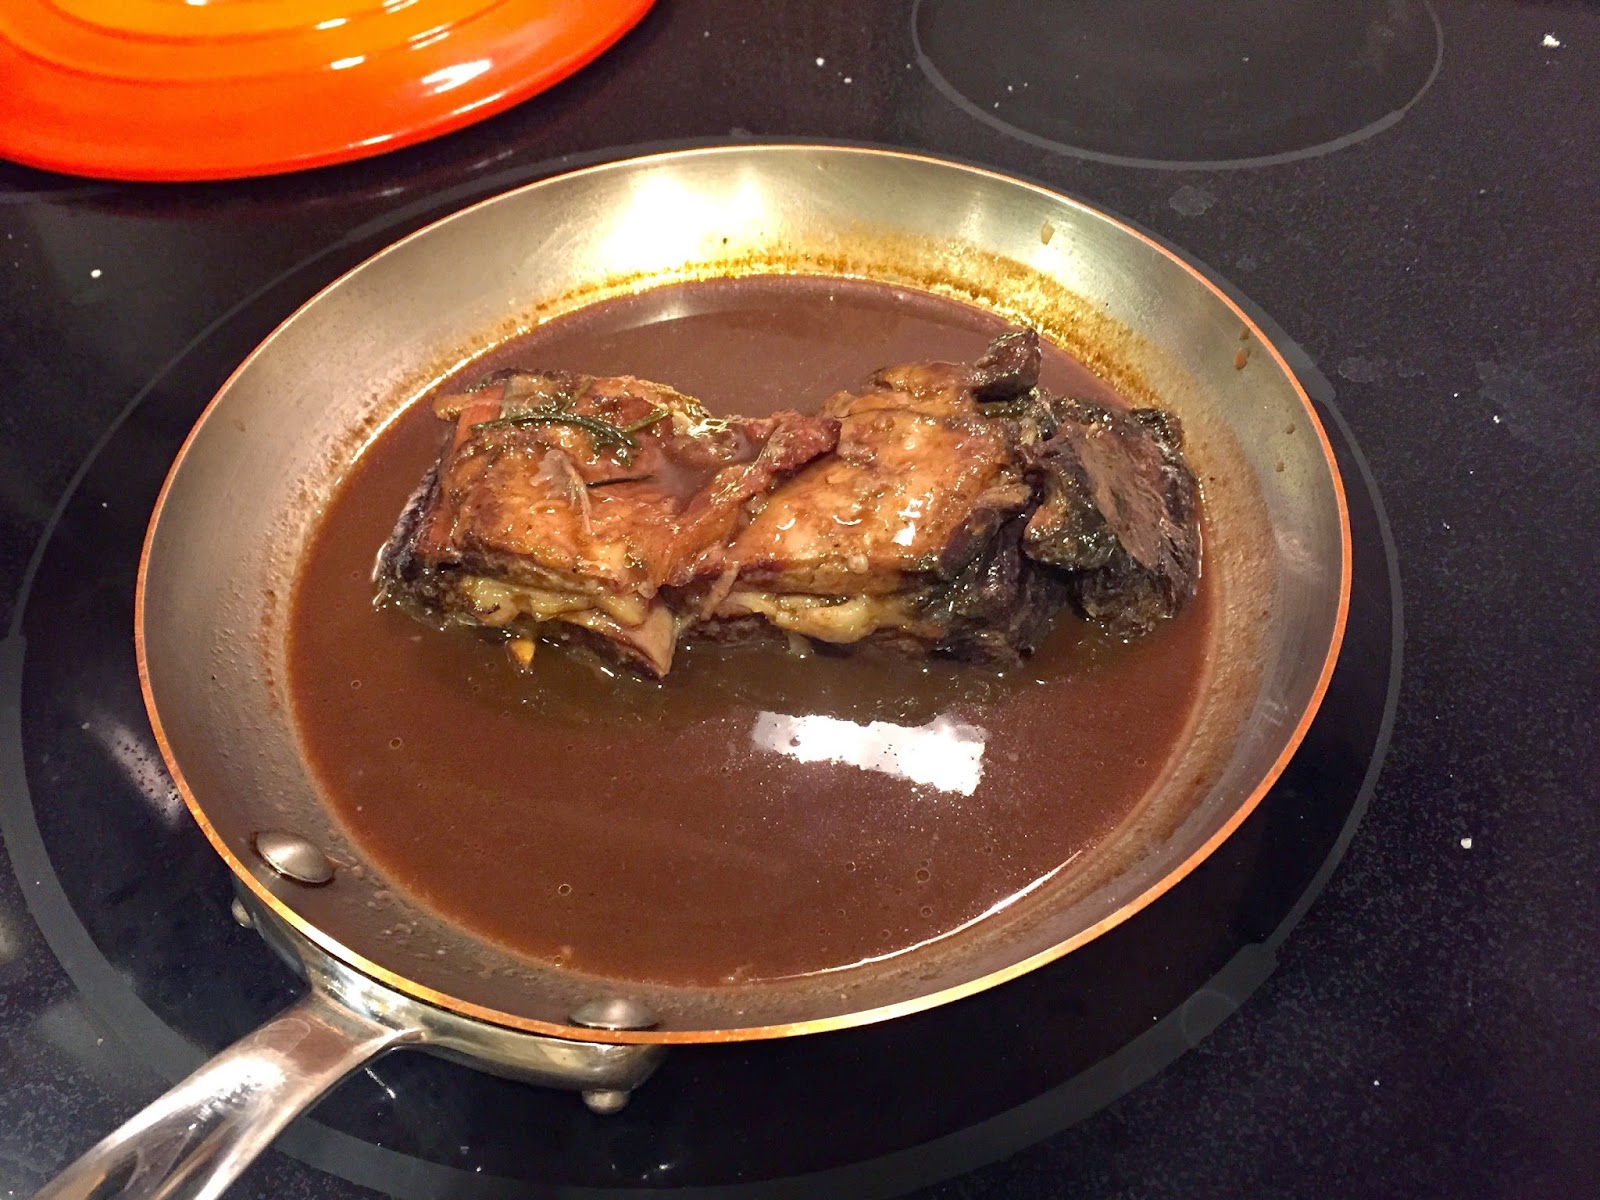
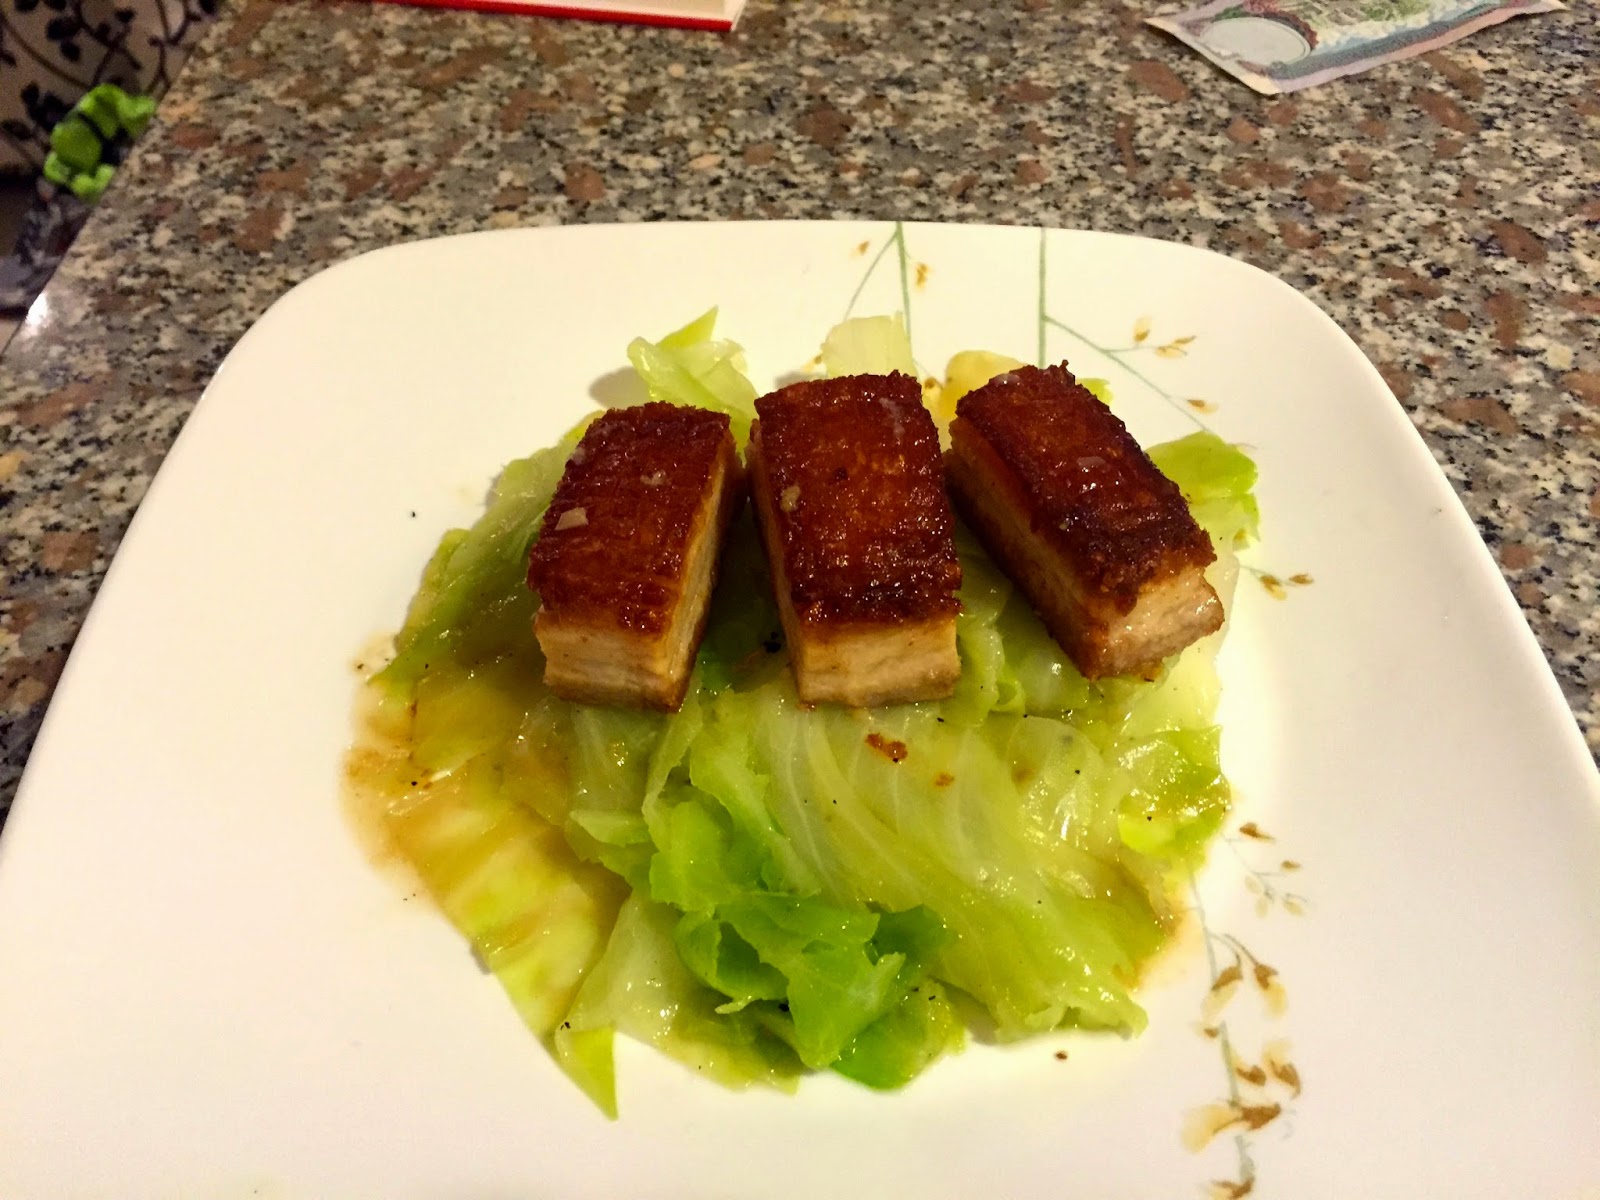
The two portions of pork were seared skin side down in a cast-iron pan and heated through as before. While the pork was similarly juicy, the the texture of the sous vide belly was significantly smoother, the skin was also much more brittle and easier to eat. Given the high fat content of pork belly, it was hard to discern whether the sous vide pork was juicier. They were both fairly juicy.

The sous vide cooked pork delivers a much superior final texture.

Skin cooking methods
In one method, the skin was removed, and the fat below the skin was cooked face down, and the skin cooked separately. In the second method, the skin was scored and cooked face down. I definitely prefer the skin-on pork. This was done using the sous vide pork, using the conventionally cooked pork, removing the skin would perhaps be a better option as the skin tends to be tougher.

Final verdict
The brining had a significant flavor impact, as there was a subtle star anise flavor infused throughout the pork belly. Sous vide pork belly definitely requires more patience, but the quality of the final product makes it worth it

What to do with lamb neck (Part 2) – Lamb neck with jus and white been puree

The second lamb neck dish uses the same underlying ingredients with a very different finish. Red wine is also used instead of white wine
1. First add thyme, rosemary, cherry tomatoes, garlic, shallots, red wine (2/3 of a bottle) and water to the baking dish with the lamb necks. Cook covered at 140 degrees Celsius for over 4 hours or until the meat is literally falling off the bone 

2. The lamb should fall off the bone in one piece, cut away any noticeable fat or tendons and cut the boned lamb neck into two clear pieces.

3. Strain the roasting liquid, reduce and season until required flavor is reached. Strain away the fat. I added balsamic vinegar, salt and pepper. Add the lamb to the pan and baste then put in a very hot oven until crispy at the sides.

4.  Now for the beans. I used dry cannellini beans, soaked and boiled them until tender. They were pureed using an immersion blender, then passed through a fine sieve. Nothing else was added to the beans other than water to keep moist.

5. Serve the finished masterpiece with bean puree, and the shallots, garlic and tomato from the roasting tray, and of course the jus!

Tasting notes: Incredibly tender and gelatinous, bland white beans go very well with the rich sauce and lamb. Perfect

Now recall the previous post with similar ingredients, but a very different finish:

What to do with lamb neck (Part 1) – Lamb Cassoulet

Back for 2015 and a great deal of cooking has been done over the last few days.

After lacking cooking inspiration this year, I got talking to my local supermarket butcher last week who was able to call his people on the “docks” that were subsequently able to aquire unblemished lamb neck and lamb shoulder. These cheap cuts of meat are usually available on the island, however they are almost always processed into stewing meat prior to reaching the supermarket shelf. What a waste! They are so much better whole roasted on the bone.  This recipe of a lamb cassoulet utilizes just the neck.

The lamb is roasted for 4 hours and 40 minutes at 140 degrees Celsius in bath of white wine, garlic, onions, tomato, rosemary, thyme and salt/pepper.

The delicious gravy left over at the end is used to boil the beans for 2 hours or so.  The onions, tomatoes, and garlic are reserved and refrigerated overnight with the cooked lamb.

The lamb is chopped into bite sizes along with the remaining garnishes. The roast garlic is chopped and mixed into the beans. The cooking liquid (first the gravy from the roast lamb, then the remaining water from the beans) is poured into the casserole until it reaches the top.  More seasoning is added at this point.

The dish is topped with a healthy layer of panko breadcrumbs and parsley. Bake in the oven until your desired temperature is reached. It took around an hour for it to reach boiling.

I served this dish with asparagus and touch of freshly squeezed lime juice. Absolutely delicious. Great when you are having people over for dinner as it can be made a head of time.

Next: A very different way to serve lamb neck.

Sous Vide Pork Belly – Perfection after three days.

I am not traveling for work for a few weeks, allowing for experimentation with different ingredients and techniques. Why not pork? Pork is locally produced on the island in which I live. This means it is relatively cheap and fresh. Pork belly truly is a fantastic cut of the pig, but it needs to be slow cooked for a considerable period of time to ensure that it is tender. This long cooking time has in the past dried out the meat, so a brine was used here.

Start by a 24 hour, 5 percent salt and 2 percent sugar brine. Pork belly has been quite dry in previous attempts, so the brine will put additional moisture into the meat.

Sous vide the pork belly for 12 hours at 77 degrees celsius (from 8pm to 8am). Once cooled, flatten the pork belly in its vacuum sealed bag and refrigerate for another 10 hours or chilled through.

The pork belly will be surrounded by a nice thick jelly, indicating the sous vide had done a glorious job! Portion the pork belly and vacuum seal until needed for cooking

Cook all sides of the pork belly in a hot pan and then finish in a warmish oven to ensure they are warm all the way through

Absolute amazing. Cracking was perfect, and juicy inside. 

Tasting notes:  Simply awesome. No fancy sauces required.

Pain aux Raisin

I am finally on the island for a full weekend. This allows for a long and complicated recipe. Perhaps one of the most complicated, tricky recipes of them all is making a French classic – Pain Aux Raisin. Not only does one need to make the croissant dough, there is the addition of pastry cream and raisins. The classic recipe has very little sugar, so it is little surprise that the direct translation is Raisin Bread! This differs starkly from similar pastry’s had in north America that are full of sugar.

The first step is to make the basic dough recipe. Simply milk, flour, yeast, sugar, salt in the basic recipe (straight from Larousse Gastronomique). This is done 2 days before the final baking.

On day 2 the next step is to fold in the butter. Beat the butter into a square shape, then fold up like a parcel.

Roll the buttery dough into one long rectangle. Fold the top two thirds,  and the bottom third, complete with a double fold. This means the pastry now has four folds.

 Repeat this step three times and you have 64 layers of buttery pastry. 4*4*4 = 64. Look at all those layers. Cut in half to make it easier to deal with. Unbelievable.

Mean while soak the raisins in Rum for 2-3 hours, also make the pastry cream. Pastry cream is just Milk, Vanilla, Sugar, corn starch, and egg yolk.

Now the fun part. Roll out of the pastry, around 1/2 cm thick. Then line carefully with pastry cream and cover randomly with the raisins.

Begin rolling up the pastry. Not too tight, not too loose.  At this point you can cut it up into pieces, and proof. I needed to take the final product to work the next morning, so I wrapped the log in plastic and put it in the fridge over night.

Day 3:  Cut into 2.5 centimeter pieces and lay on baking paper (silicone sheet if you have one). Paint with egg yolks and leave to proof for 2 hours or so.

 Look at them almost double in size. Reapply egg. Bake at around 200 degrees c for 15-20 minutes (mine needed just 16 minutes)

 The final product.

Tasting notes: Very little sweetness. Could benefit from more pastry cream, and perhaps sweetness could be added at this point. Pastry also lacked distinct butter flavor, add greater amount of butter to original pastry recipe (250g instead of 200).