Trade and Conquest: Traditional spanish paella (Valenciana)

I am uncertain as to whether the paella is the national dish of Spain because I have not had the pleasure of visiting. Let us just say that is a very popular dish indeed. The origins of classic dishes such as the Paella are fascinating. We can learn so much about the culture and history of a  country by looking at the underlying ingredients. Two of the critical ingredients are peppers (and her derivatives such as paprika) and tomatoes and are both indigenous to the Americas. The underlying short-grain rice that appears in the dish traces its origins to Africa. The white beans also likely moved to Spain from Africa. The saffron that forms a critical element of the dish likely came from somewhere in the middle-east. I recall that chicken was originally native to Asia.

With this knowledge in mind what can we conclude: Spain was a great trading nation, and has a strong African connection. We of course know this from our study of history, although it is neat how a similar conclusion can be reached by just studying the underlying ingredients and their origins! The point of all of this is that trade and conquest make delicious cuisine and without, life would be very bland indeed!

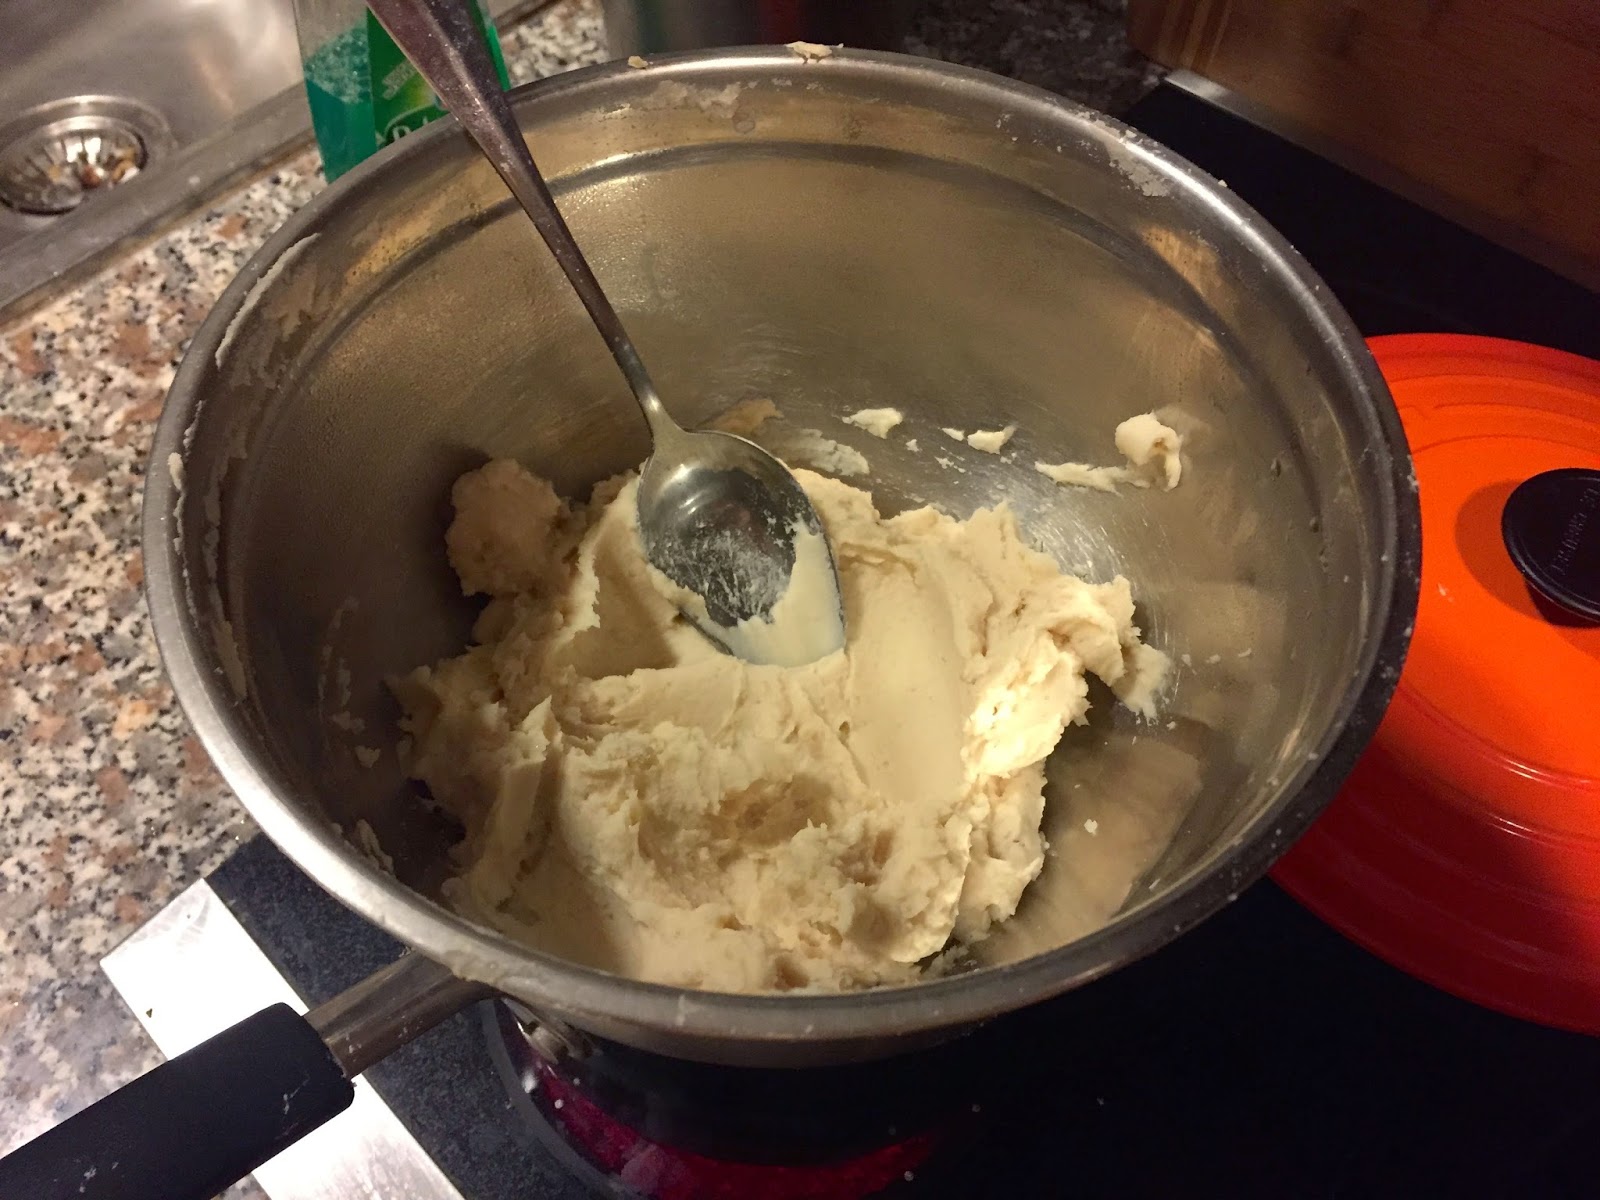
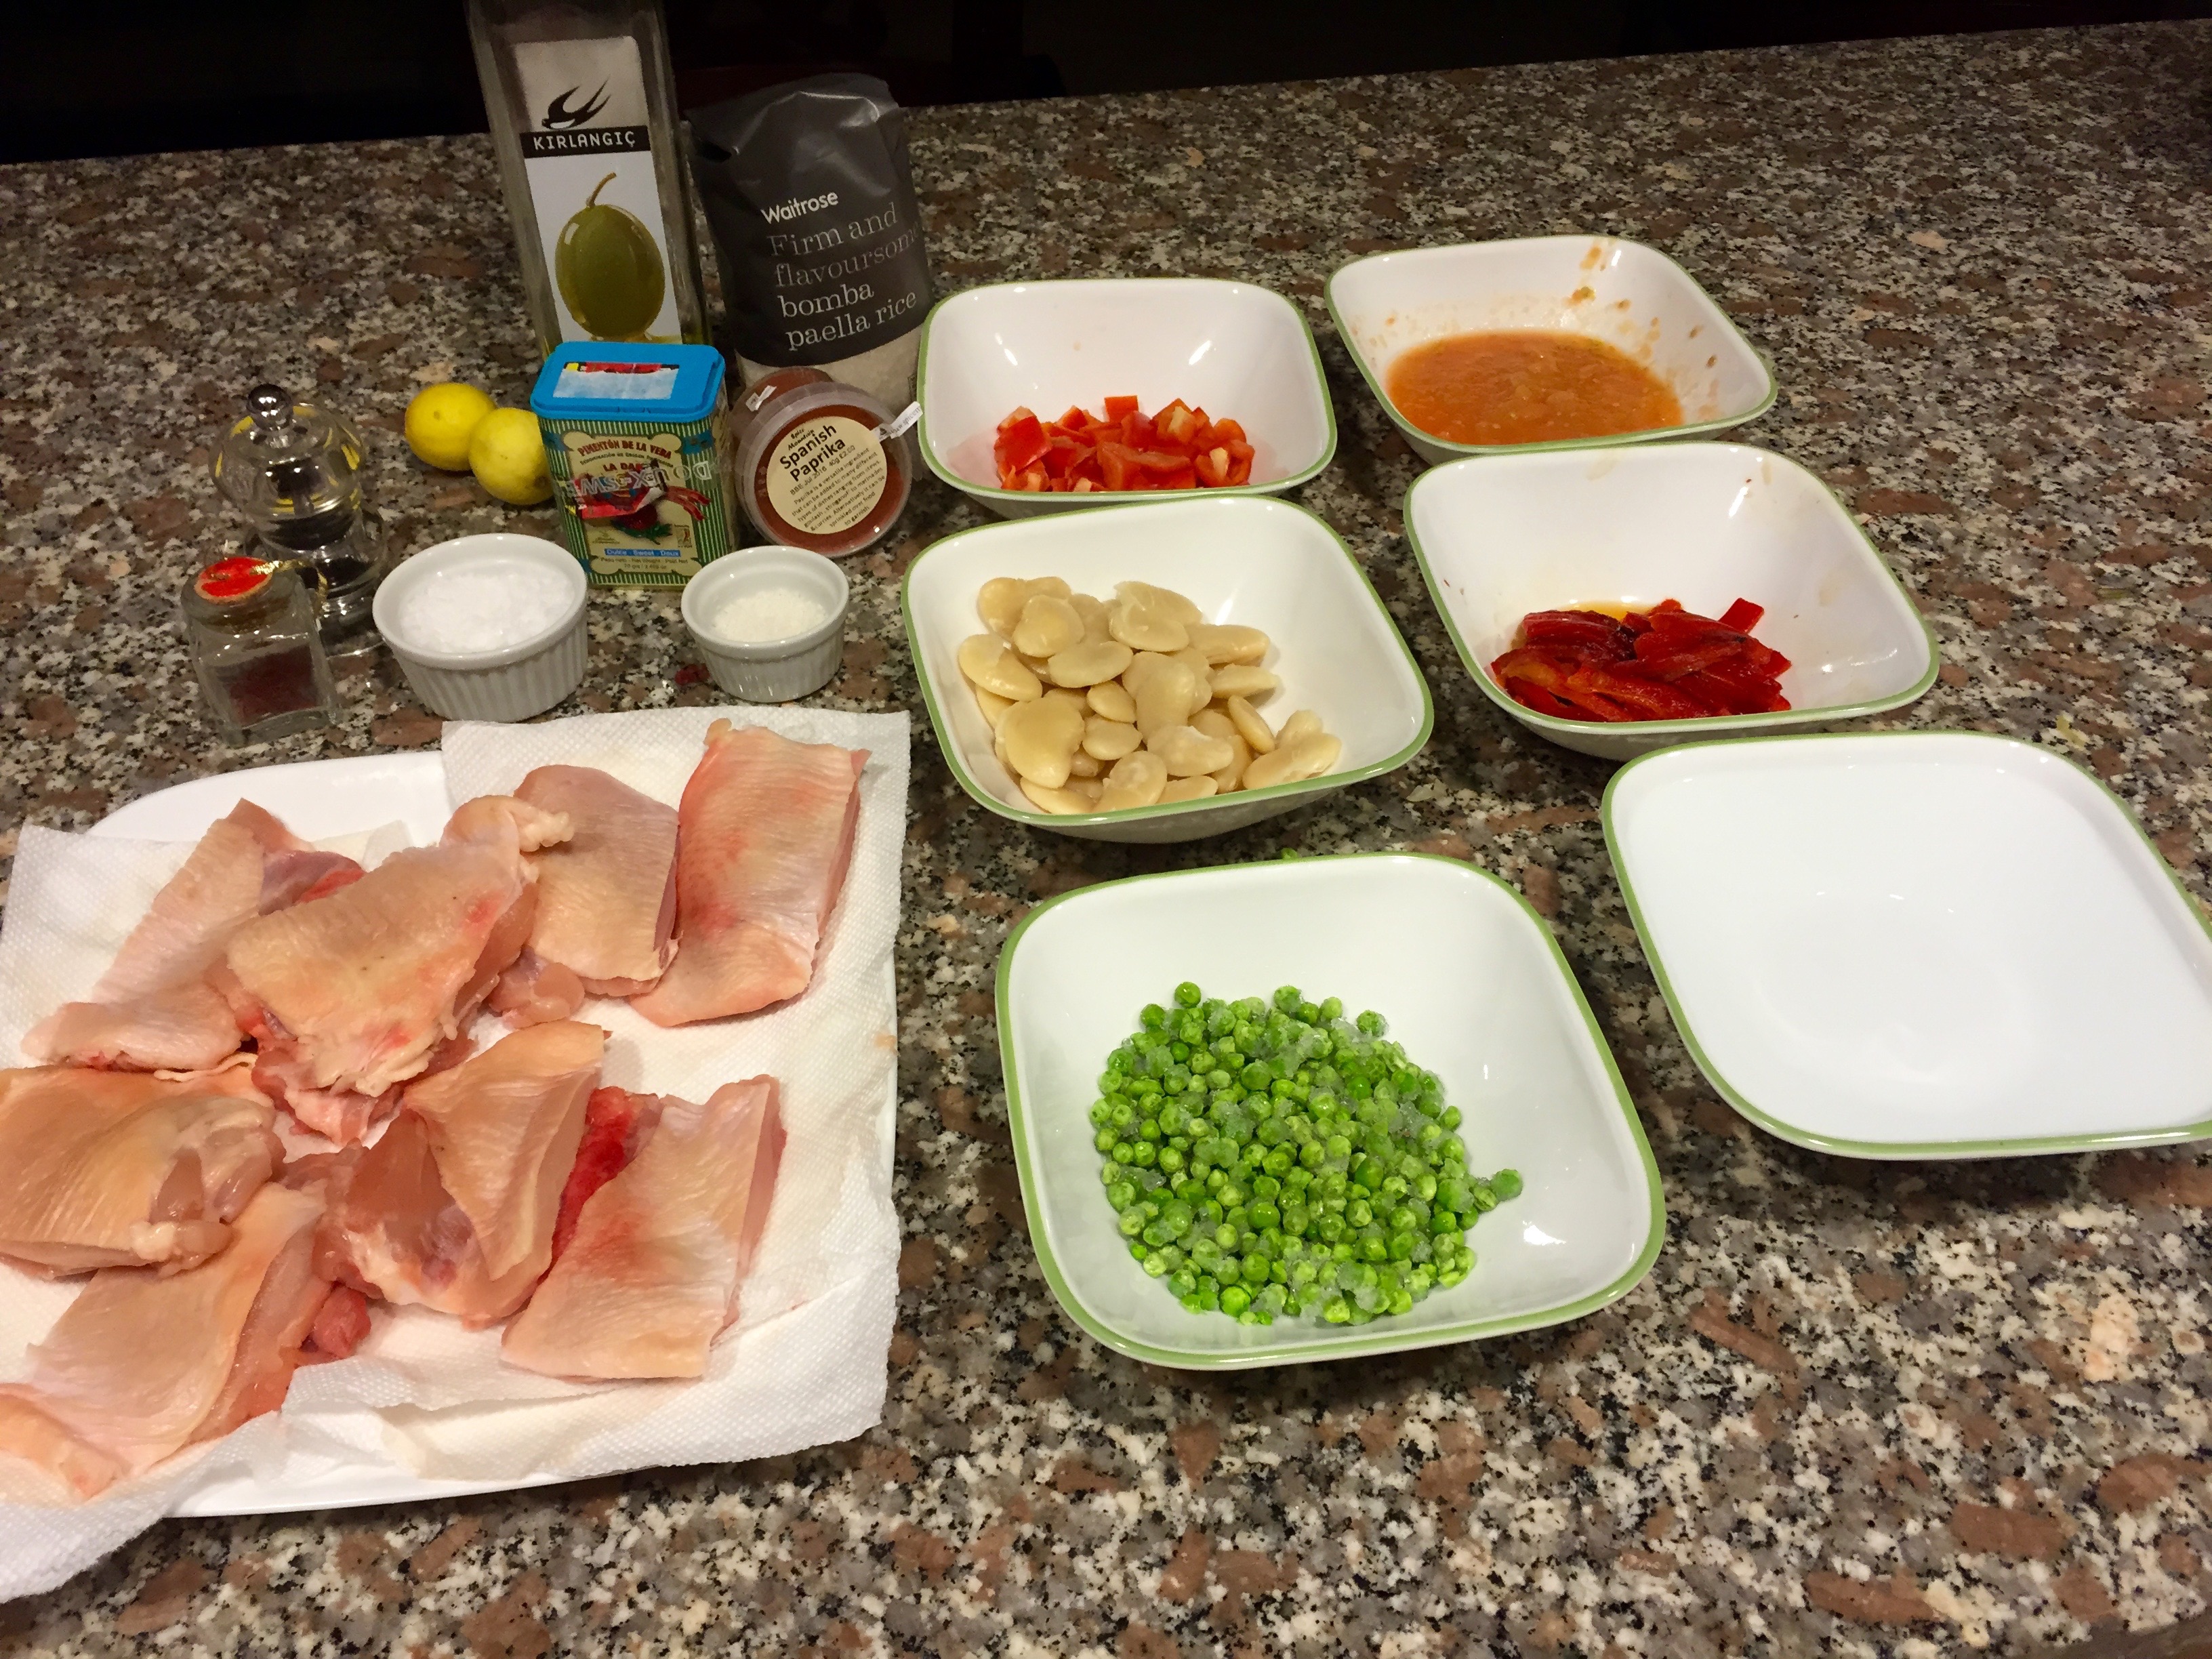
The ingredients: I have attempted to make this as classic as possible. Apparently the classic recipe also calls for rabbit*. The garlic has been crushed with salt. The saffron has also been ground with salt as this  helps release the color and flavor whilst cooking.

IMG_2714 IMG_2715

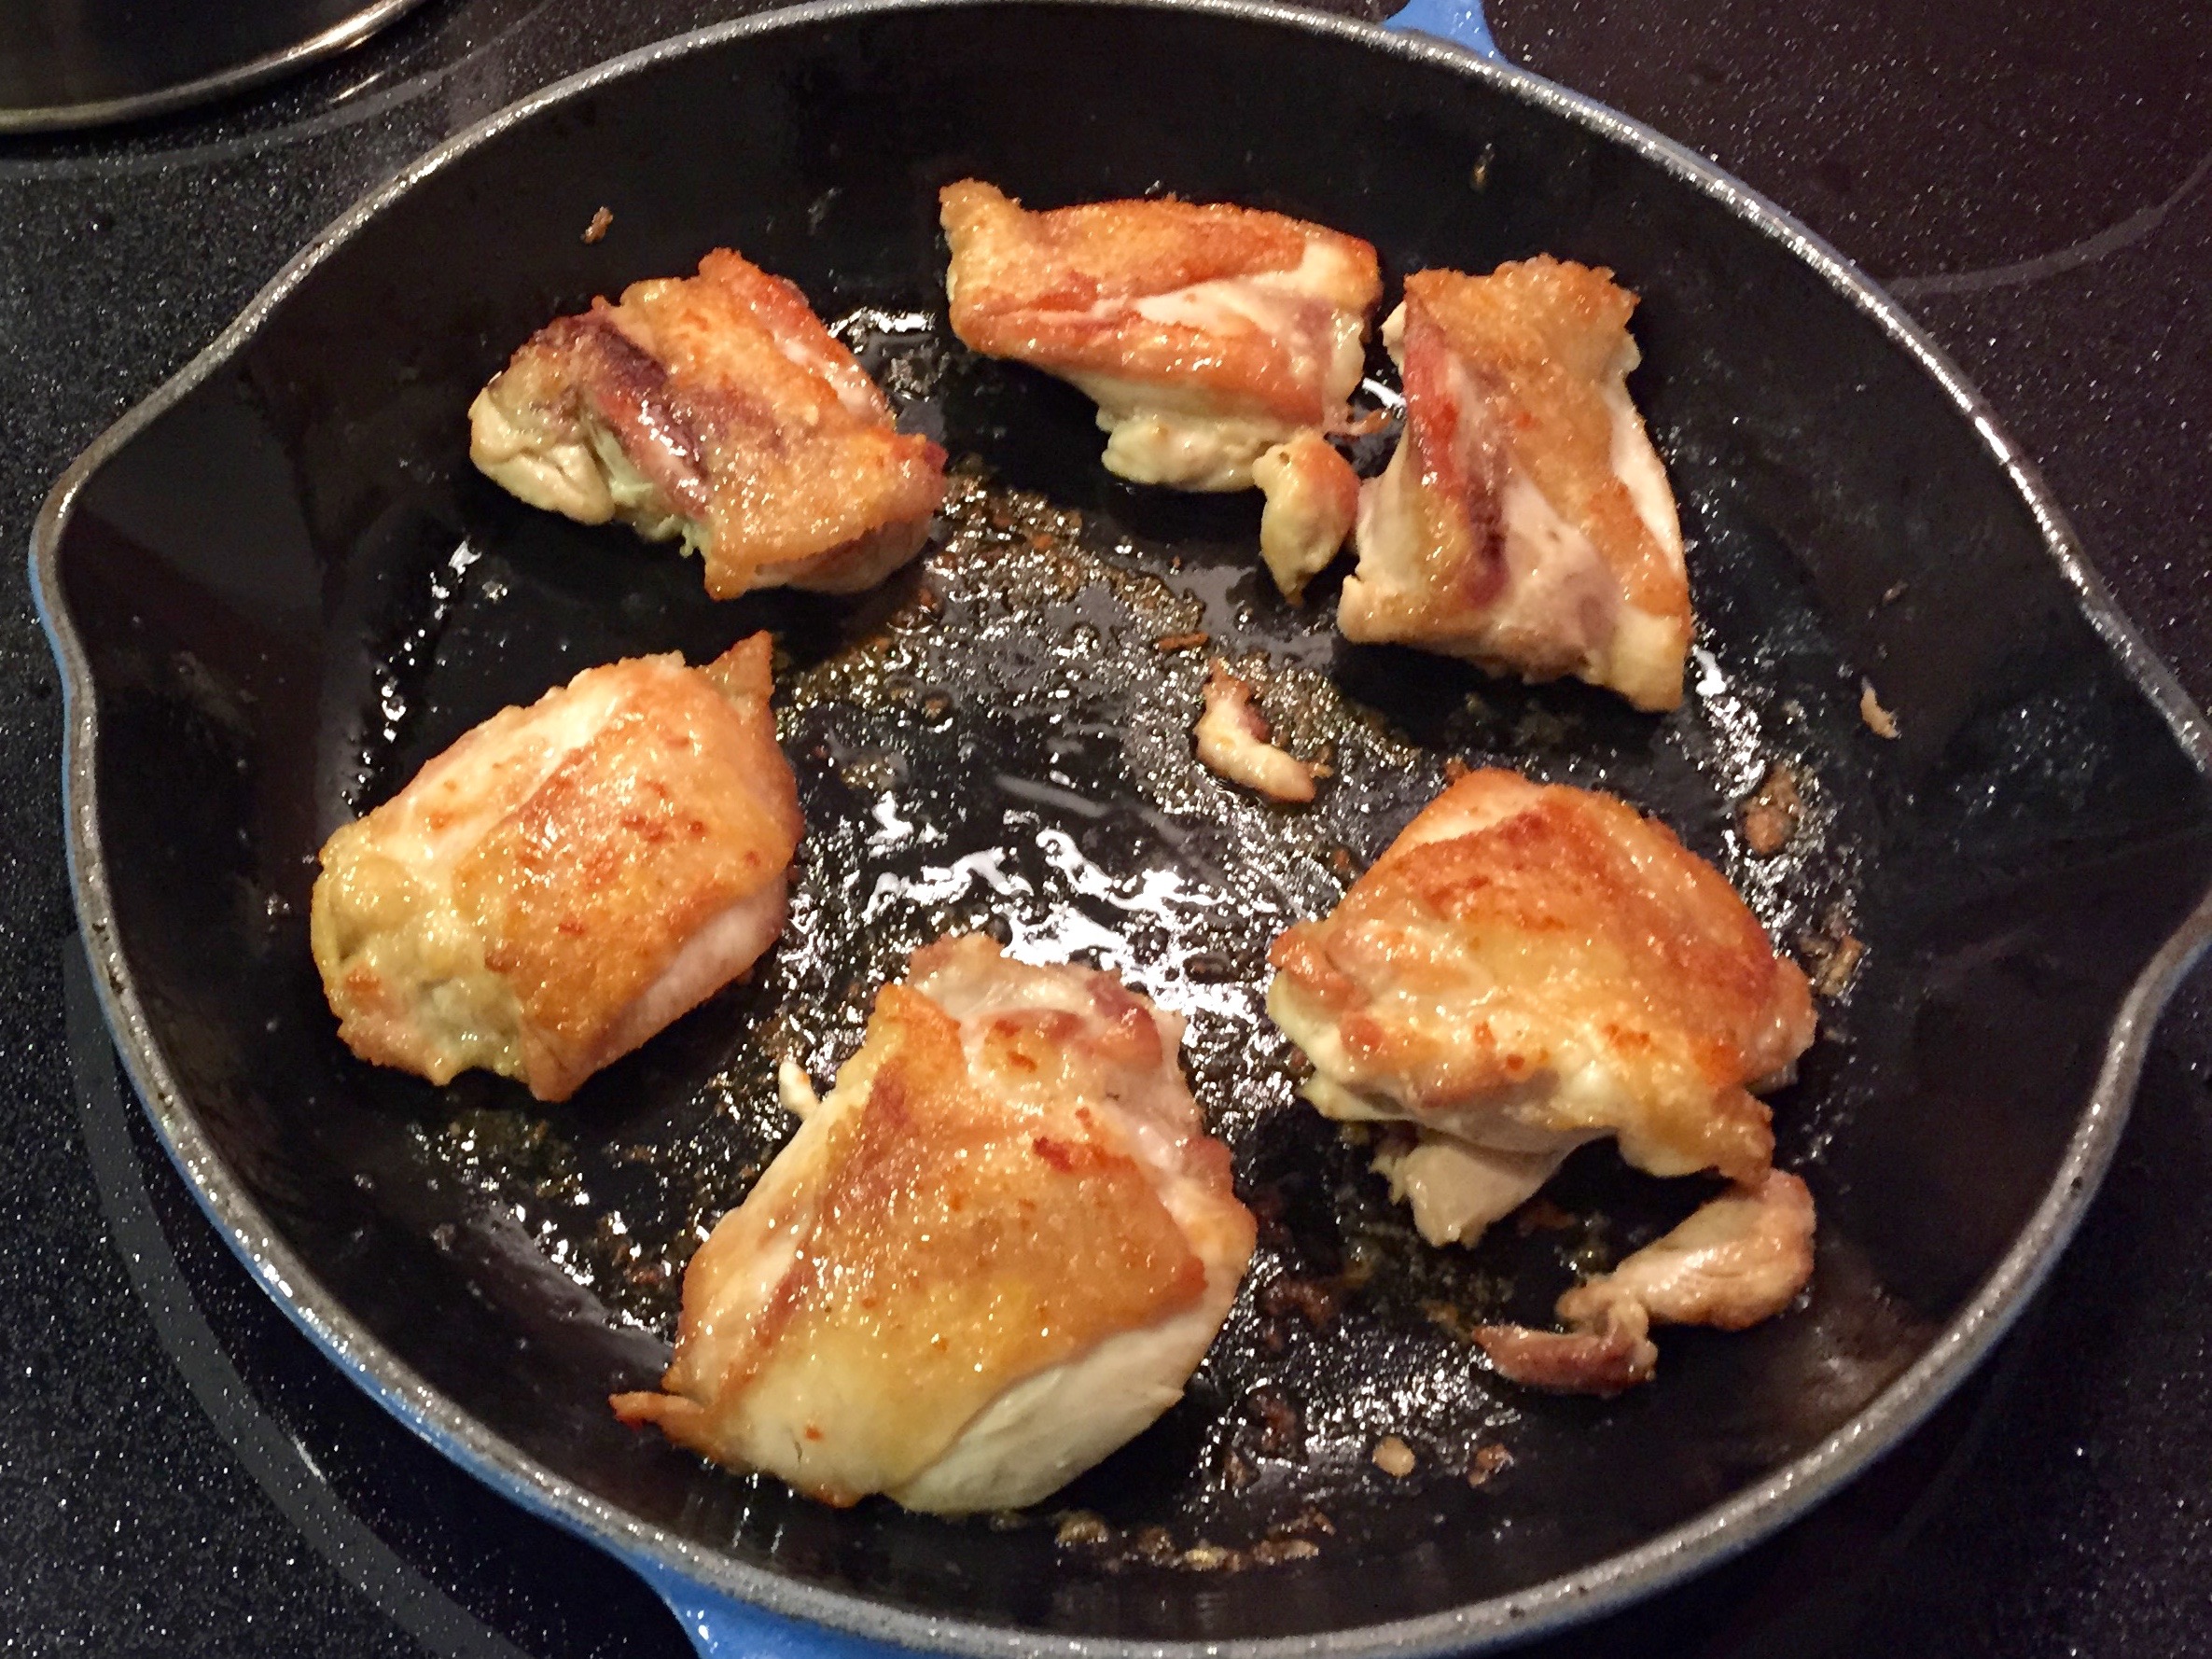
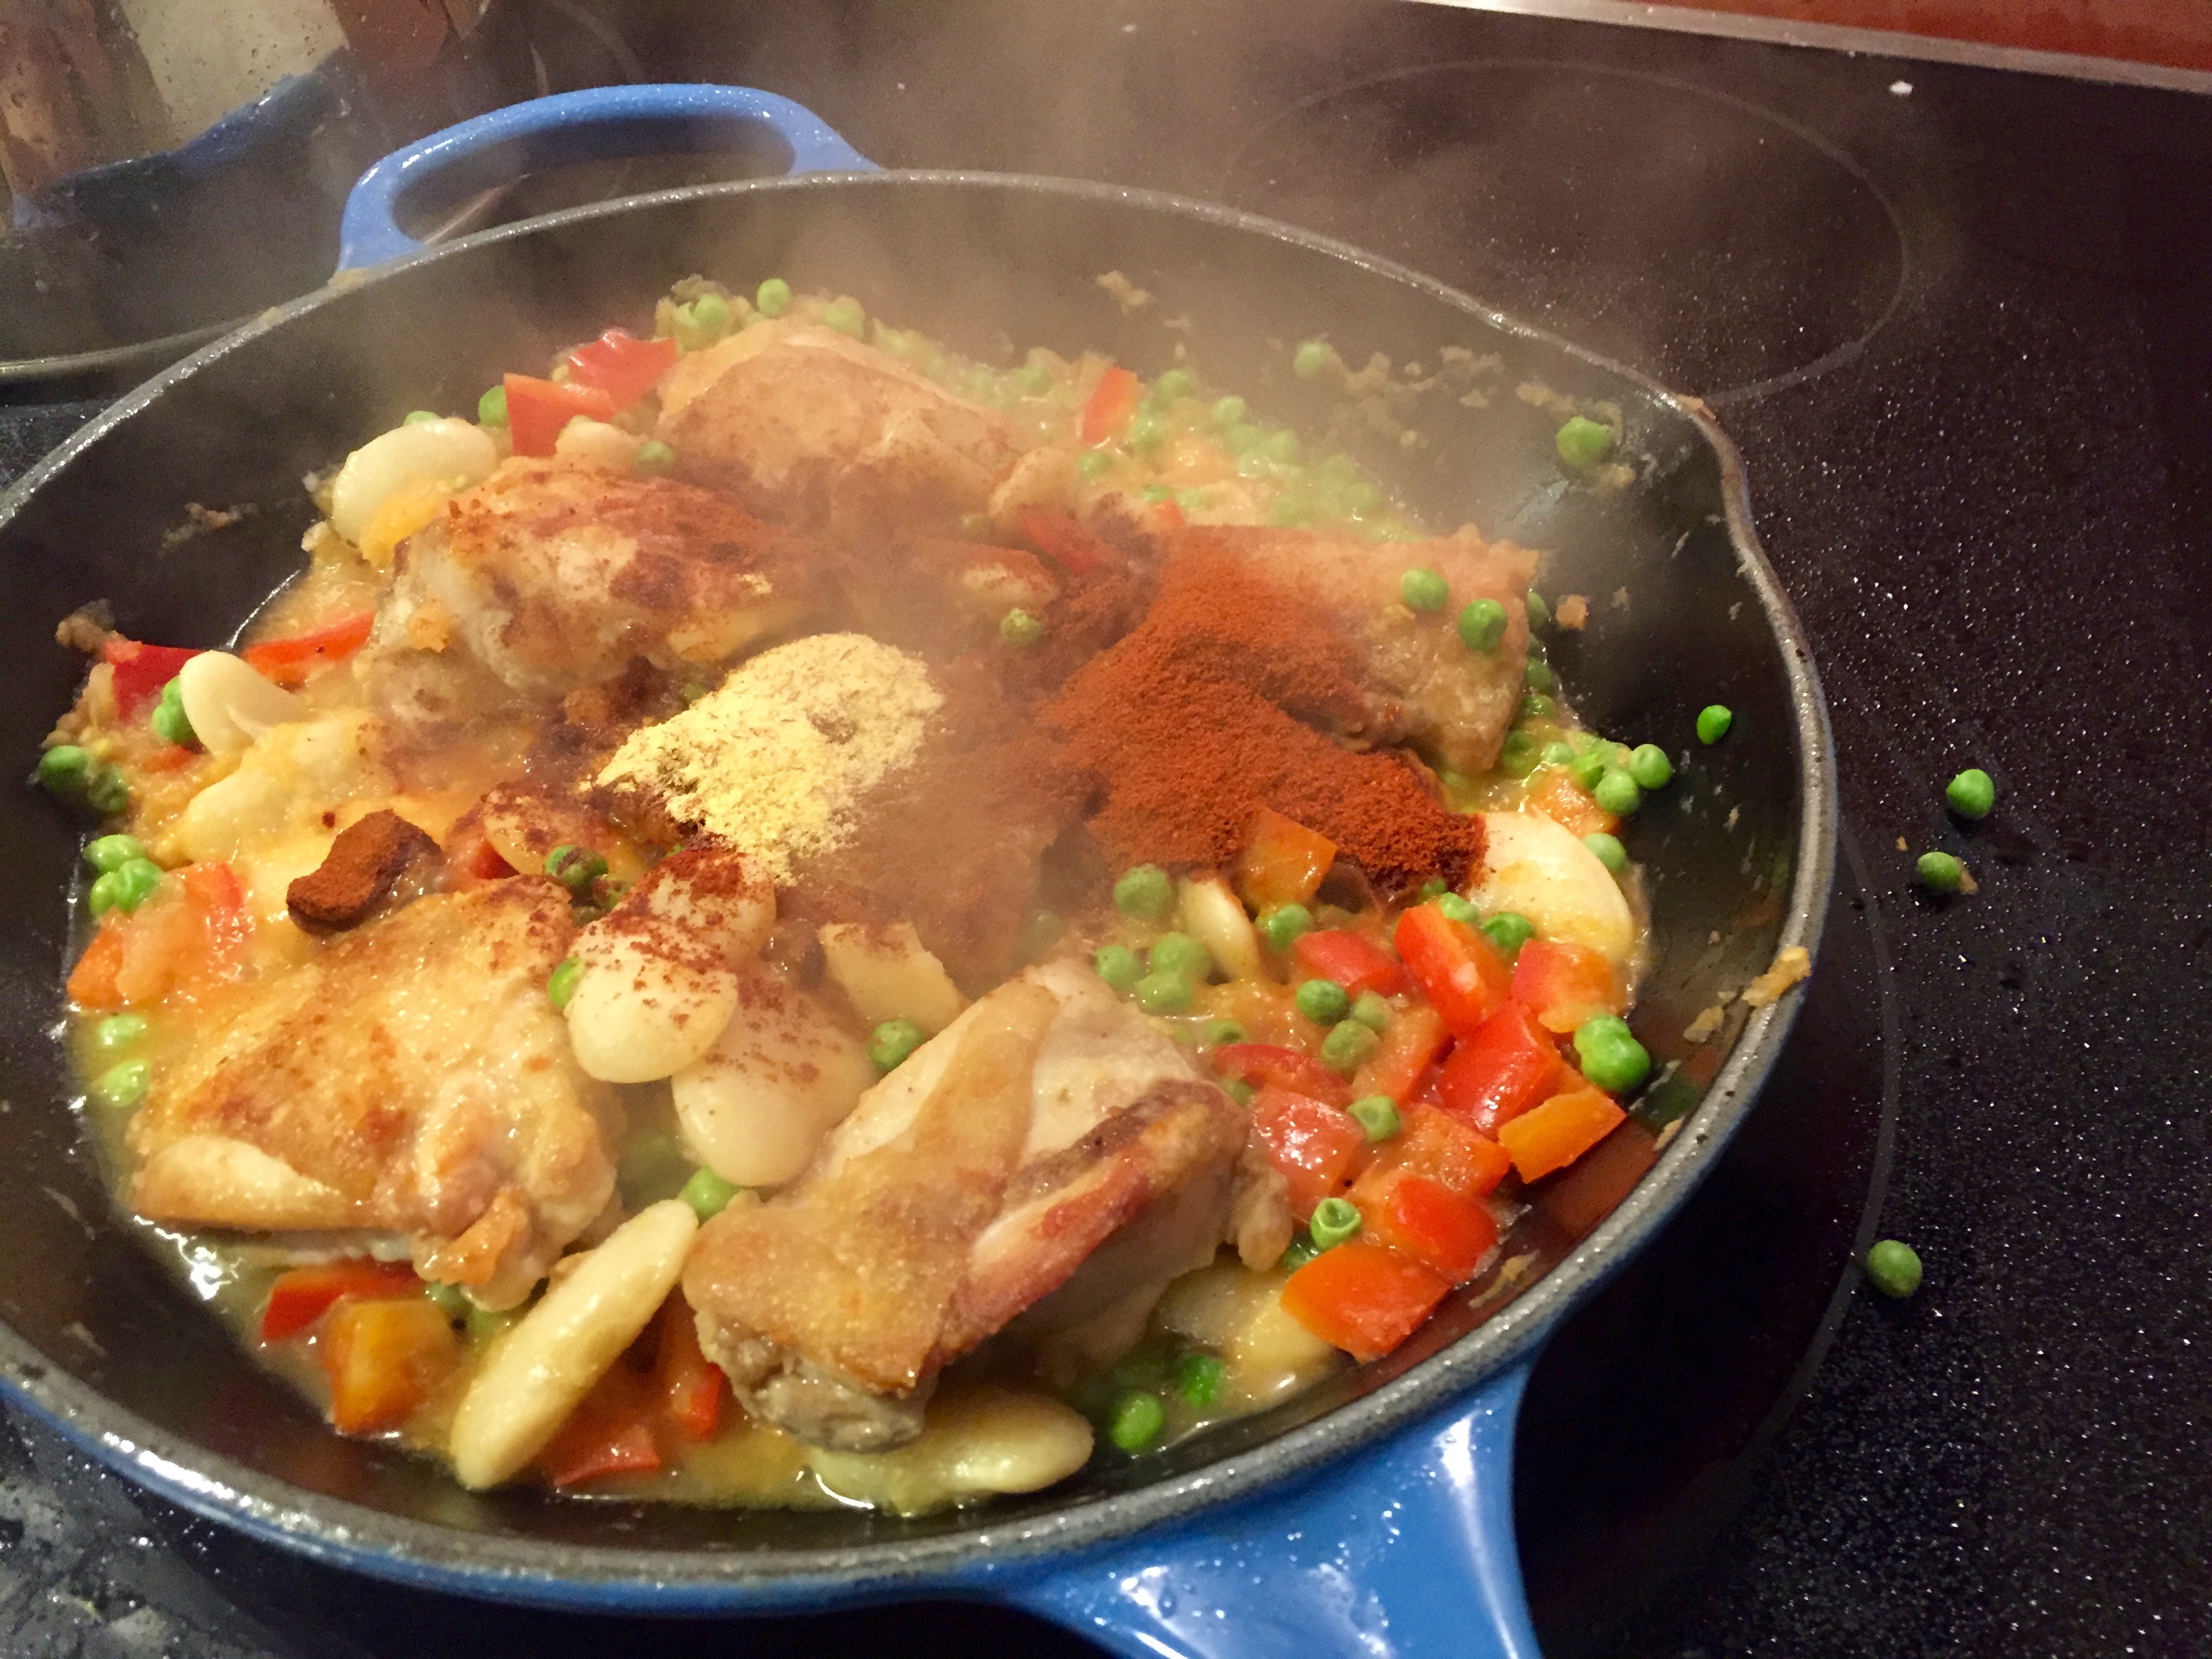
Brown the chicken very well. Color is flavor. Add the grated tomatoes, sliced chopped raw red peppers, boiled white lima beans and green peas.

IMG_2716 IMG_2718

Add Paprika (i’m using sweet smoked and plain sweet together) along with saffron, salt and garlic. Coat chicken and other ingredients.

IMG_2720 IMG_2721

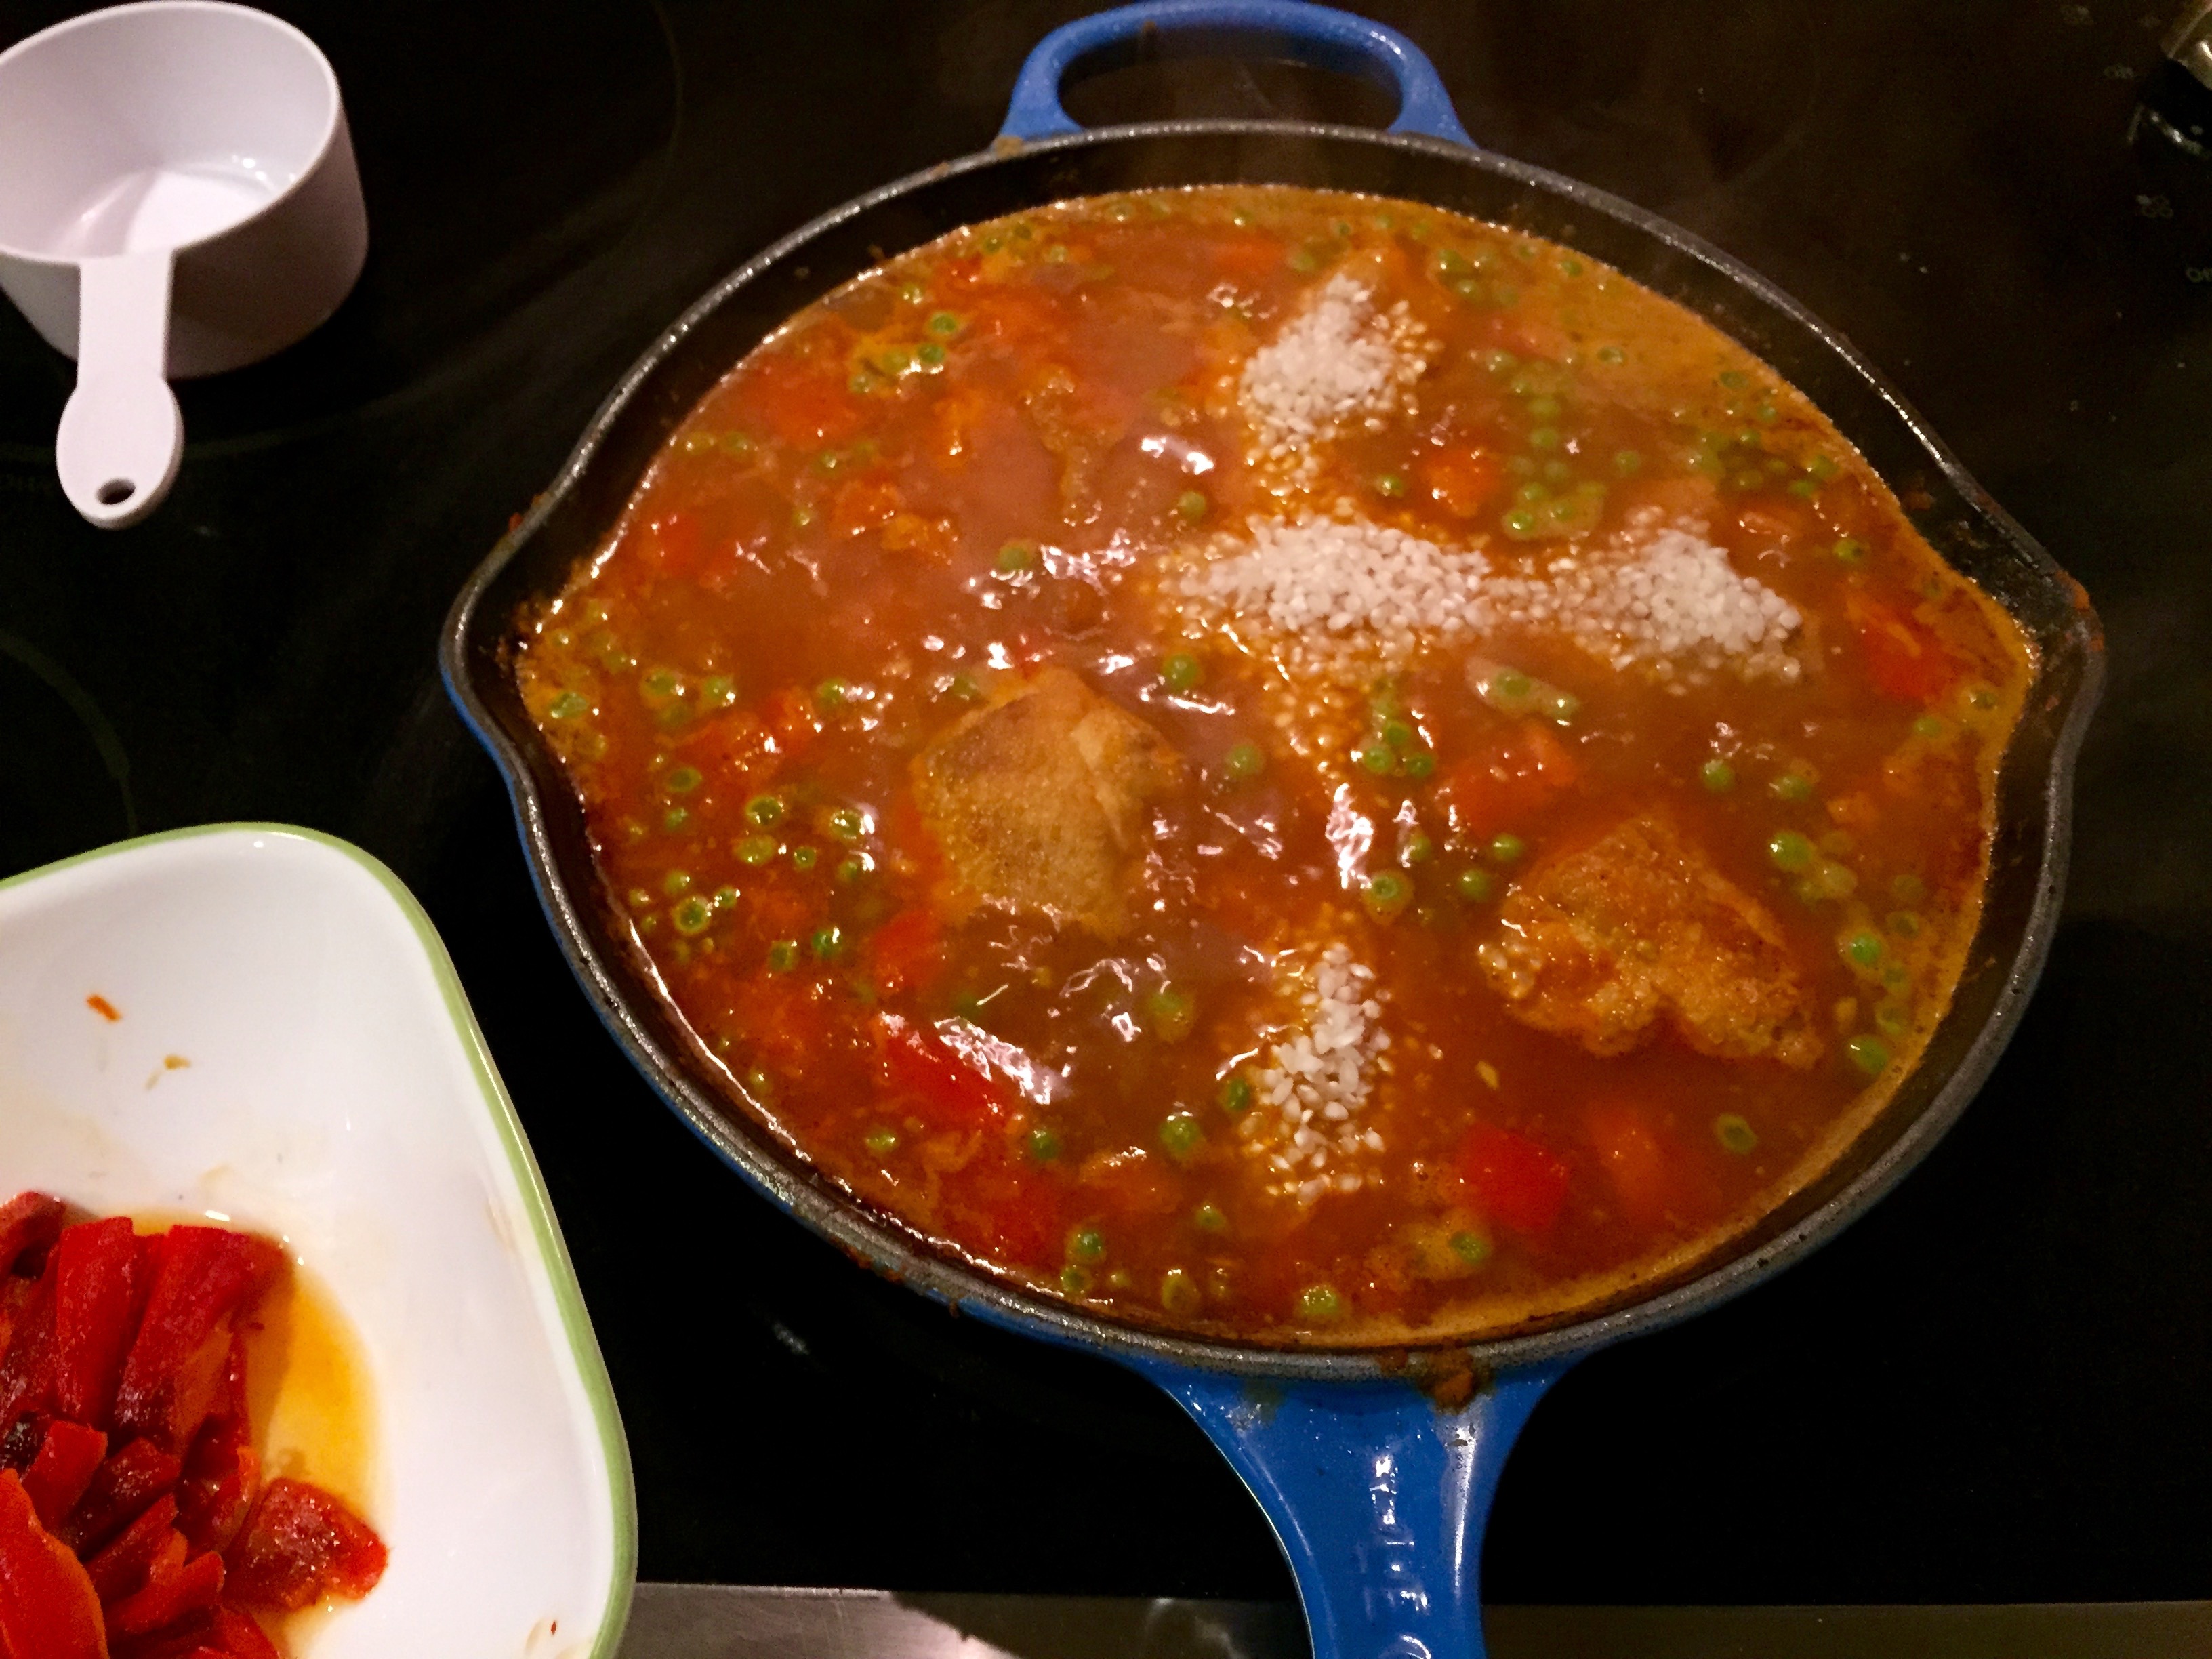
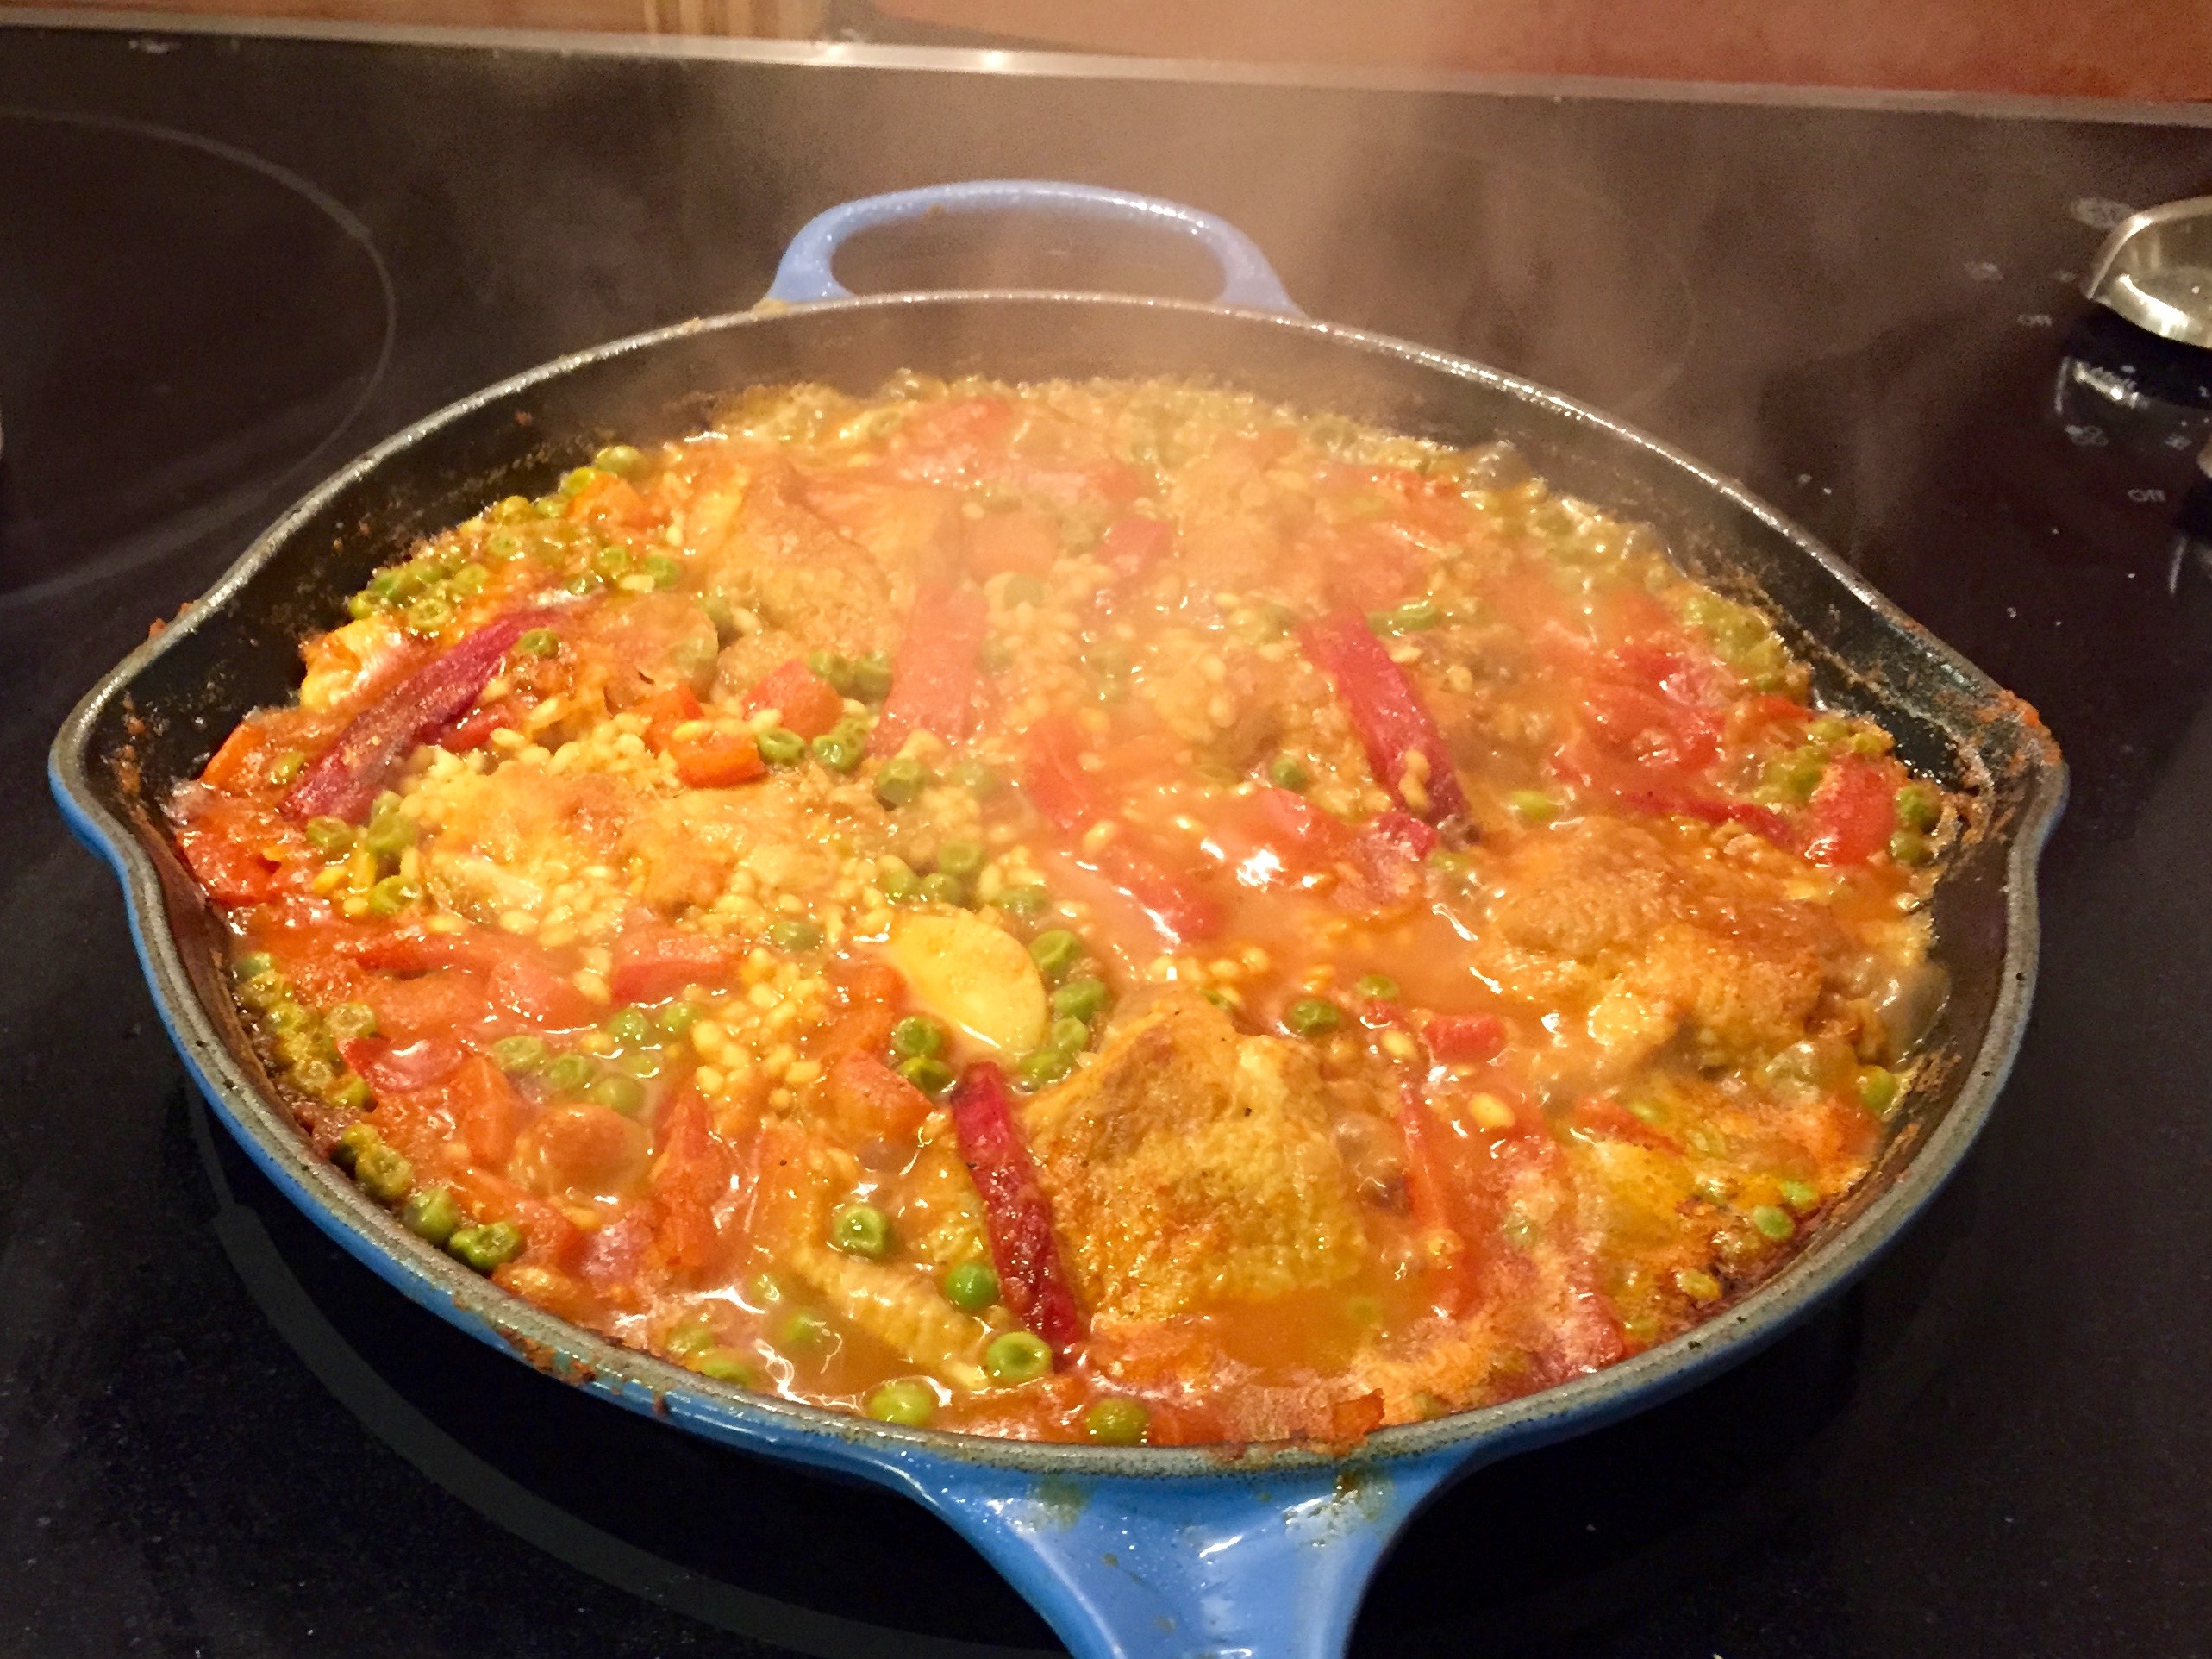
A lot of recipes use chicken stock. Frankly I do not see the need. I find water is absolutely fine. First add the water, the ratio is 3 parts water to 1 part of rice. Bring to the boil and check seasoning. This part is critical, make sure seasoning is right before adding the rice, because this is the last opportunity. Add the rice and stir. I lined the top with pre-roasted red-peppers only because I think they add an additional element of flavor.

IMG_2722 IMG_2724

Boil rigorously for 8 minutes without stirring, turn to low for 10 minutes, then take off the heat and cover for 5-10 minutes. There should be a nice burnt crust forming at the bottom. Adjust times accordingly if there is too much or too little liquid.

IMG_2727 IMG_2729

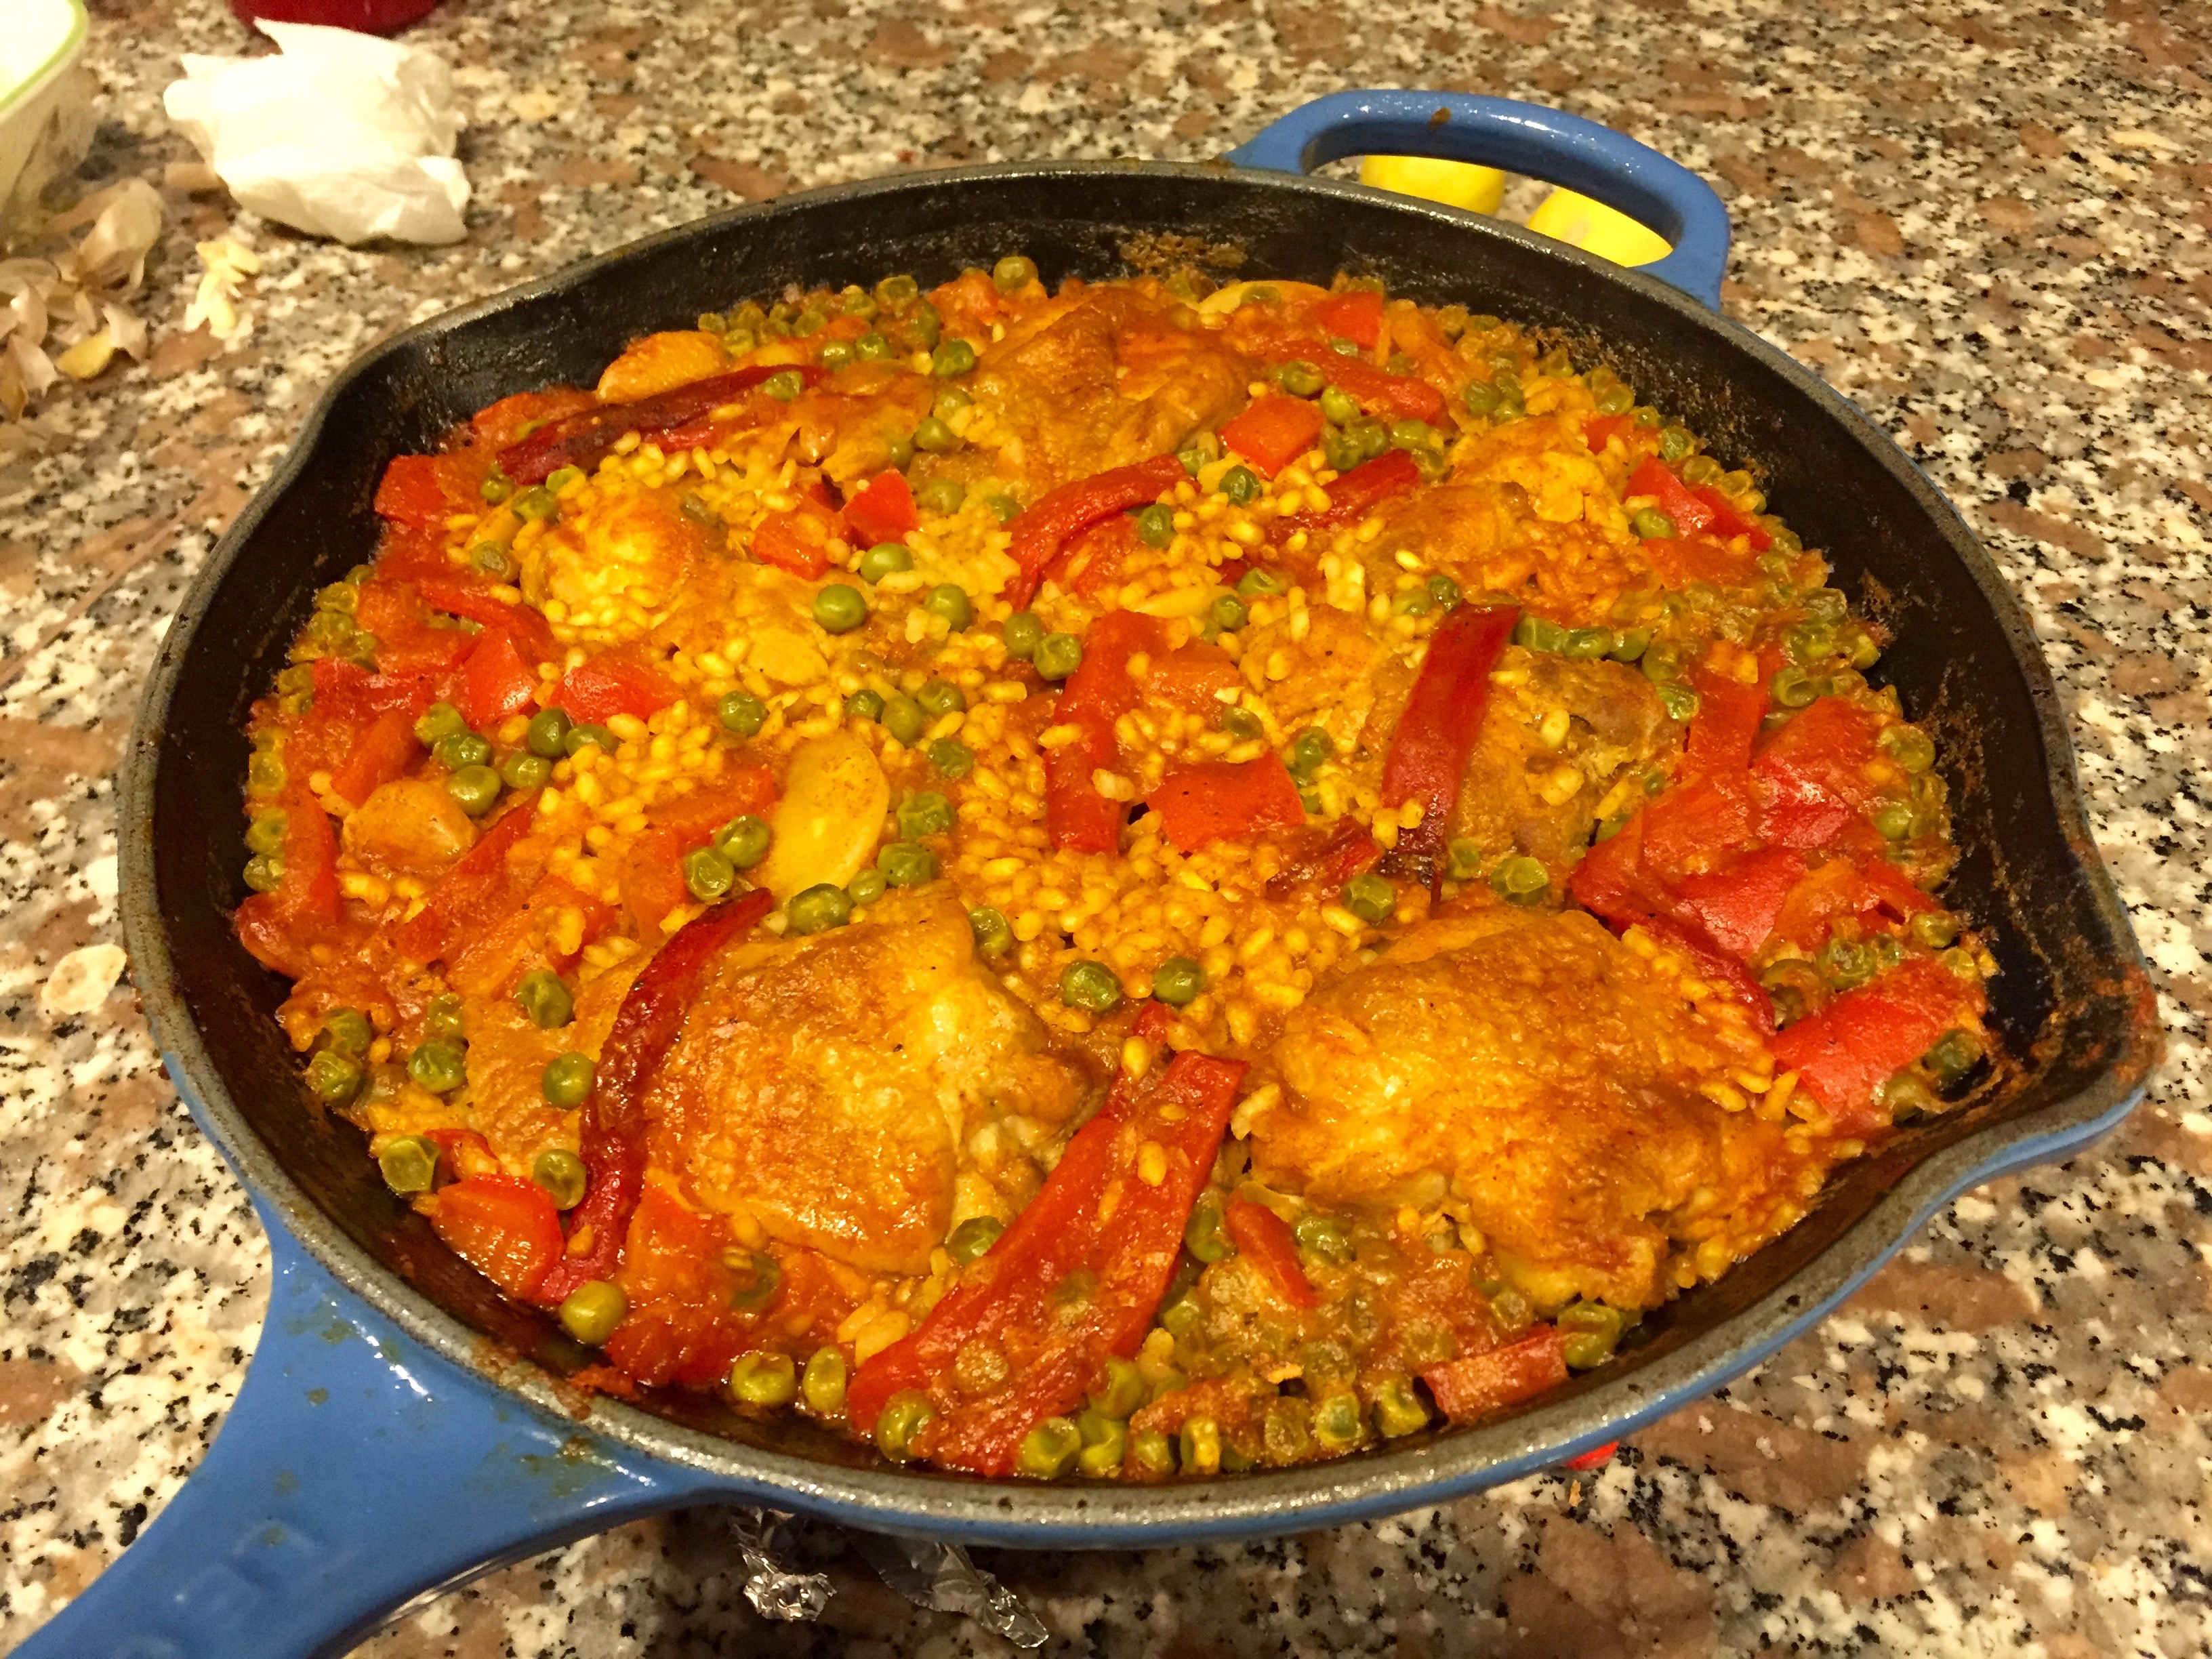
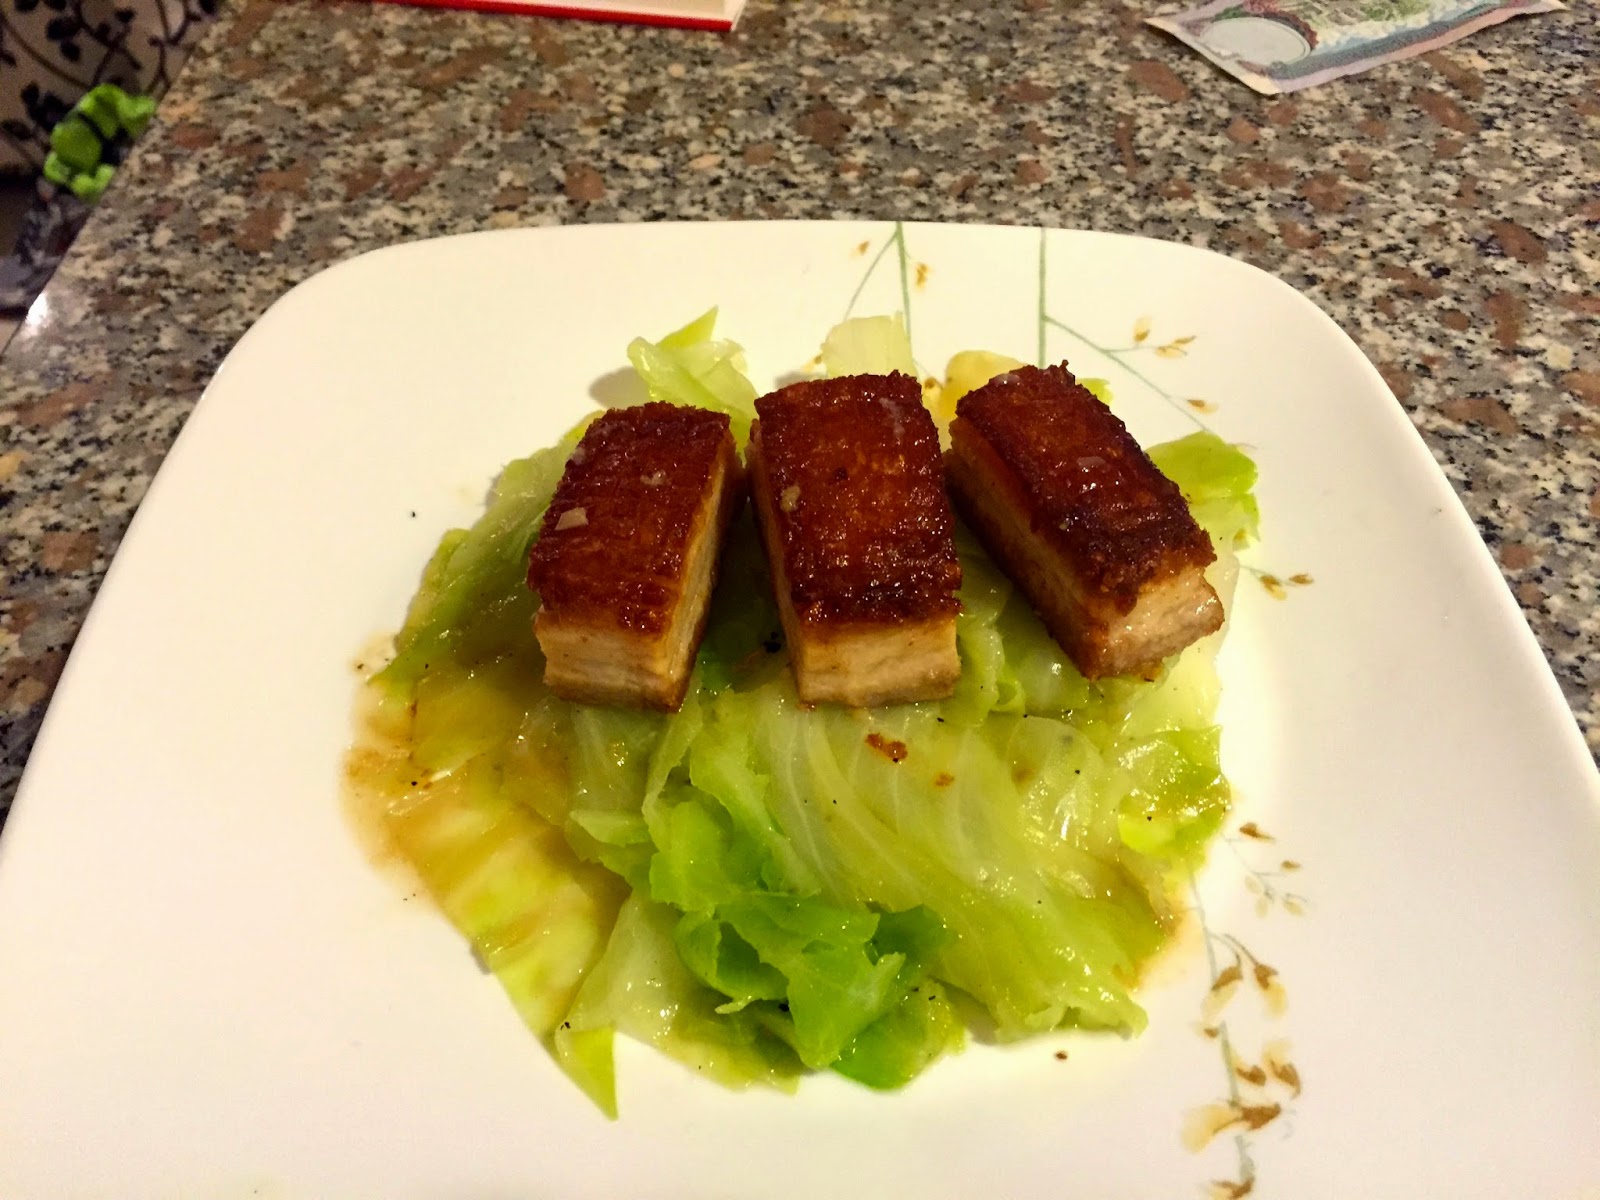
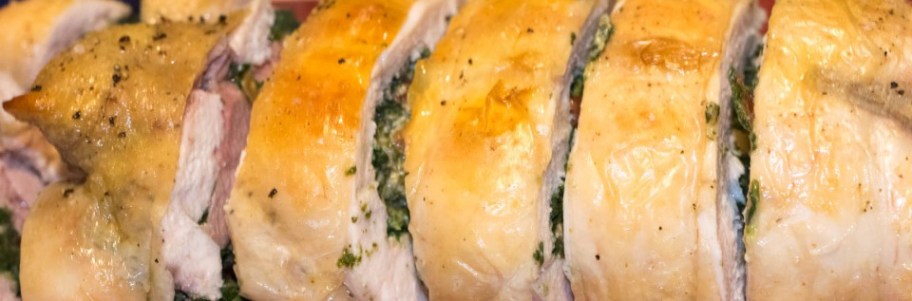
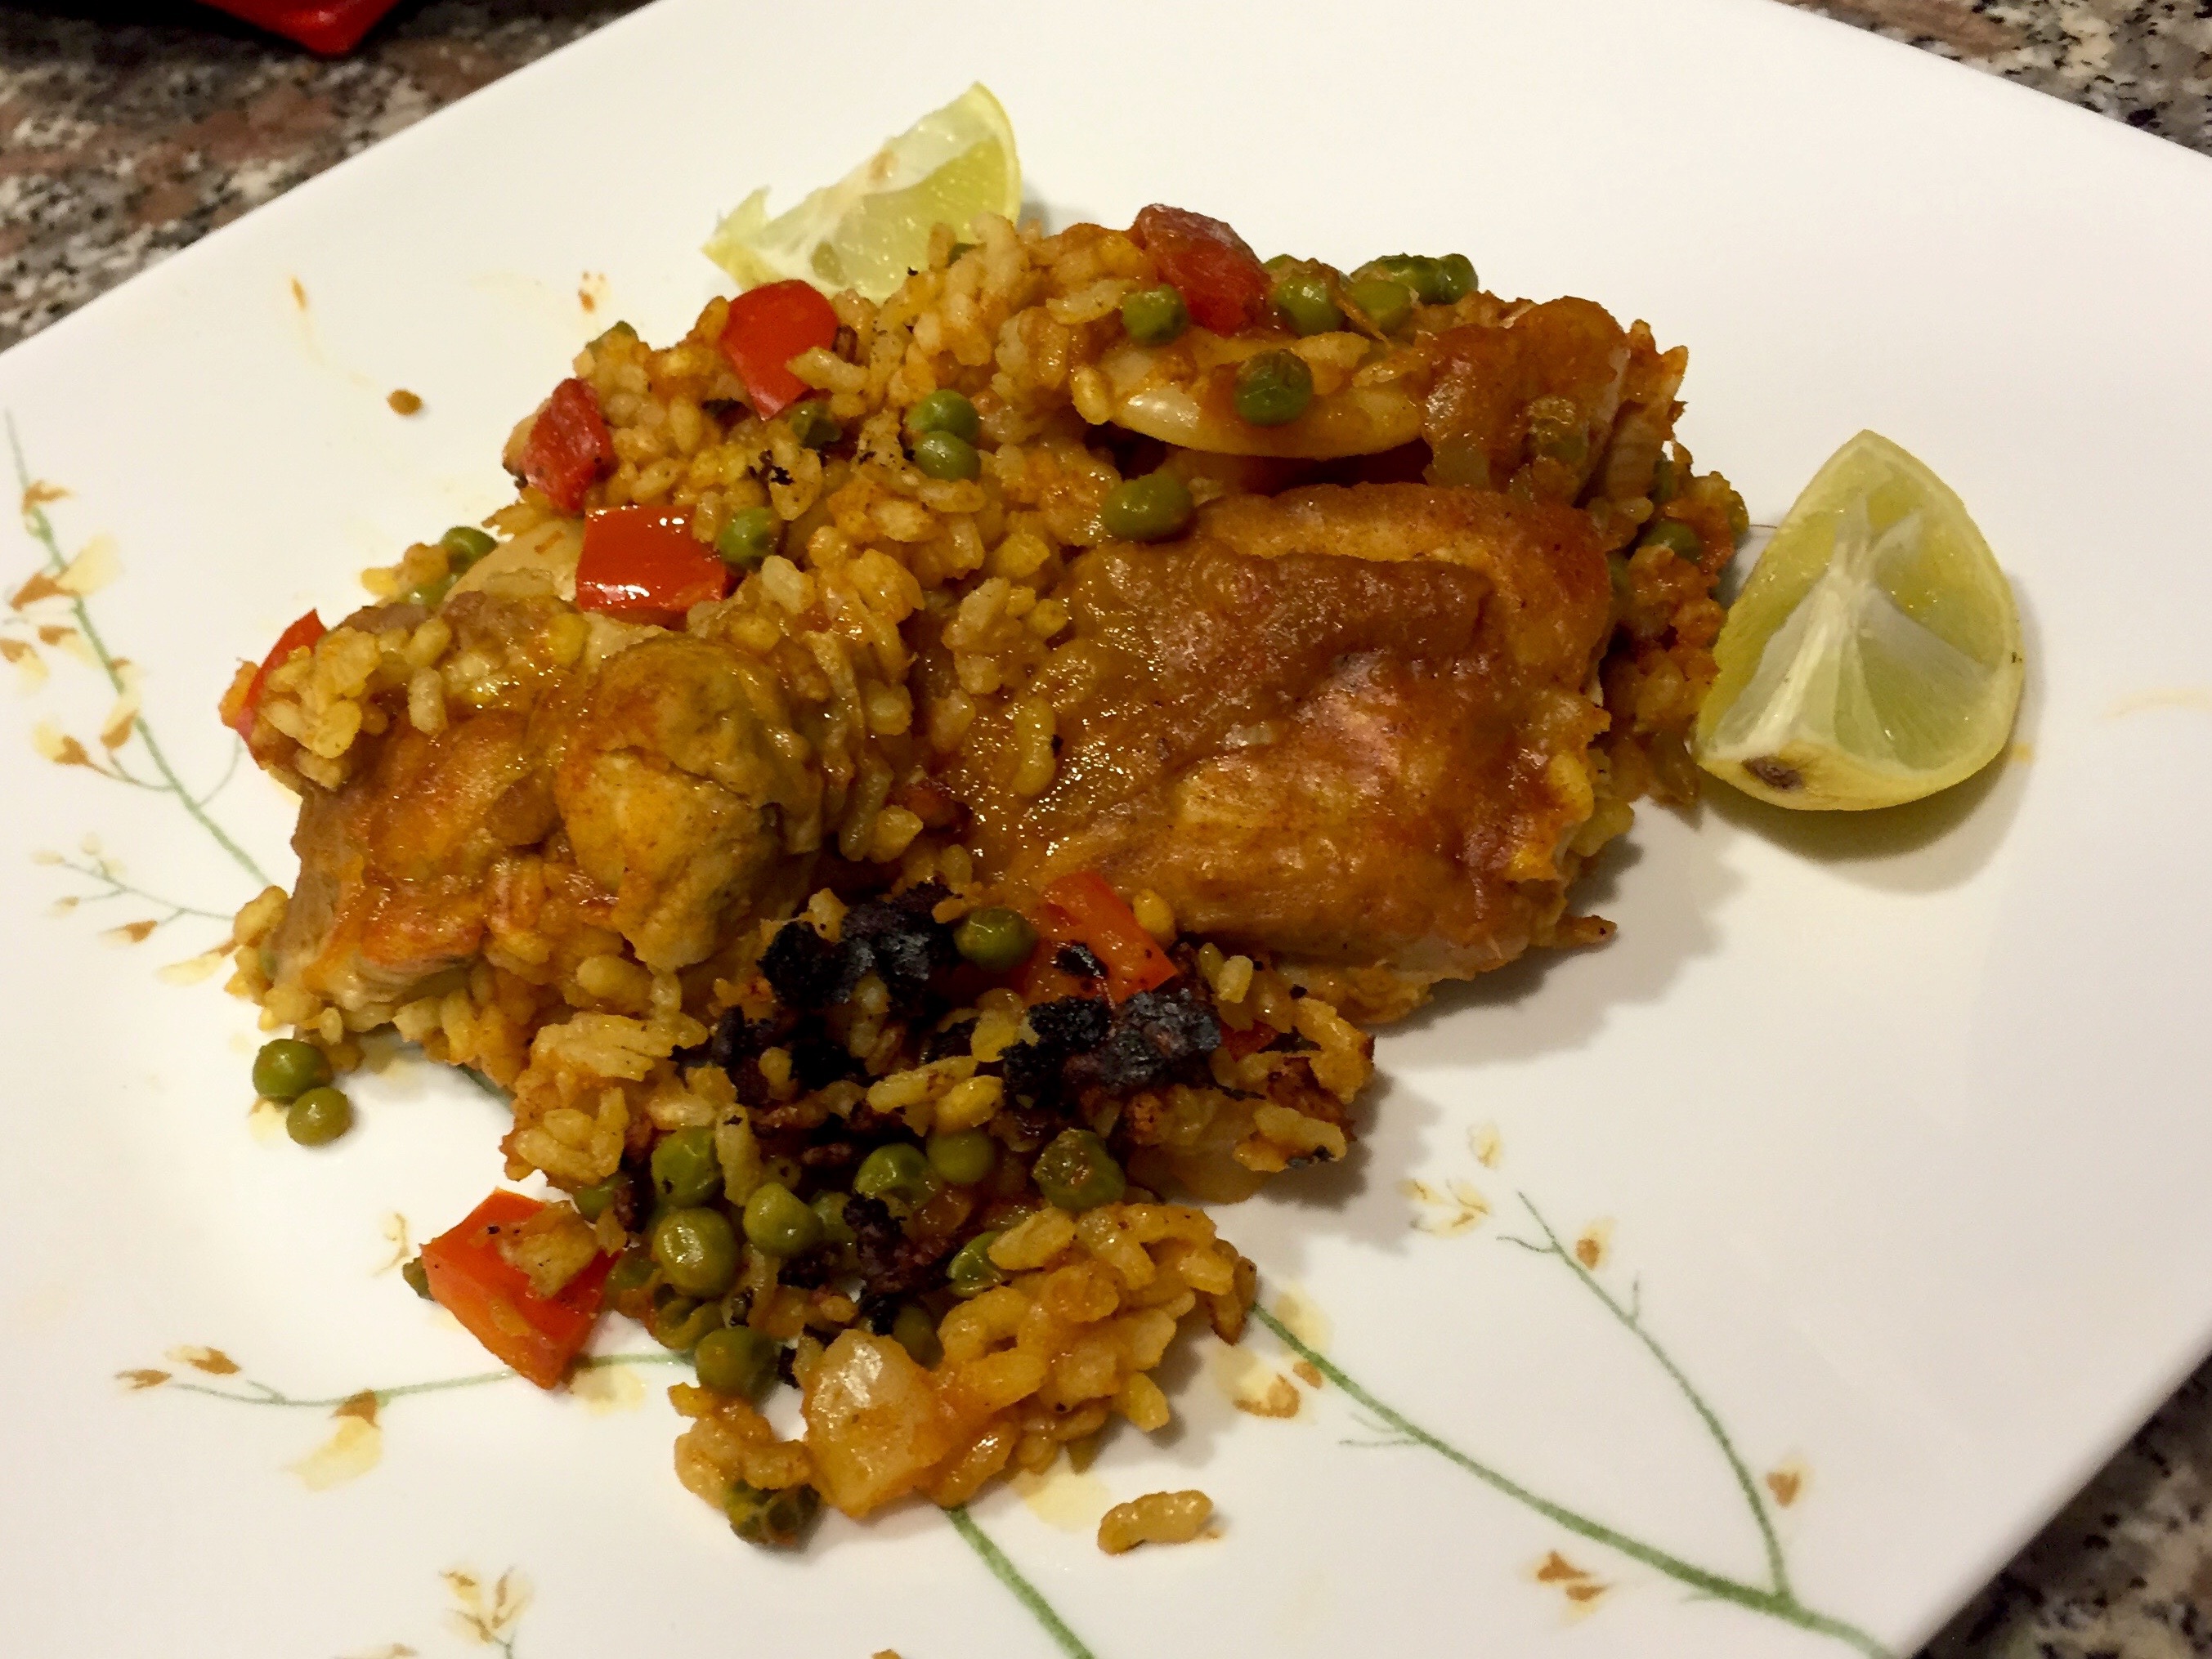
Top with fresh olive oil and serve with fresh lemon/limes. Absolutely perfect.

FullSizeRender 2

*I am also told snails feature in the classic dish

The perfect steak – Sous Vide

There are fewer eating joys than ravishing a tender and flavorful piece of beef that is charred on the outside and red and bloody on the inside, and so it was to my delight when I came across a hunk of cow in the supermarket. It was my intention to purchase fish and try and eat healthier after a few too many drinks the previous evening. Perhaps unfortunately, the wandering eye of a male-primate is easily overcome with instinct when passing the beef section of the supermarket, with no other choice other than to suspend all previous rational thoughts and pounce on the best looking piece of cow possible.

This piece of bone-in ribeye is only $35 USD/kg

When it comes to ingesting the perfect steak many variables are outside the control of the home-cook. Living on a small island in the middle of the Caribbean also limits the quality of beef available for selection. There are a few critical elements to the perfect steak that the home cook has control over, they are as follows:

  1. The steak must have a decent crust on the outside, while the inside is cooked to medium-rare;
  2. There should be an even color inside, indicating that the steak has an even temperature throughout the meat;
  3. The steak should be well salt and peppered;
  4. There flavor of the steak could be enhanced through a very simple butter sauce; and
  5. We are not savages, consider a non-meat side such as a potato dish.

The first two elements require some care. I have lost count of how many cookbooks, youtube videos and blogposts I have entertained to understand how to get this part right. I am not going to go through literally hundreds of methods, instead I will jump to what I have settled on. First, unpack your piece of meat and allow the surface to get as dry as possible, either do this in the fridge or under a fan. In this instance I left the steak on cake rack under the AC and ceiling fan for about an hour. Water is the enemy of the meat browning – this is a critical step.

IMG_2459

Secondly, To ensure a good crust on the outside heat a cast-iron pan until it is glowing hot. I do not salt or pepper the meat at this point, I find it makes no difference at all to the overall result. I simply brush on some high smoke point oil on the steak and line the hot pan with a bit more oil. I then employ Heston Blumenthal’s technique of flipping the steak every 15-20 seconds to ensure the no side of the steak gets too hot. This allows a crust to form, without overcooking the center

IMG_2464 IMG_2465

The steak is still red raw inside. I employ Sous Vide cooking to finish it off. At this point I salt and pepper the steak, and I add some thyme to the sous vide bag. The steak is cooked at exactly 54 degrees Celsius for 2 hours.

IMG_2467 IMG_2468

To add some intensely amazing flavor to the steak I create a thyme/herb infused brown butter to shower over the final steak. I crush some fresh thyme, bay leaf and juniper berry and add them to the butter to slowly infuse. Water is also added to slow down the cooking process. What is left is the most intense thyme flavored butter that is out of this world.

IMG_2472 IMG_2479 IMG_2482 IMG_2484

The steak is removed from the sous vide bath, and completely dried with paper towels. The browned butter is brushed on, and salt and pepper are added. For an extra crust on the steak I sear it on very high heat for 20 seconds a side and finish it off with another dash of browned butter.

IMG_2488 IMG_2491 IMG_2492 IMG_2493

The steak does not need resting as it was cooked sous vide. It is served with saffron-infused roast potatoes (next post) with the thyme-butter on the side for good measure.

IMG_2498 IMG_2501

The steak achieves all the elements discussed earlier. It is as close to perfect as it can get.

Caribbean-Coffee Parfait

I am finally back in my apartment for a full weekend. Lots of cooking is in order. Today’s recipe is an adaption from Raymond Blanc. I have added a top notch caribbean rum instead of a sweet dessert wine. The recipe is long and complicated needing at least a day of preparation.

Prepare the Sabayon:  Whisk the the eight egg yolks with the sugar and rum. Heat the egg mixture to 80 degrees Celsius. Cool immediately over ice.  Add some lemon juice and a pinch of cayenne pepper.  Pour in lightly whipped cream and coffee (4 nespresso capsules reduced)

Prepare: candied walnuts; candied pecans; creme anglaise; and caramel sauce. The preparation of these condiments took a few hours in itself.

Remove the frozen sabayon from the tin, and plate with nuts, caramel and vanilla cream.

Tasting notes: Out of this world.  Try different alcoholic bases. 

The final word from pork belly – sous vide versus conventional cooking

This is the third post on EconEats related to the humble pork belly.  The other attempts at belly perfection have left me unhappy, with many unanswered questions such as: Is sous vide worth the wait? does brining make a difference? Shall I leave the skin on? How do I get crispy skin that is not tough? This post attempts to answer these questions.

The Brining Phase
The brine aims to add flavor as well as introduce moisture into the pork. I used a five percent salt brine solution, with about one percent sugar, a good squeeze of honey, bay leaves, pepper corns, sweet smoked paprika and most importantly – star anise. The latter ingredients were ground up in the mortar and pestle then boiled on the stove for a few moments to fully dissolve the solids.

The dissolved brine solution is placed in iced water (in the correct proportions to maintain the five percent salt/water ratio). The pork is left in the brine for 24 hours. After 24 hours, the pork is soaked in water for an hour so the surface of pork is not too intense (last picture is the post-brine rinse). The pork is dried and left to rest in the fridge for another hour so to help the brine spread evenly throughout the meat.

Sous Vide Cooking
The belly is cut to fit into vacuum sealed zip-loc bags. The bags are immersed into a water bath at 77 degrees celsius for 12 hours and then removed to cool in the fridge overnight (last picture shows pork after removed from the water bath after 12 hours)
The cold pork pork is removed from the zip-loc bags, and portioned. The fluid from the bag is completely stiff given the release of gelatin during the 12 hours of cooking. It’s hard to describe how stiff this congealed liquid is. The portioned belly’s skin is scored to help release fat during frying and to help crisp the skin.

The pork belly is fried in hot ground nut oil for around 5-10 minutes in a heavy cast-iron pan until crisp. The other sides are quickly seared for color and flavor. There is no need to do this fry in a super hot oil. The idea is to remove the moisture from all of the skin rather than just burning the outside.  The skin does not seem to become crispy until all the moisture is removed.  The pork belly is served on a bed of cabbage that has been cooked for 5 or so minutes in water, and butter.
Conventional Cooking
To really understand whether sous vide is cooking is worth the wait, the raw brined pork belly is placed in a cast-iron pot face down with a bit of water and brought to the boil. It is then cooked in an oven at 150 degrees for 2 1/2 hours. The pork is removed, and fat drained.
The pork is portioned and placed skin down in the pan. The conventional method produced fairly juicy pork belly. A jus was made from the roasting juices with the addition of salt, pepper, honey, wine and vinegar.  It was served with boiled french beans.

The pork was fairy juicy, and quite tender. The skin has a little tougher than I would have liked. The pork was perfectly salted from the brine, and the flavor (and smell) from the star-anise brine was clearly visible. We still need to go one step further for a comparison to sous vide.

Sous Vide versus Conventional Cooking

The cold pork belly from the two different cooking methods was sliced into equal portions and the skin scored. You could see the difference in the color of the cold cooked pork belly. The pork in the right of the picture below was sous vide cooked, it was pinker. The really big difference was noticed when scoring the skin of the pork, the sous vide pork’s skin scored much easier, even a blunt knfe could have got through it, whereas the oven cooked pork belly’s skin was still very tough. The second picture below shows the sous vide pork belly at the bottom of the picture. The skin looks thicker and and stronger in the top part of the picture. This makes a significant difference for the final fry.

The two portions of pork were seared skin side down in a cast-iron pan and heated through as before. While the pork was similarly juicy, the the texture of the sous vide belly was significantly smoother, the skin was also much more brittle and easier to eat. Given the high fat content of pork belly, it was hard to discern whether the sous vide pork was juicier. They were both fairly juicy.

The sous vide cooked pork delivers a much superior final texture.

Skin cooking methods
In one method, the skin was removed, and the fat below the skin was cooked face down, and the skin cooked separately. In the second method, the skin was scored and cooked face down. I definitely prefer the skin-on pork. This was done using the sous vide pork, using the conventionally cooked pork, removing the skin would perhaps be a better option as the skin tends to be tougher.

Final verdict
The brining had a significant flavor impact, as there was a subtle star anise flavor infused throughout the pork belly. Sous vide pork belly definitely requires more patience, but the quality of the final product makes it worth it

What to do with lamb neck (Part 2) – Lamb neck with jus and white been puree

The second lamb neck dish uses the same underlying ingredients with a very different finish. Red wine is also used instead of white wine
1. First add thyme, rosemary, cherry tomatoes, garlic, shallots, red wine (2/3 of a bottle) and water to the baking dish with the lamb necks. Cook covered at 140 degrees Celsius for over 4 hours or until the meat is literally falling off the bone 

2. The lamb should fall off the bone in one piece, cut away any noticeable fat or tendons and cut the boned lamb neck into two clear pieces.

3. Strain the roasting liquid, reduce and season until required flavor is reached. Strain away the fat. I added balsamic vinegar, salt and pepper. Add the lamb to the pan and baste then put in a very hot oven until crispy at the sides.

4.  Now for the beans. I used dry cannellini beans, soaked and boiled them until tender. They were pureed using an immersion blender, then passed through a fine sieve. Nothing else was added to the beans other than water to keep moist.

5. Serve the finished masterpiece with bean puree, and the shallots, garlic and tomato from the roasting tray, and of course the jus!

Tasting notes: Incredibly tender and gelatinous, bland white beans go very well with the rich sauce and lamb. Perfect

Now recall the previous post with similar ingredients, but a very different finish: