I am finally on the island for a full weekend. This allows for a long and complicated recipe. Perhaps one of the most complicated, tricky recipes of them all is making a French classic – Pain Aux Raisin. Not only does one need to make the croissant dough, there is the addition of pastry cream and raisins. The classic recipe has very little sugar, so it is little surprise that the direct translation is Raisin Bread! This differs starkly from similar pastry’s had in north America that are full of sugar.
The first step is to make the basic dough recipe. Simply milk, flour, yeast, sugar, salt in the basic recipe (straight from Larousse Gastronomique). This is done 2 days before the final baking.
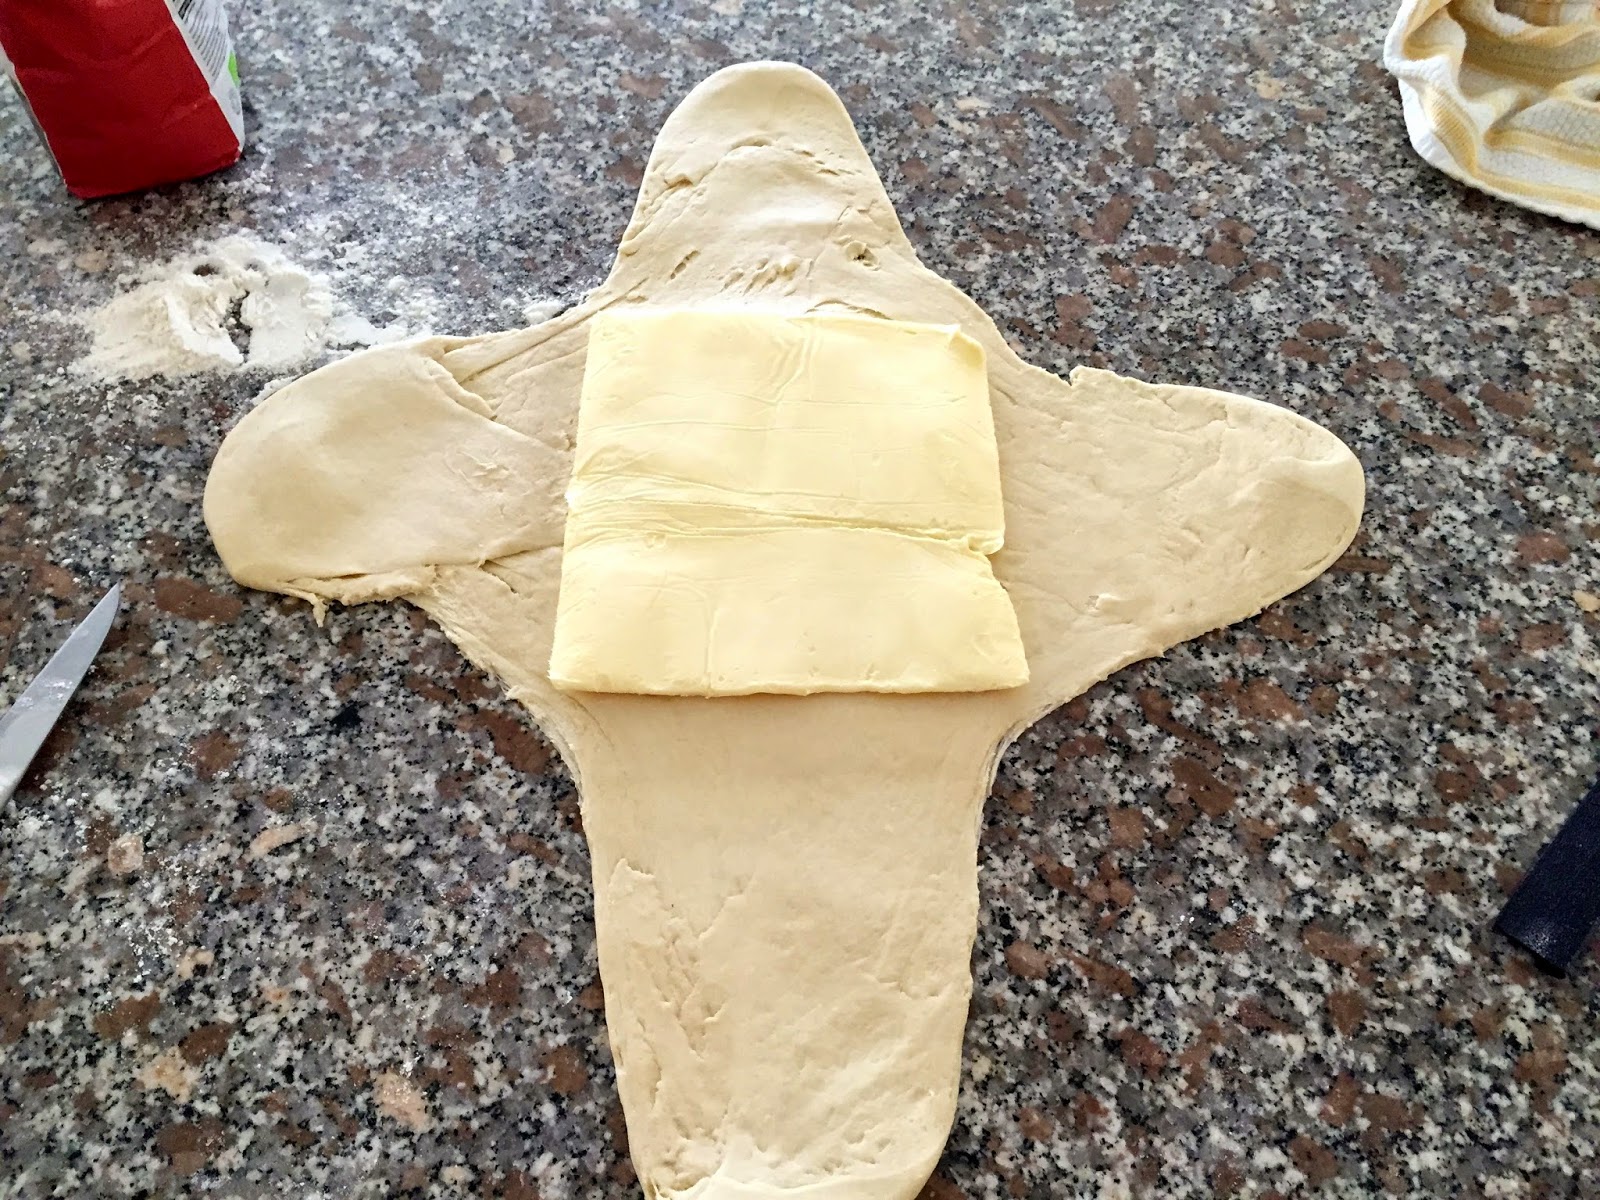
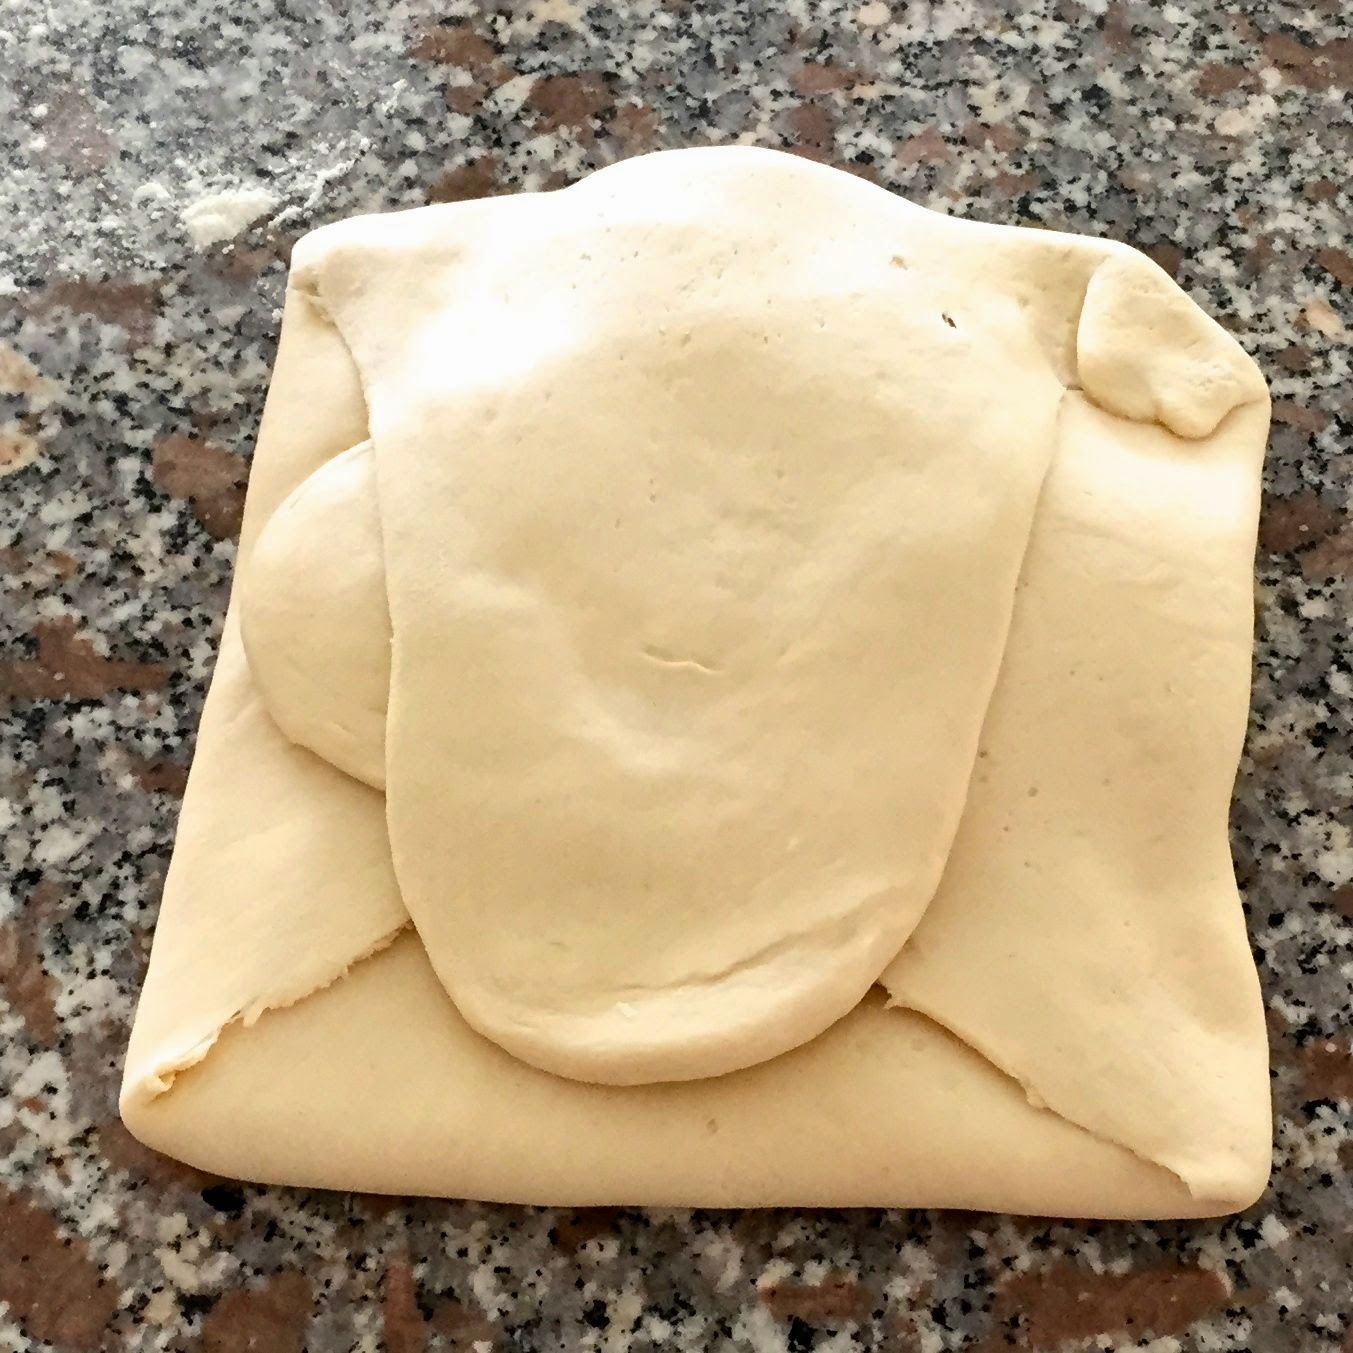
On day 2 the next step is to fold in the butter. Beat the butter into a square shape, then fold up like a parcel.
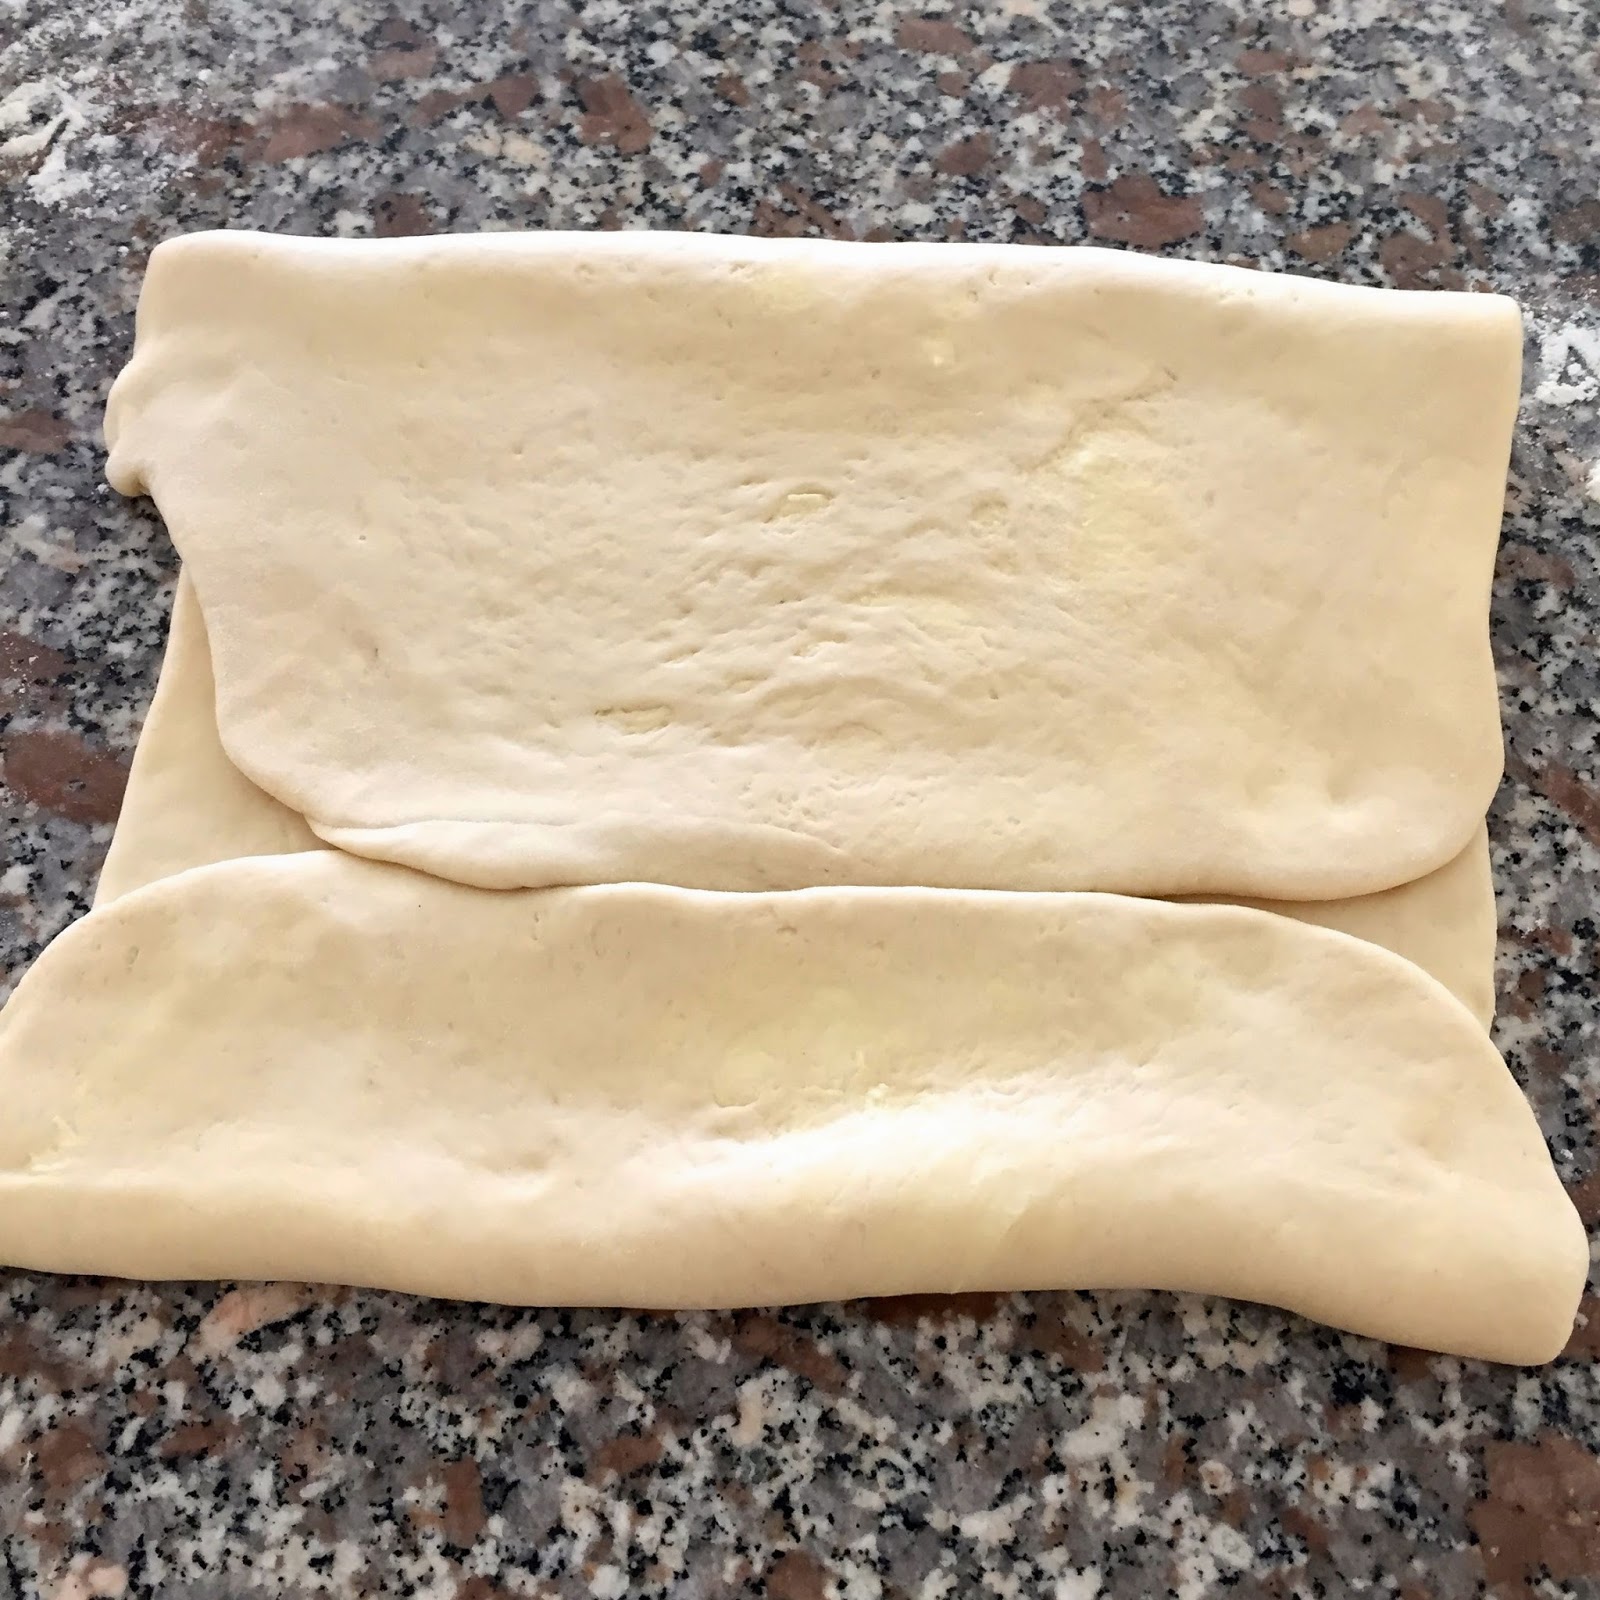
Roll the buttery dough into one long rectangle. Fold the top two thirds, and the bottom third, complete with a double fold. This means the pastry now has four folds.
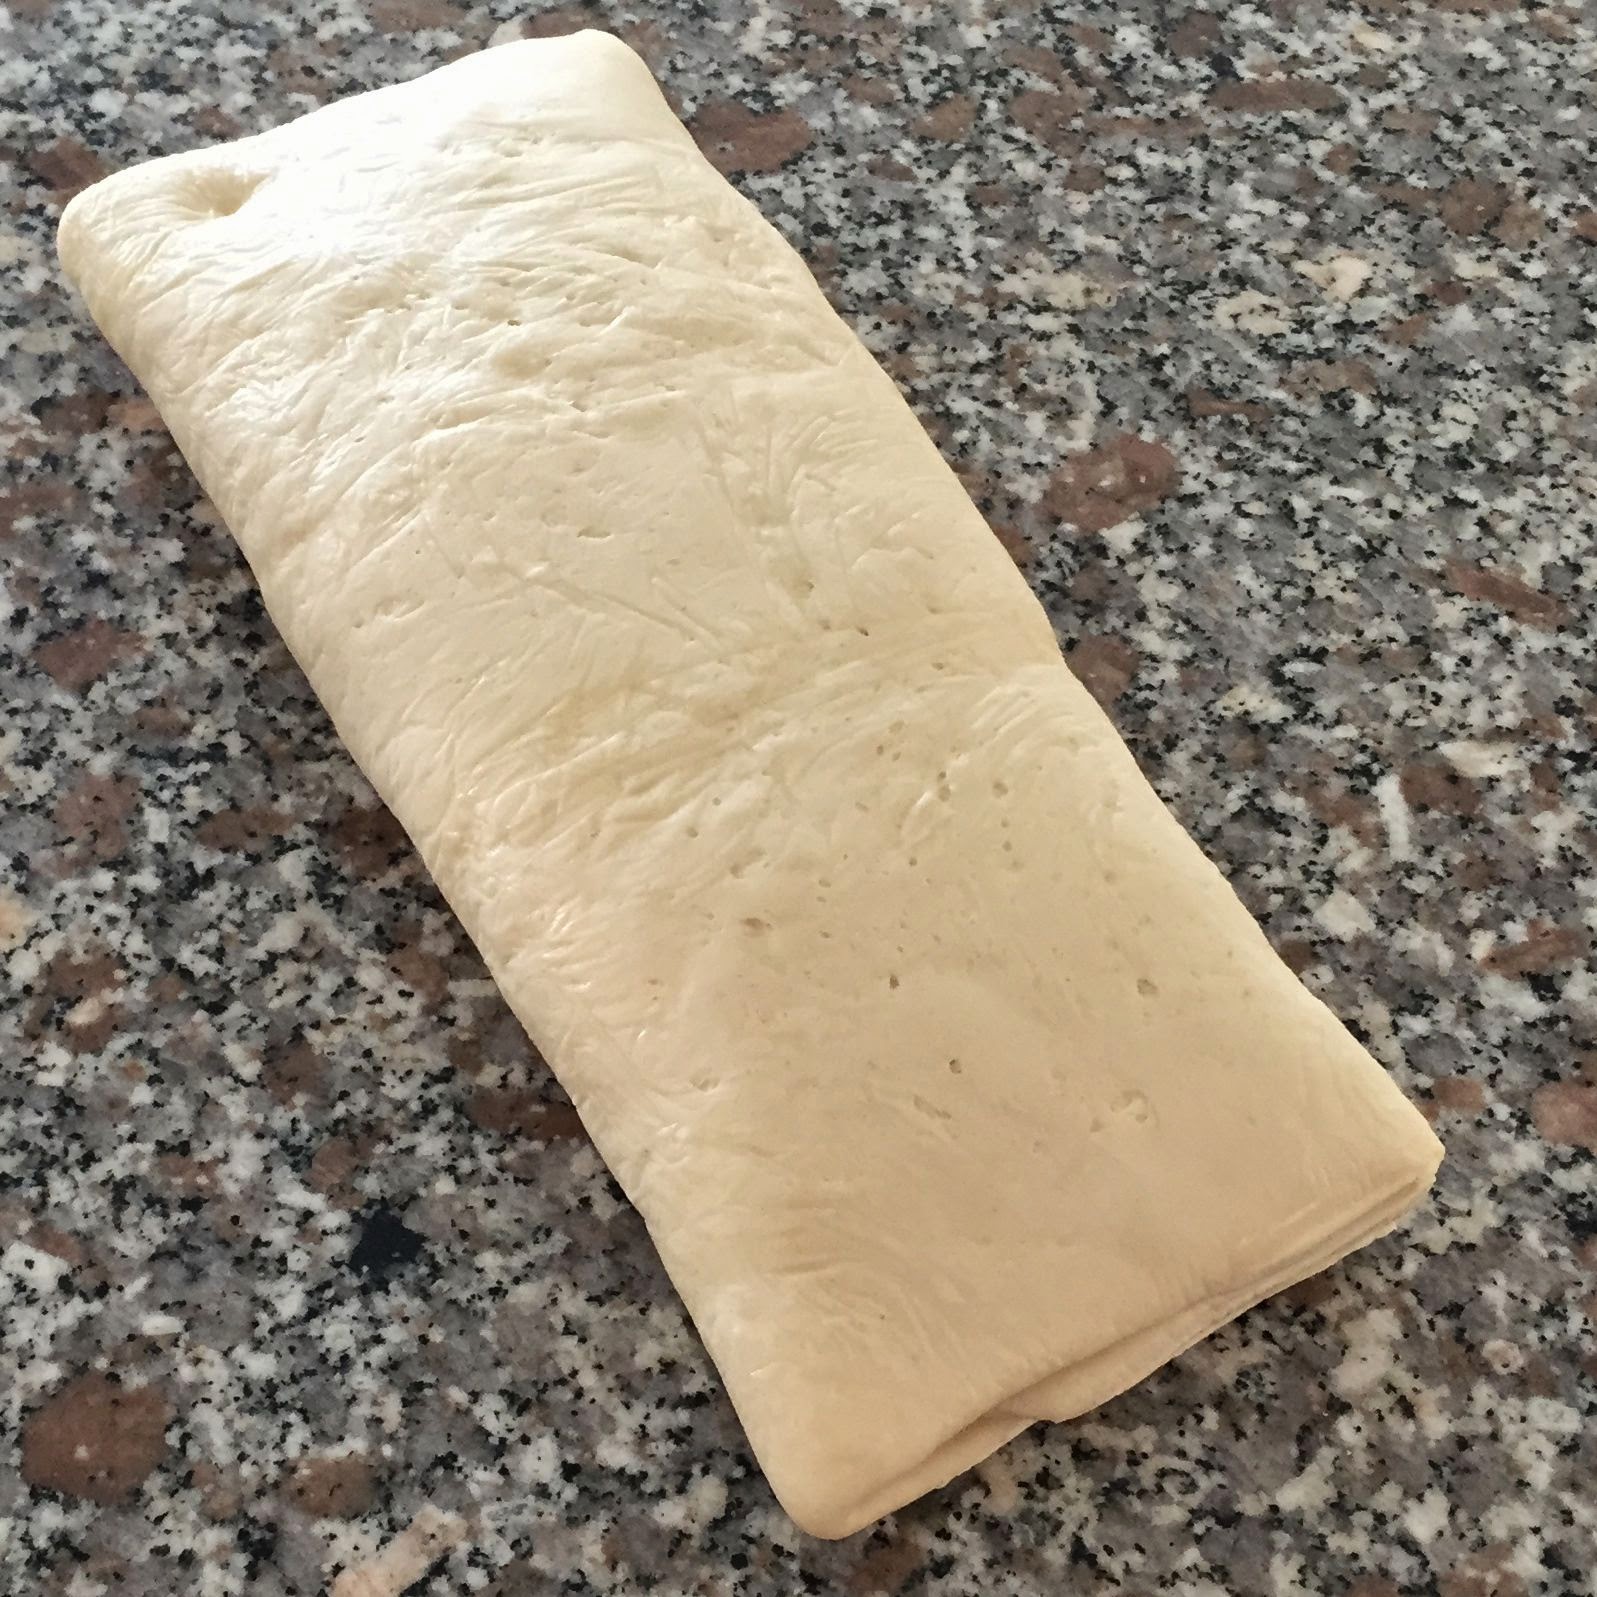
Repeat this step three times and you have 64 layers of buttery pastry. 4*4*4 = 64. Look at all those layers. Cut in half to make it easier to deal with. Unbelievable.
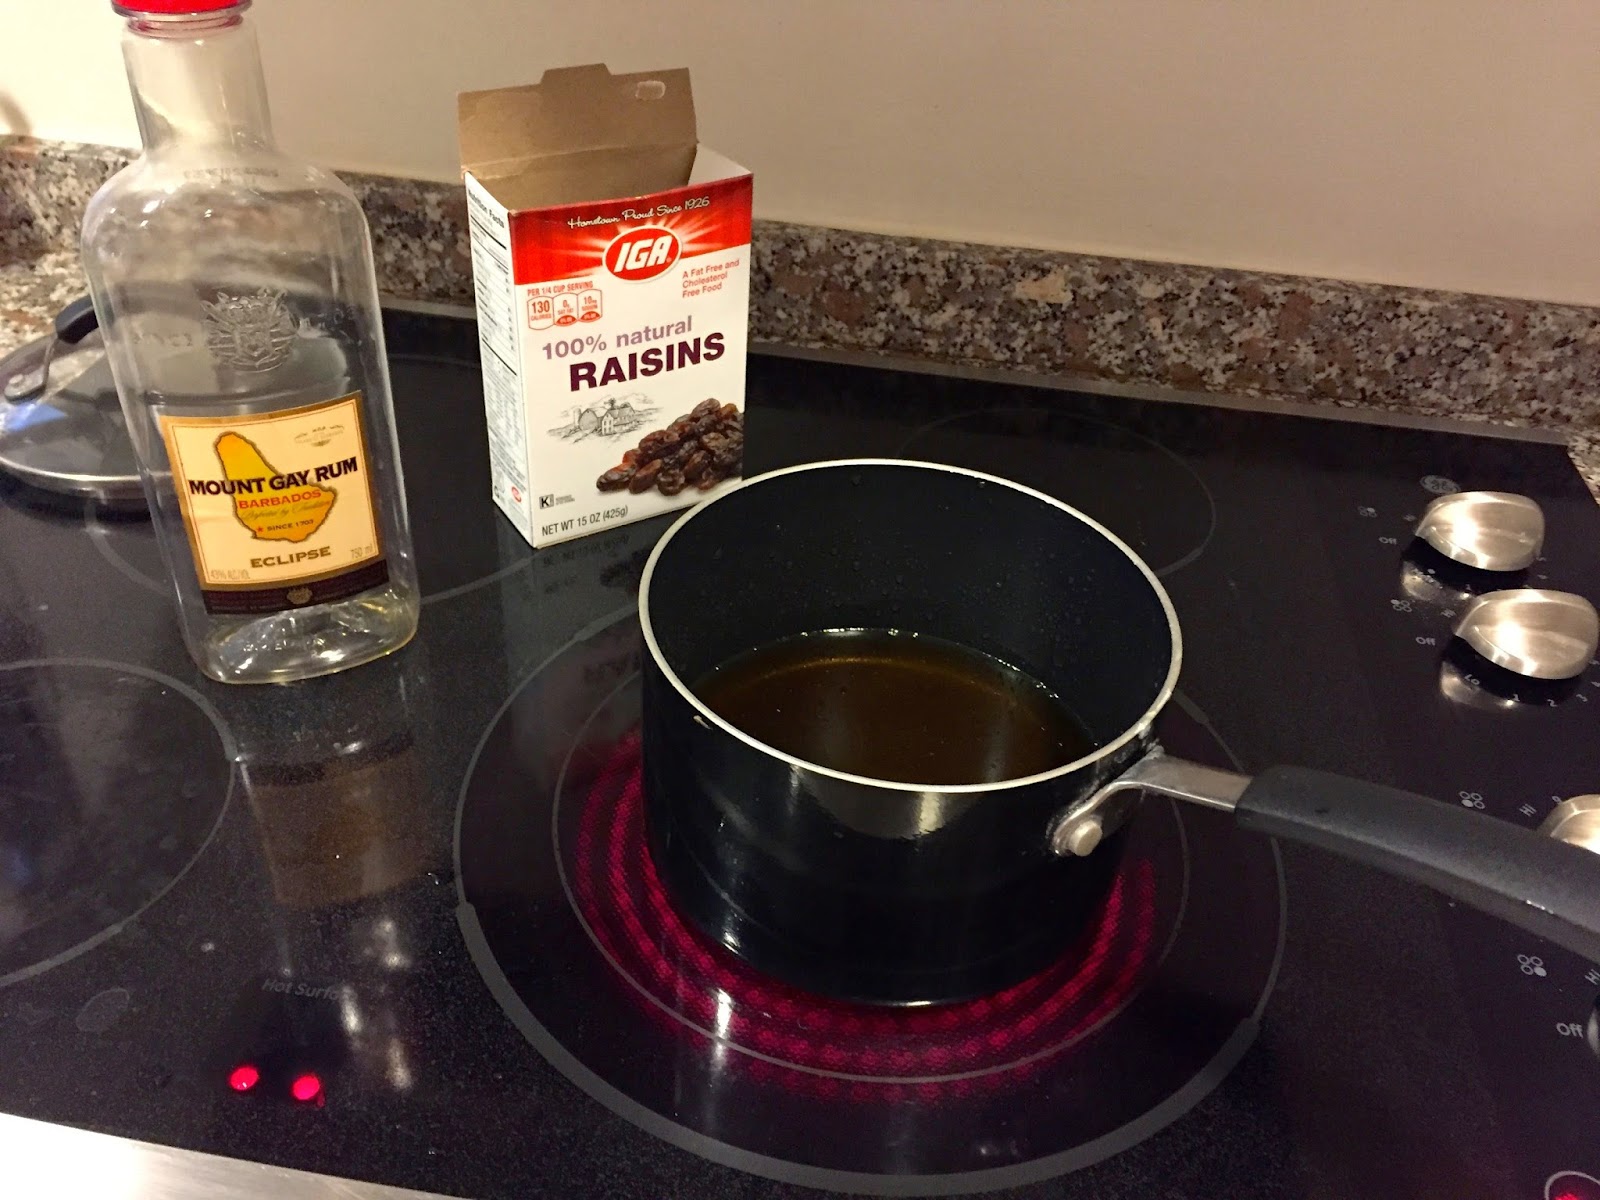
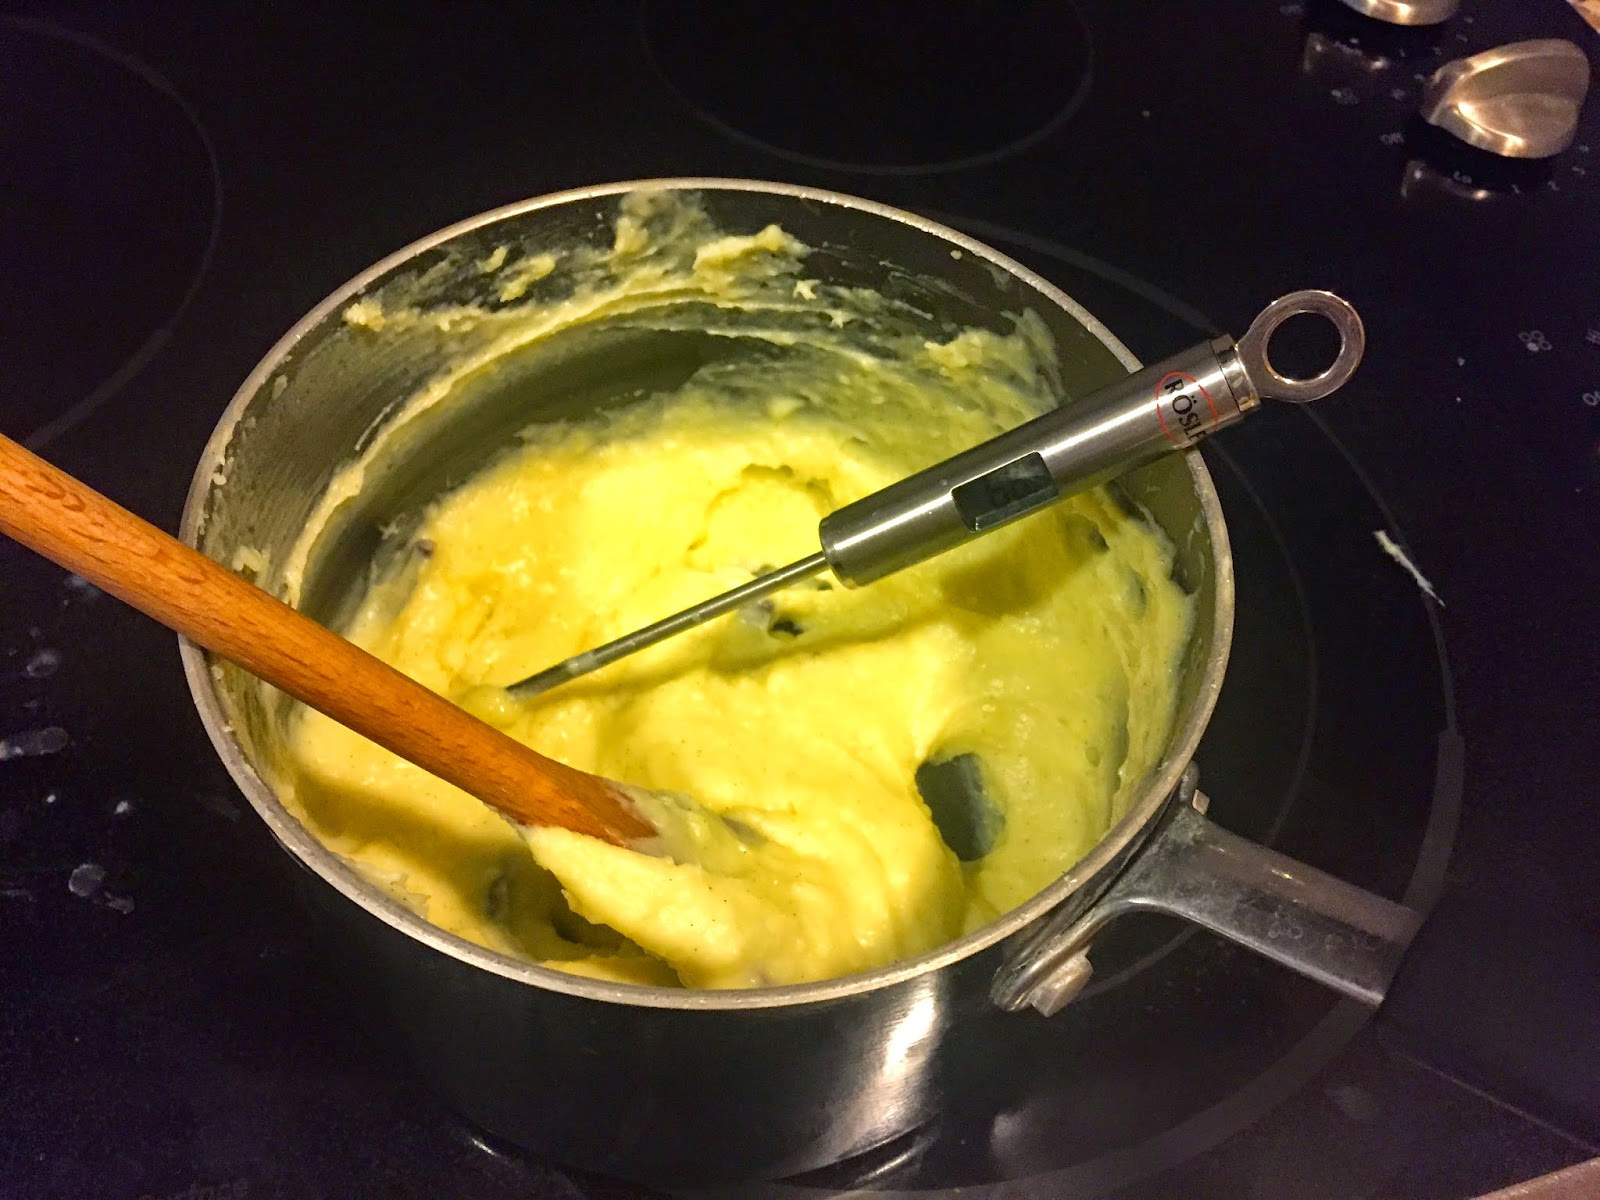
Mean while soak the raisins in Rum for 2-3 hours, also make the pastry cream. Pastry cream is just Milk, Vanilla, Sugar, corn starch, and egg yolk.
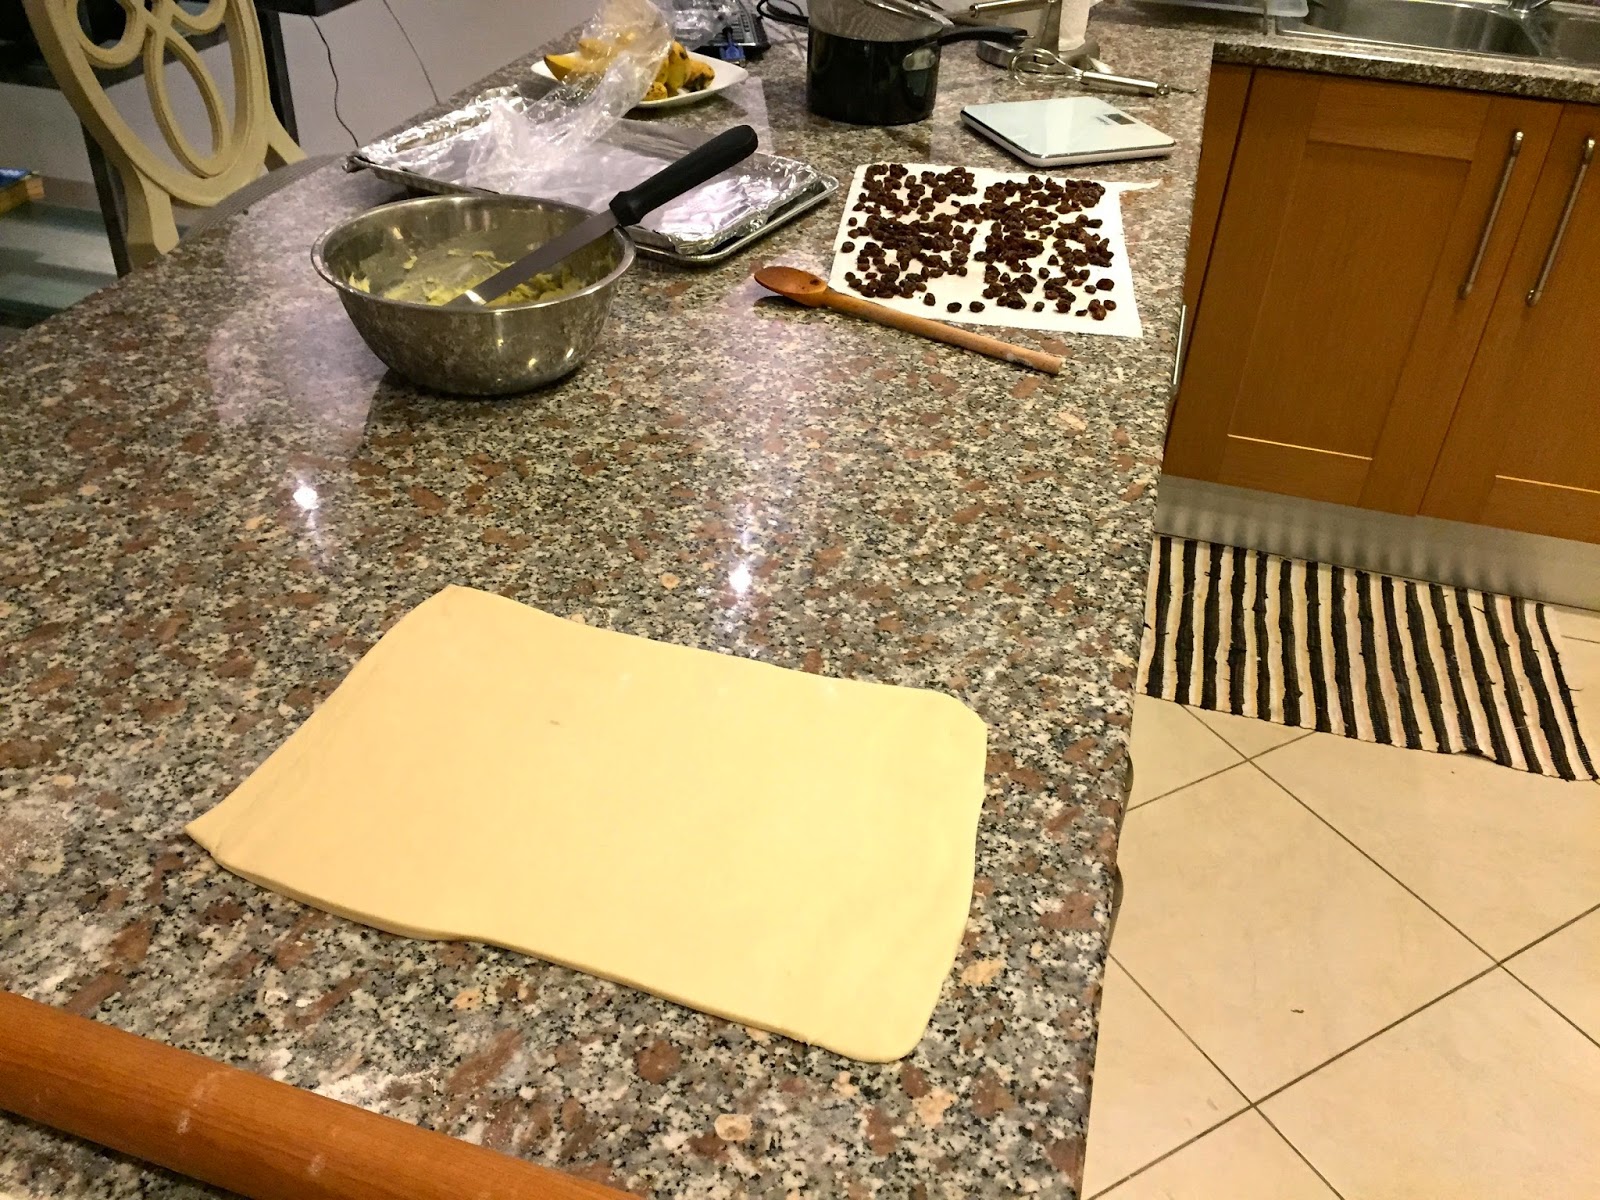
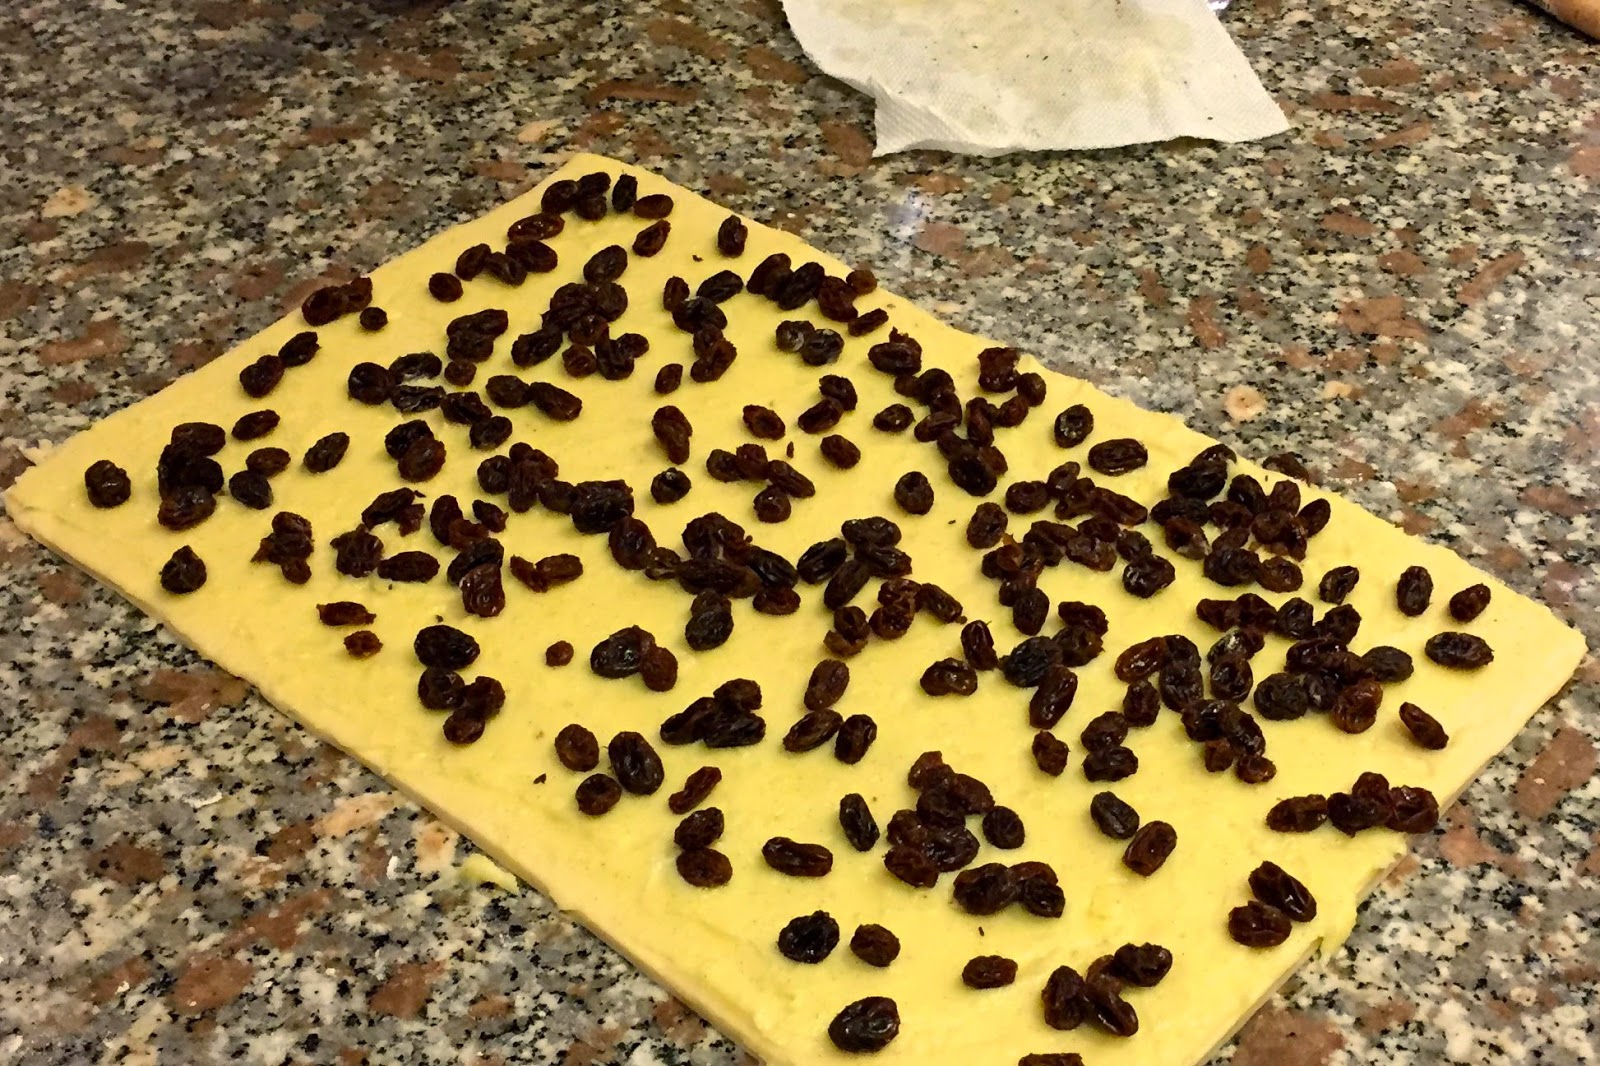
Now the fun part. Roll out of the pastry, around 1/2 cm thick. Then line carefully with pastry cream and cover randomly with the raisins.
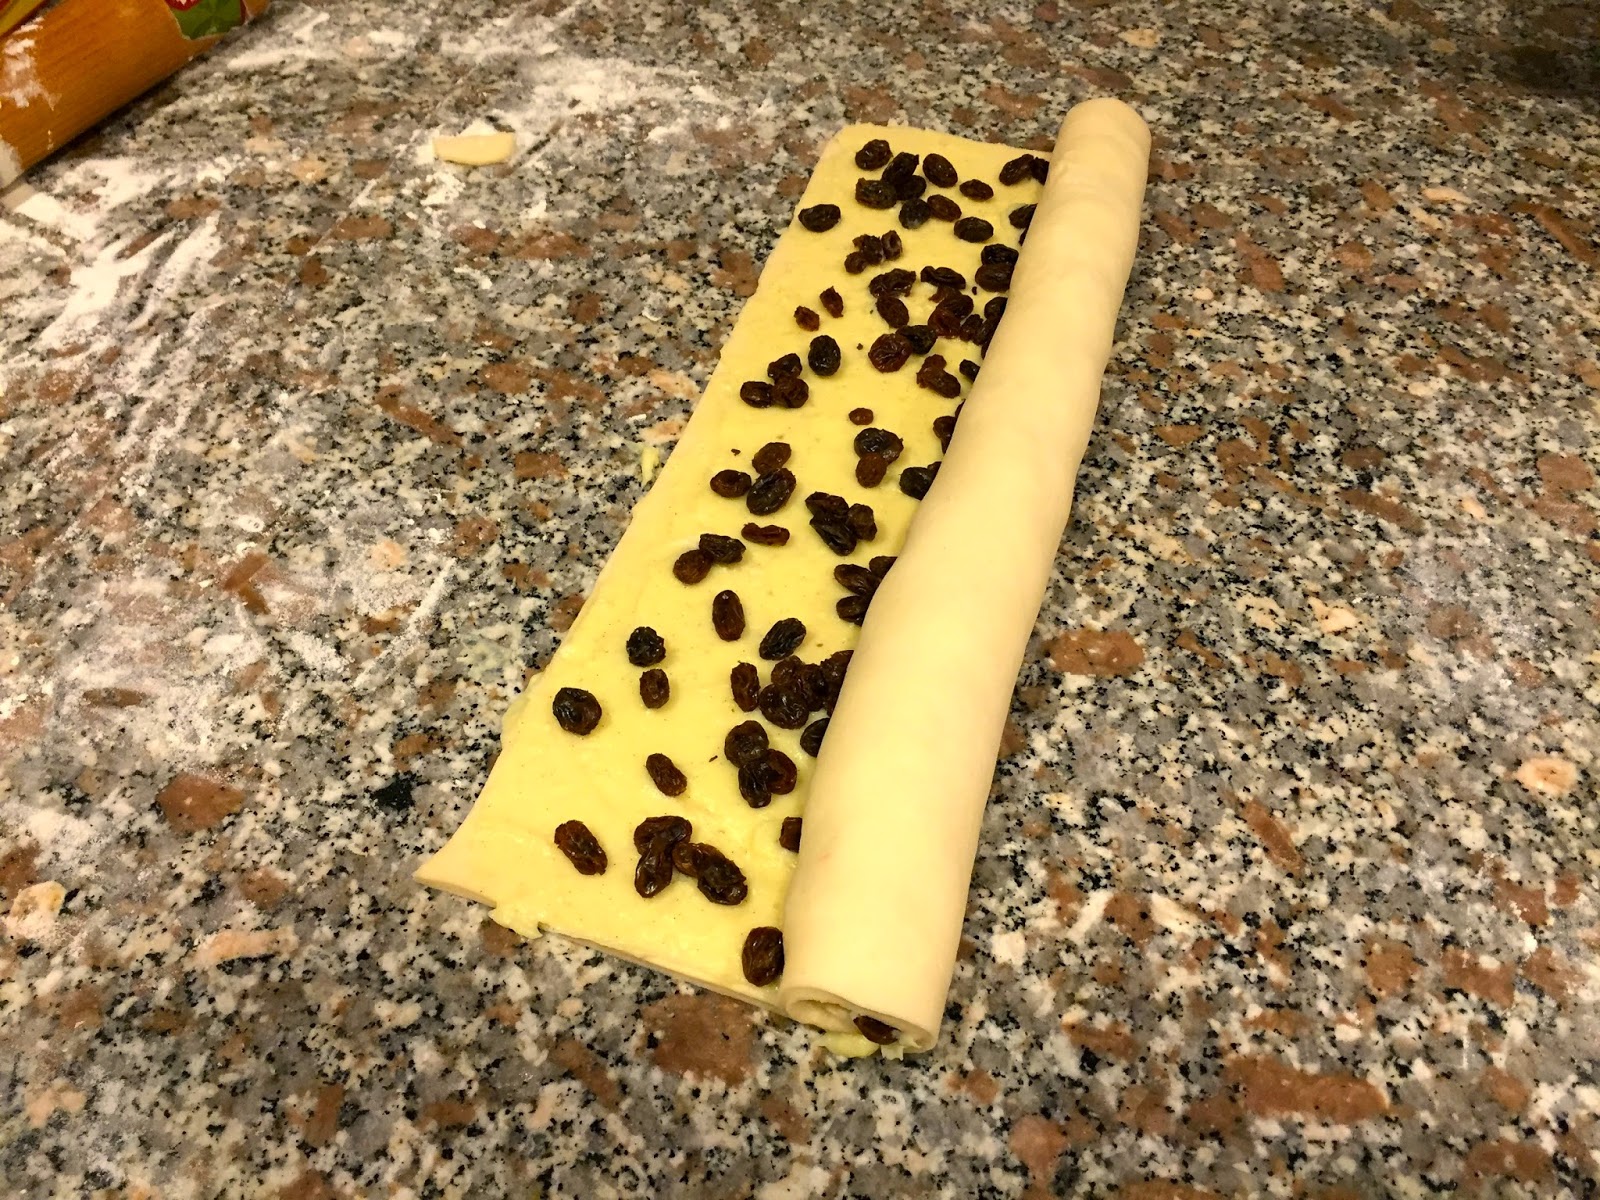
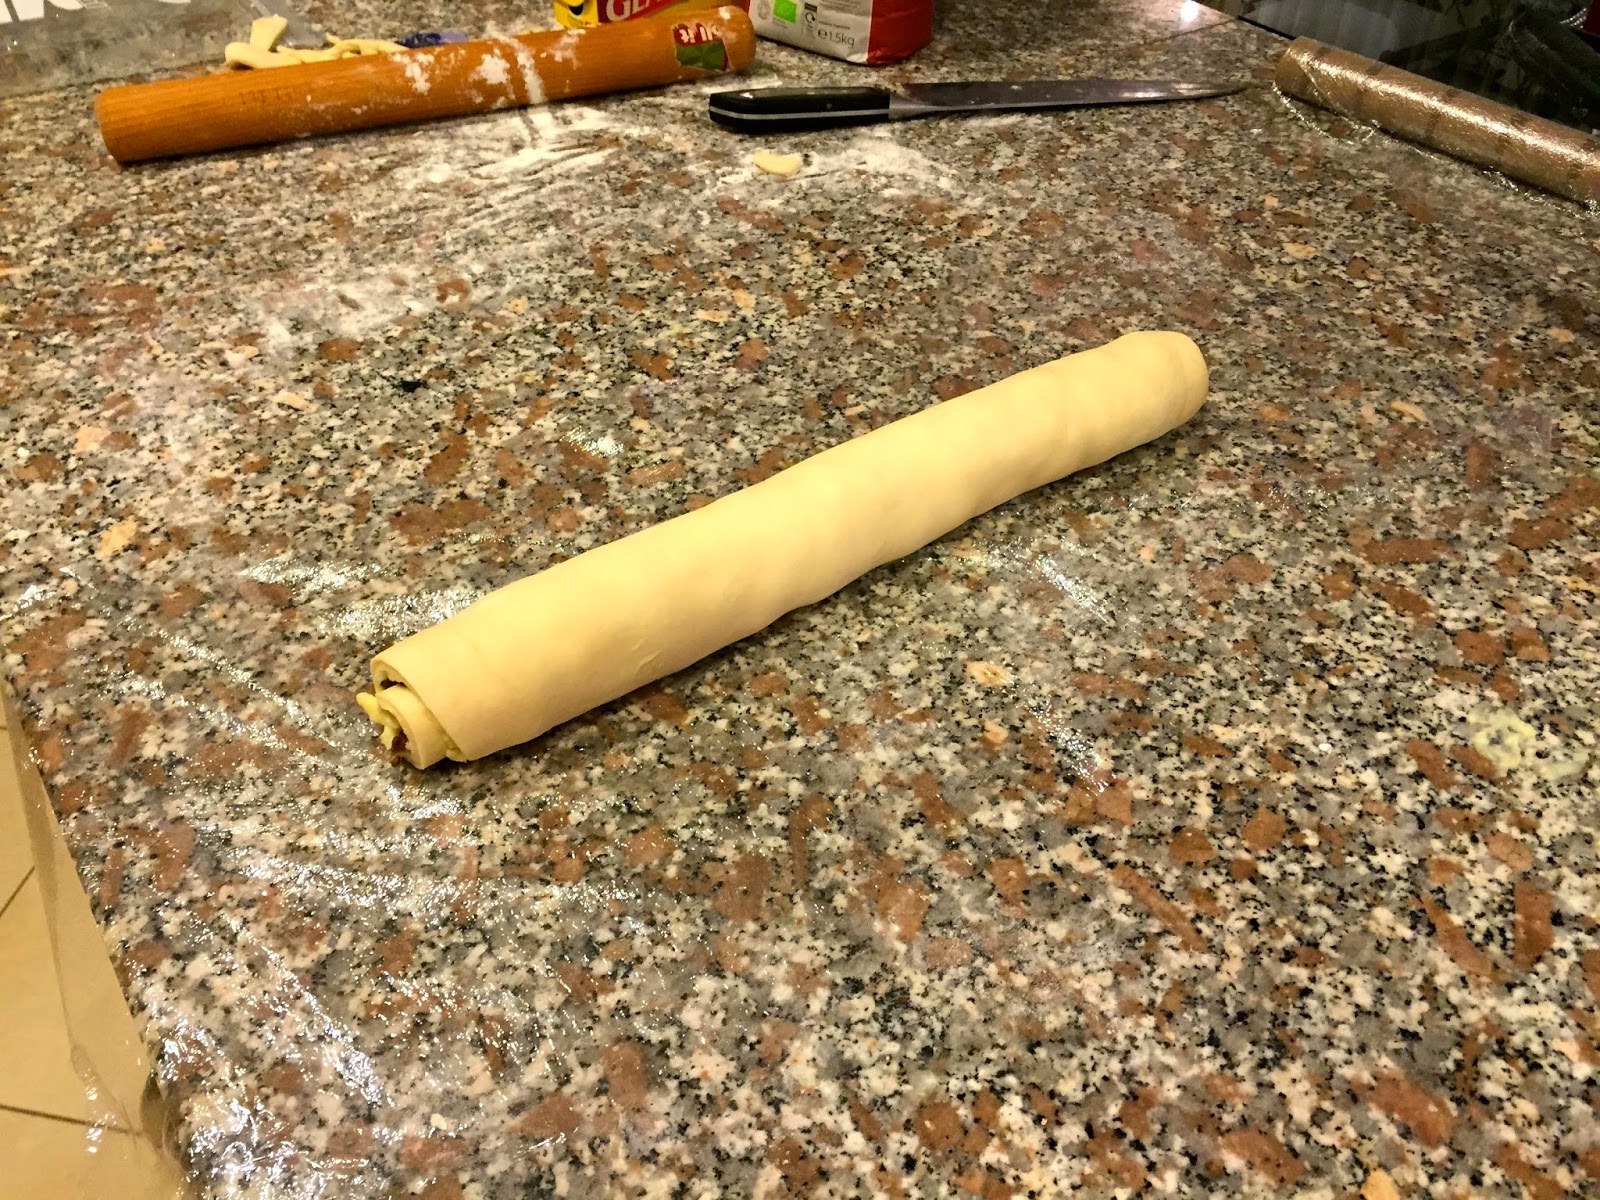
Begin rolling up the pastry. Not too tight, not too loose. At this point you can cut it up into pieces, and proof. I needed to take the final product to work the next morning, so I wrapped the log in plastic and put it in the fridge over night.
Day 3: Cut into 2.5 centimeter pieces and lay on baking paper (silicone sheet if you have one). Paint with egg yolks and leave to proof for 2 hours or so.
Look at them almost double in size. Reapply egg. Bake at around 200 degrees c for 15-20 minutes (mine needed just 16 minutes)
The final product.
Tasting notes: Very little sweetness. Could benefit from more pastry cream, and perhaps sweetness could be added at this point. Pastry also lacked distinct butter flavor, add greater amount of butter to original pastry recipe (250g instead of 200).